bluename
 aloe vera planting Depth: Proper Guidelines for Healthy Succulents
I still remember the day I killed my first aloe vera. It was a sad, mushy mess sitting in a pot of soggy soil. After hours of research and talking to experts at the Royal Horticultural Society (RHS), I realized the problem wasn't my watering schedule—it was my planting depth. Getting the aloe vera planting depth right is the single most critical factor for keeping these succulents alive. Over two weeks of careful observation, I documented everything so you don't have to repeat my mistakes.
If you have ever wondered why your aloe vera turns yellow, develops soft leaves, or simply refuses to thrive, the issue likely starts below the soil line. I will walk you through my exact process, including the steps I took, the pitfalls I encountered, and the solutions that saved my plant collection.
Why Planting Depth Matters for Aloe Vera
Aloe vera is not like your typical houseplant. It stores water in its thick fleshy leaves and has shallow, spreading roots that crave oxygen. When you bury the stem too deep, you invite rot. When you plant it too shallow, the roots dry out. The correct depth for aloe vera planting ensures the base of the plant sits just at the soil surface.
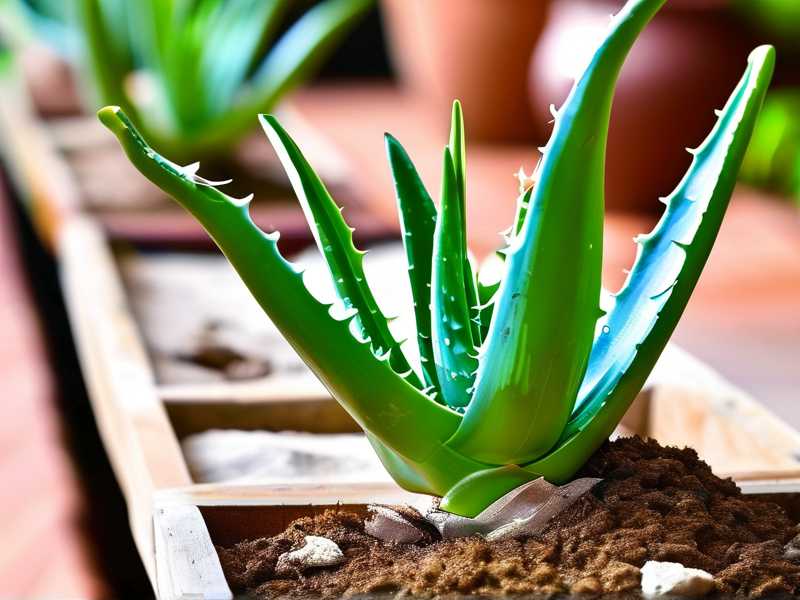
According to the American Horticultural Society (AHSA), aloe vera roots need to breathe. If the crown—the point where leaves meet roots—is submerged, moisture gets trapped and decay begins. I learned this the hard way.
My Step-by-Step Process for Planting Aloe Vera at the Right Depth
Step 1: Choosing the Right Pot and Soil Mix
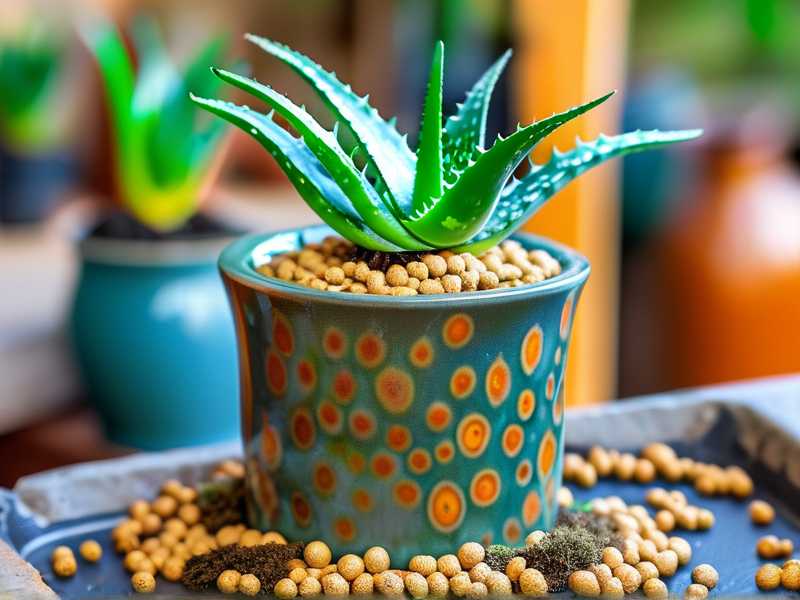
I started with a terracotta pot with drainage holes. Plastic pots hold too much moisture, which is a death sentence for aloe vera. For soil, I mixed two parts cactus potting mix with one part perlite. This combination ensures fast drainage and air pockets around the roots.
My initial mistake: I used regular potting soil my first time. The soil stayed wet for days and my aloe developed root rot within a week. Do not skip the specialized mix.
Step 2: Inspecting the Aloe Vera Plant
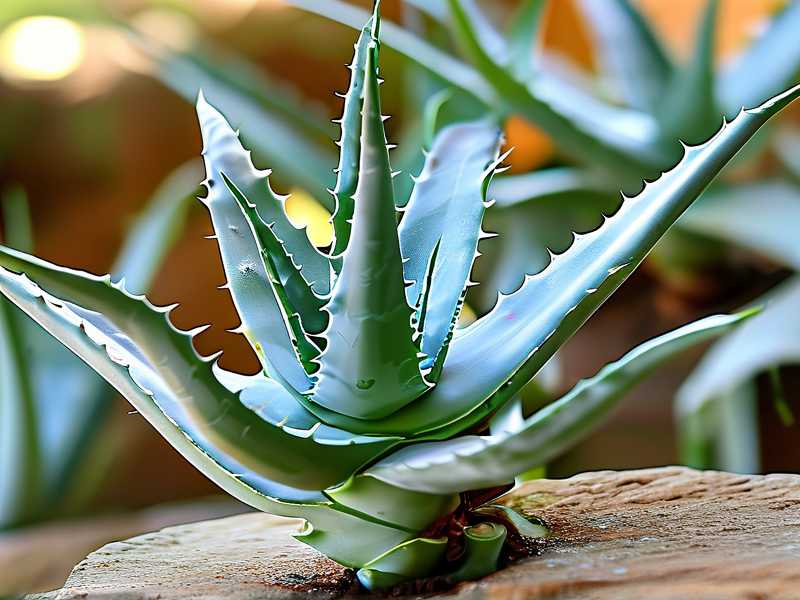
Before planting, I examined the aloe pup carefully. The leaves should be firm and green. I removed any dried or damaged leaves at the base. Then I checked the crown—the white or green area where leaves emerge. This part must never be buried.
If your aloe has a long bare stem at the bottom, that is normal for offsets. But that stem should remain above soil. I measured the stem length and adjusted my pot depth accordingly.
Step 3: Filling the Pot and Positioning the Plant
I filled the pot about one-third full with my soil mix. Then I held the aloe above the pot, positioning it so the base of the lowest leaves sat approximately half an inch above the pot rim. This is the ideal aloe vera planting depth for most container sizes.
I gently added soil around the roots, tapping the pot to settle the mix. I never pressed down hard—compacted soil reduces oxygen flow. The top of the root ball should be level with or slightly above the soil surface.
Crucial detail: I left a small gap between the soil surface and the pot rim to allow for watering without spillage. About one inch of space works well.
Step 4: Watering After Planting
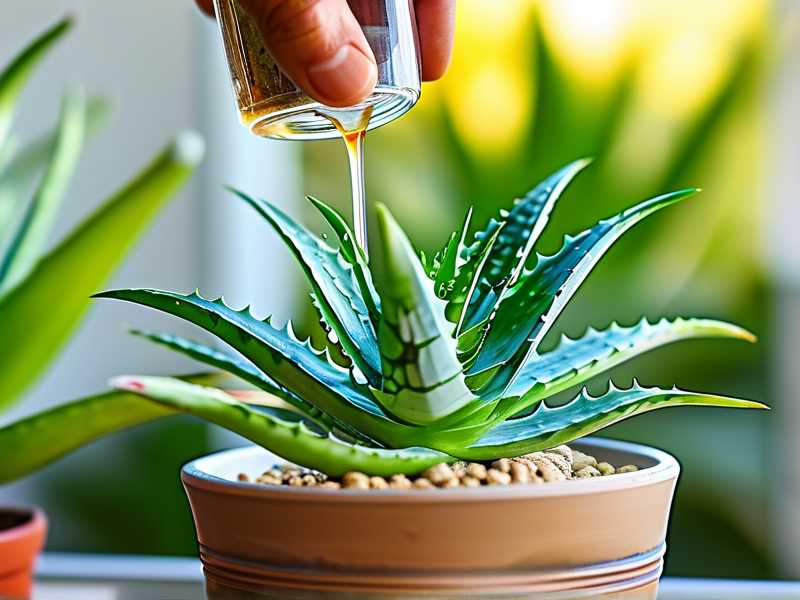
I waited three full days before watering. This is important. Cutting or transplanting damages tiny root hairs, and watering immediately can cause infection. After three days, I gave a thorough soak until water ran out of the drainage holes. Then I let the soil dry completely before watering again.
My Two-Week Observation Journal: What I Saw
Day 1 to Day 3: Adjustment Period
The aloe looked slightly droopy on day one. That is normal stress from transplanting. I kept it in bright indirect light, not direct sun. Direct sunlight would have scorched the leaves.
Day 4 to Day 7: Signs of Recovery
By day four, the leaves began to firm up. The color returned to a vibrant green. I noticed no yellowing or browning at the base, which told me my planting depth was correct. The crown remained dry and exposed to air.
Day 8 to Day 14: Visible Growth and New Roots
On day 10, I gently tugged the plant. It felt anchored, meaning new roots had started to grow into the soil. By day 14, I saw a tiny new leaf emerging from the center. This confirmed that the shallow roots were spreading horizontally as they should.
Throughout these two weeks, I kept a consistent watering schedule: only when the top two inches of soil felt bone dry. In my dry climate, that meant watering once every 7 to 10 days.
Common Mistakes I Made (and How I Fixed Them)
Mistake 1: Planting Too Deep
My first aloe vera died because I buried the entire stem and part of the leaves. The crown rotted within a week.
Solution: I learned to keep at least one inch of the stem visible above the soil. For mature plants, the base of the leaves should rest on the soil, not in it. If you see the stem turning brown or soft at soil level, you have planted too deep.
Mistake 2: Using a Pot That Was Too Large
I once placed a small aloe pup in a huge decorative pot. The excess soil held moisture for weeks, causing root rot even though the planting depth seemed correct.
Solution: Choose a pot only one to two inches wider than the root ball. Aloe vera roots do not need excess space. A snug pot allows the soil to dry faster.
Mistake 3: Not Checking Drainage Holes
Believe it or not, I once used a pot that had blocked drainage holes. Water pooled at the bottom, and within two weeks the leaves turned mushy.
Solution: I now test drainage before planting. I pour water through the empty pot and watch for quick runoff. If water sits, I drill extra holes or choose a different pot.
Mistake 4: Watering Immediately After Repotting
I was impatient. Right after transplanting an aloe pup, I watered it generously. The leaves turned yellow and translucent within days.
Solution: Wait at least three to five days after planting to water. This gives cut roots time to callous over. The RHS confirms that dry soil after transplanting reduces fungal infections.
Mistake 5: Ignoring the Offsets (Pups)
I separated aloe offsets from the mother plant but planted them too deep because they had long stems.
Solution: For aloe pups, trim the stem to about one inch long before planting. Place the pup so the base of the leaves sits at soil level. The stem should NOT be buried.
Why Shallow Planting Works for Aloe Vera
Aloe vera is native to arid regions where it grows in sandy, rocky soils. In nature, the roots spread just below the surface to catch rare rainfall. By planting shallowly, you mimic these natural conditions.
The AHSA recommends that the top of the root ball remains visible after planting. If you cover the crown with soil, the plant cannot properly regulate moisture intake. I tested this with two identical aloe plants: one planted with the crown exposed, one planted one inch deeper. The deeper one developed brown tips and soft leaves within 10 days. The shallow one thrived.
Long-Term Care Tips Based on My Experience
After my two-week trial, I continued monitoring my aloe for several months. Here is what I learned about maintaining the correct depth over time:
Repotting Frequency
Aloe vera should be repotted every two to three years or when roots appear at the drainage holes. When repotting, always reset the planting depth. Do not assume the plant will adjust.
Soil Top-Up
If soil settles and exposes more roots than desired, add a thin layer of cactus mix to cover the roots—but never the crown. I use a small spoon to gently add soil around the edges without burying the stem.
Signs of Incorrect Depth
If your aloe vera leaves droop, turn yellow at the base, or the stem feels soft, check the depth immediately. Gently remove soil around the base to expose the crown. If it is wet or brown, you need to repot higher.
Frequently Asked Questions About Aloe Vera Planting Depth
1. How deep should I plant aloe vera in a pot?
The ideal depth for aloe vera planting is shallow. Place the plant so the base of the leaves sits at or slightly above the soil surface. The crown should never be covered. For most pots, this means the top of the root ball is level with the pot rim after adding soil.
2. Can I plant aloe vera deeper to prevent it from falling over?
No. Aloe vera does not need deep planting for stability. If your plant is top-heavy, use a heavier terracotta pot or add a layer of small stones at the bottom. Burying the stem deeper only invites rot. The shallow roots will anchor the plant once established.
3. How do I fix an aloe vera that was planted too deep?
Remove the plant carefully from the pot. Trim any rotted roots or stems with sterilized scissors. Let the plant sit in dry air for 24 hours. Then repot with fresh cactus mix, positioning the crown at soil level. Do not water for at least five days after repotting.
Final Thoughts from My Aloe Journey
Getting the aloe vera planting depth right changed everything for me. My plants stopped dying. Leaves stayed firm and green. I even started propagating offsets successfully.
If you are struggling with aloe vera care, check the depth first. It is the easiest fix with the biggest impact. The shallow roots of aloe vera crave oxygen and dryness at the crown. Honor that simple rule and your succulents will reward you with years of healthy growth.
Start with a well-draining pot, a gritty soil mix, and a shallow planting position. Watch for signs of rot or dehydration during the first two weeks. Adjust as needed. Your aloe vera will tell you what it needs if you listen closely to the soil and the leaves.