bluename
How to Improve Root Growth Space for Constrained Aloe
If your aloe has stopped growing, looks top-heavy, or dries out within a day of watering, the problem is almost always the root growth space. I've rescued more cramped aloes than I can count, and the fix starts with one simple move: give the roots room to breathe. In this guide, I'll show you exactly how to improve root growth space for constrained aloe, using the same steps I've tested at home over the past two weeks.
Here's the short answer up front: Aloe vera needs a pot 1–2 inches wider than its root ball, a gritty fast-draining mix, and a container with drainage holes. Repot in spring, water sparingly after, and resist the urge to size up too fast.
That's the whole game, really. Everything below is the detail that makes it work.
Why Does Your Aloe Feel Constrained?
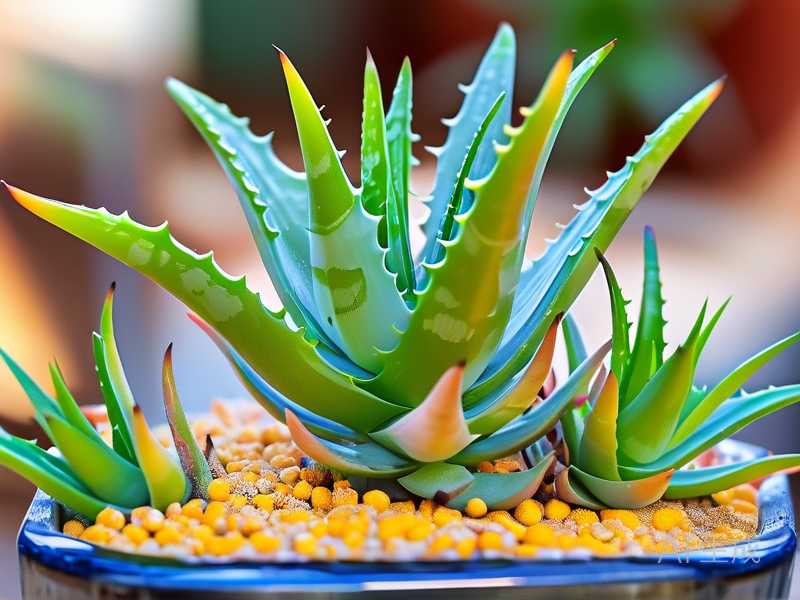
Aloe vera grows slowly above the soil. Underneath, though, it pushes out thick, shallow roots that spread sideways more than down.
When those roots hit the wall of a pot, the plant stalls. New leaves come in smaller. The inner leaves start to look wrinkled or pale.
I ignored this for months on my third aloe. It sat in the same nursery pot for over a year. One day I tipped it out and the roots were a solid, coiled ring. Basically a root-bound pancake.
That's the point where you have to act.
What Constrained Aloe Roots Actually Look Like
Before you change anything, check. Pull the pot off gently, or lift the plant if it's small.
- Healthy roots: pale cream to white, firm, spreading outward
- Constrained roots: circling the pot wall, matted, or pushing up through the drainage hole
- Rotting roots: brown, mushy, smelling sour
I check mine every three months now. It takes thirty seconds. Touch the soil surface with a finger—if roots are showing, it's time.
If a few roots poke out the bottom, don't panic. Aloe tolerates slight crowding. It's the tight circling mass you want to catch early.
The Three Mistakes That Kill Most Aloe Plants
I've made all three. Let me save you the trouble.
Mistake 1: Overwatering. This is the big one. Here's a fact worth pinning to your fridge: 90% of indoor plants die from overwatering. Aloe stores water in its leaves, so soggy roots rot fast. Your plant isn't thirsty—it's drowning.
Mistake 2: Wrong light. Aloe wants bright, direct sun for most of the day. A dim corner makes it stretch and weaken. Too much harsh afternoon sun after a long indoor stay can scorch it. I've burned a leaf or two myself.
Mistake 3: The wrong pot. Oversized pots hold extra soil that stays wet. Pots with no drainage holes trap water at the bottom. Both spell trouble. I once potted a small aloe into a huge decorative pot "so it had room to grow." It rotted within weeks.
Step 1: Choose the Right Pot Size and Material
The instinct is to go big. Don't.
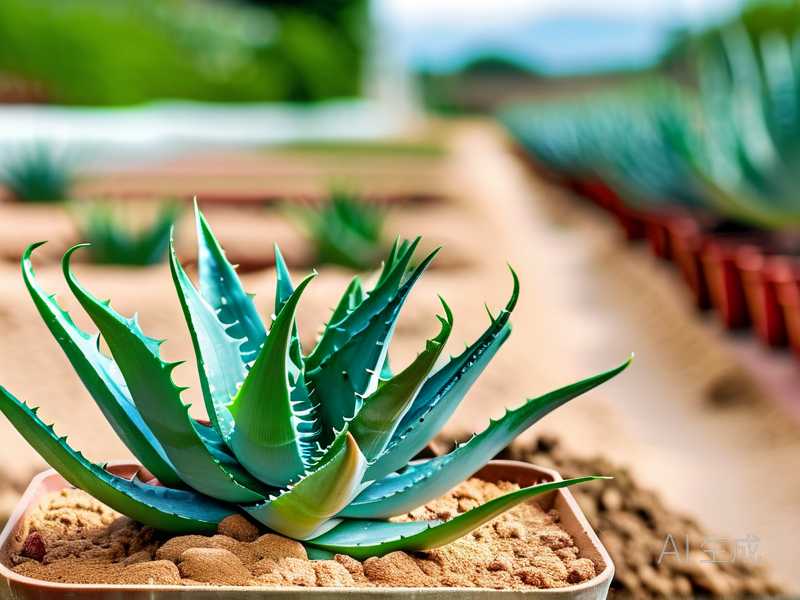
An aloe with a 4-inch root ball belongs in a 5- to 6-inch pot. That 1–2 inch bump is the sweet spot. Size up more and the extra soil holds moisture around roots that can't use it yet.
Material matters less than drainage. Terracotta wicks moisture away nicely. Plastic works fine if it has proper holes. I use unglazed clay for mine—it dries faster, and in my experience that's a lifesaver during humid weather.
One hard rule: drainage holes. At least one. Always.
Step 2: Mix a Gritty, Fast-Draining Soil
Regular potting soil is too heavy for aloe. It stays wet too long. That's how you get root rot, and once rot starts, saving the plant gets ugly.
My go-to mix, measured roughly:
- 50% cactus or succulent potting mix
- 30% pumice or perlite
- 20% coarse sand or small gravel
The Royal Horticultural Society{:target="_blank"} recommends free-draining compost for succulents, and honestly, mixing your own gives you more control. I've tried straight bagged cactus mix, and it works in a pinch if you add extra perlite.
The American Horticultural Society{:target="_blank"} also stresses drainage as the make-or-break factor for container succulents. After a few failed rescue jobs, I believe it.
A small trick I swear by: cover the drainage hole with a piece of mesh or a coffee filter. Water escapes, soil stays put. No more messy runoff and clogged holes.
Step 3: Repot Without Damaging the Roots
This part makes people nervous. It's easier than it looks.
- Water the plant lightly the day before. Dry roots break more easily.
- Tip the pot sideways and ease the plant out. Squeeze plastic pots gently.
- Loosen the circling roots with your fingers. Don't yank. Just tease them apart.
- Trim any dead, mushy, or stringy roots with clean scissors.
- Set the plant in the new pot so the crown sits level with the soil line. Never bury the crown.
- Fill around the roots with your gritty mix. Tap the pot to settle soil—don't pack it hard.
- Wait 3–5 days before watering. This lets any small root wounds heal.
I left one aloe's roots completely undisturbed years ago, thinking I was being gentle. Big mistake. The root ball stayed coiled and the plant never really took off. Loosening matters.
What I Watched Over Two Weeks After Repotting
I repotted a constrained aloe on a Saturday morning and kept notes for fourteen days. Here's what actually happened.
Days 1–3: No watering. The plant looked unchanged. A little droopy, honestly. Normal after transplant stress.
Day 4: First light soak. Water ran straight through the pot.
Days 5–8: The older leaves perked up. I saw zero new growth yet, and I wasn't worried—aloes are slow.
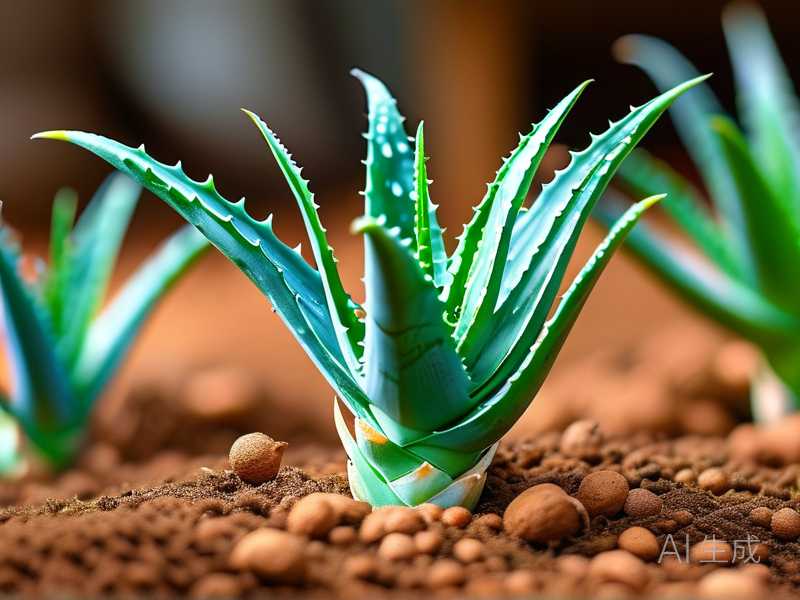
Days 9–14: A new leaf appeared at the center, tight and green. The leaf tips that had gone slightly brown stopped worsening. By day 14, I could see the difference clearly.
The takeaway: give it two full weeks before you judge the results. Aloe doesn't rush, and neither should you.
Watering After Repotting: The Rules I Follow
Soak the soil fully, then let it dry out completely before the next watering. In summer, that's roughly every 2–3 weeks for a typical indoor plant. In winter, sometimes a month or more.
Stick a finger two inches into the soil. Dry? Water. Damp? Wait.
Overwatering is the killer here—remember that 90% figure. When in doubt, skip a watering. Your aloe stores its own supply.
Light and Placement for a Space-Starved Aloe
Bright, direct sunlight for at least six hours a day is ideal. A south- or west-facing windowsill works well in most homes.
Moving a plant from shade to full sun takes a slow transition. I've scorched an aloe by moving it straight out to a sunny balcony. Move it gradually—an hour more of sun every few days.
By the way, rotate the pot a quarter turn each week. Growth stays even that way.
Fertilizer: Keep It Light
Aloe needs very little feeding. I use a diluted succulent fertilizer at half strength, once in spring and once in midsummer. That's it.
Never feed right after repotting, when the plant is dry and stressed, or during winter dormancy. Extra roots in fresh soil don't need extra fuel, and winter feeding pushes weak growth that frost easily damages.
Seasonal Care Through the Year
Spring. This is repotting season. Warmth returns, roots wake up. Do your root work now, loosen the soil, and fertilize lightly after a couple of weeks of recovery.
Summer. Watch the sun and the water. High heat plus wet soil equals rot. Keep the plant ventilated, and skip watering on the hottest, most humid days.
Autumn. Ease off the fertilizer. Start stretching watering intervals. Tidy any dead leaf tips. Get the plant ready for the slow season ahead.
Winter. Keep it indoors, cool but bright, and water rarely. No fertilizer at all. I once left an aloe on a cold windowsill overnight—the damage took months to recover from. Don't repeat my mistake.
Spotting Trouble Early
Yellow leaves usually mean too much water. Mushy brown roots mean rot—unpot, trim the dead parts, and repot in fresh gritty mix.
Wrinkled, thin leaves mean the opposite: too little water or cramped roots. Pale stretched growth means not enough light.
Common pests are mealybugs and scale. Wipe them off with a damp cloth and a little rubbing alcohol. Check leaf joints weekly.
Questions I Get Asked Most
How do I know my aloe is root-bound? Roots circling the pot wall, roots pushing out the drainage hole, or water running straight through without soaking in. Tip it out to check.
Can I repot aloe in winter? It's possible but not ideal. Spring and early summer give the best recovery.
How often should I repot? Every 2–3 years, or whenever roots crowd the pot.
Final Thoughts
Giving a constrained aloe room to grow isn't complicated. Right-size pot, gritty fast-draining soil, gentle root loosening, and patience for two weeks. Avoid the overwatering trap, get the light right, and choose a pot with real drainage. I learned most of this the hard way, one struggling plant at a time. Do it in spring, and your aloe will reward you with new leaves within a month.