bluename
How to Clean Old Pot Residues Before Aloe Repotting
If you are about to repot an aloe and the old pot looks crusty, stained, or coated in white mineral crust, clean it first. I learned this the hard way. Dirty pots can carry fungal spores, salt buildup, and even pest eggs into the fresh soil. Before you reuse any pot for aloe repotting, scrub off old soil, mineral deposits, and root debris. A simple soak in warm water with white vinegar or mild dish soap works for most cases. For heavy crust, use a stiff brush or plastic scraper. Rinse well and let the pot dry completely. That single step saves your aloe from root rot, leaf spot, and recurring pest problems.
I have kept aloe vera and a few hybrid aloes for about eight years. I am not a botanist. I am just a home gardener who has killed a few plants and learned why. One of my biggest mistakes was reusing a “clean-looking” clay pot without washing it. The aloe looked fine for a week. Then the lower leaves started yellowing. The soil smelled slightly sour. When I unpotted it, the roots were already browning at the tips. The old pot had invisible salt residue and fungal spores in the pores. Since then, I treat pot cleaning as seriously as soil mixing.
Understanding Why Old Pot Residues Matter
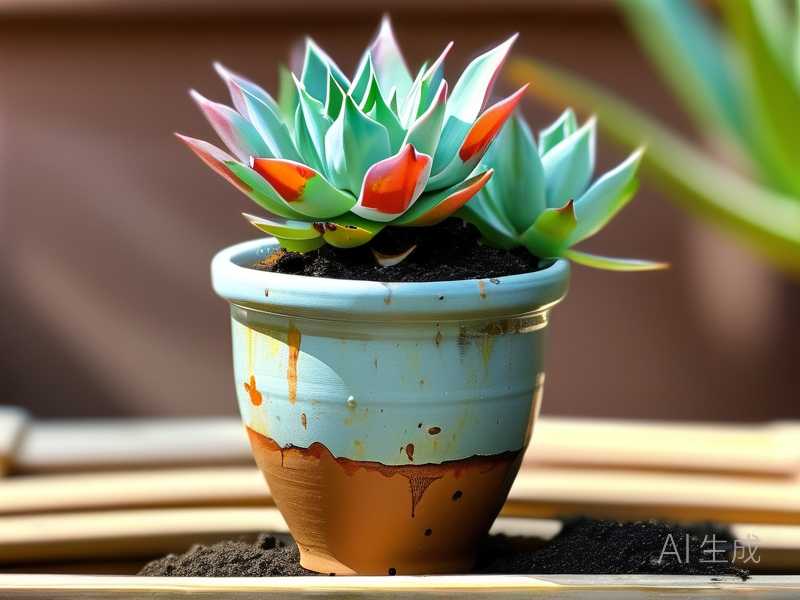
Old pot residues are more than cosmetic stains. They are a mix of dried fertilizer salts, hard water minerals, algae film, dead root bits, and sometimes fungal or bacterial colonies. Terracotta and unglazed ceramic pots are porous. They absorb water and everything dissolved in it. When the water evaporates, salts stay behind. You can see this as a white or yellowish crust on the rim or outer wall.
That crust is not harmless. It can pull moisture out of fresh soil. It can also raise the salt concentration around the roots. Aloe is a succulent. Its roots are sensitive to high salinity. Salt stress shows up as brown leaf tips, slow growth, and weak root systems. Fungal spores in old soil debris can also wake up once you add water and warmth.
I clean every pot before aloe repotting now. Even brand new pots get a quick rinse. Dust from the factory or store shelf can sit in the pores. It only takes a few extra minutes and it removes a whole category of problems.
The Royal Horticultural Society, or RHS, recommends cleaning containers before reuse to reduce the spread of plant diseases. That guidance applies to houseplants too. The American Horticultural Society similarly emphasizes sanitation as part of basic repotting practice. Clean pots are not just about looks. They are a disease prevention tool.
Tools I Use for Cleaning Old Pots
You do not need anything fancy. I keep a small cleaning kit under my sink just for garden tasks.
A stiff nylon brush. An old toothbrush works for small pots and rim grooves. A plastic scraper or old butter knife. Distilled white vinegar. Mild unscented dish soap. A bucket or basin large enough to submerge the pot. Coarse salt or baking soda for stubborn stains. Clean rags or paper towels. Gloves if your skin is sensitive.
Avoid steel wool on terracotta. It can scratch the surface and leave metal fibers that rust. Avoid harsh chemical cleaners. Bleach can be used in a very diluted form for disease issues, but I rarely need it. Most of the time vinegar and scrubbing do the job.
My Step-by-Step Pot Cleaning Process
First, I dump out any old soil. I use my hands or a small trowel. Then I knock the pot gently against a soft surface to loosen stuck debris. For terracotta, I tap the sides with a wooden spoon handle. That breaks up the crust without cracking the pot.
Next, I fill a basin with warm water. I add about one cup of white vinegar per gallon of water. A few drops of mild dish soap help cut through algae film and greasy residue. I submerge the pot fully. For large pots, I turn them halfway through.
I let it soak for at least 30 minutes. For heavy crust, I soak for a couple of hours. You will see bubbles forming if there is a lot of mineral buildup. That is just the vinegar reacting with the salts. After soaking, I scrub the inside and outside with a stiff brush. I pay extra attention to the rim, drainage holes, and the bottom edge. Those areas collect the most residue.
For stubborn white crust, I make a paste of baking soda and a little water. I apply it to the crusty spots and scrub gently. Baking soda is mildly abrasive. It removes scale without scratching too much. Another trick I use is coarse salt on a damp cloth. The salt crystals act as a gentle abrasive.
After scrubbing, I rinse the pot thoroughly with clean water. I rinse until the water runs clear and no soap bubbles remain. Soap residue can affect soil wetting later. Then I let the pot air dry in the sun for a full day if possible. Sunlight also helps kill some surface microbes. If it is winter or rainy, I dry the pot indoors near a fan for at least 24 hours.
For clay pots with a history of root rot or fungal issues, I do one extra step. After the vinegar soak and scrub, I soak the pot in a solution of one part household bleach to nine parts water for 15 minutes. Then I rinse very thoroughly and air dry. I do this only when I know the previous plant had a disease. For normal aloe repotting, vinegar is enough.
How to Remove Specific Types of Residue
White mineral crust is the most common. It comes from hard water and fertilizer. Vinegar soak works best. If the crust is thick, scrape first with a plastic scraper, then soak, then scrub.
Green algae film appears on pots kept in humid or shaded spots. Algae is not always harmful to plants, but it can make the pot surface slippery and retain too much moisture. Dish soap and warm water remove most algae film. A soft sponge works better than a stiff brush for this.
Black or gray mold spots usually come from old organic matter. I remove the loose material first, then soak in vinegar water. If the stains persist, I use the diluted bleach soak. After drying, the stains may remain visually but the surface is sanitized.
Dried root hairs and soil clumps inside the pot are easy to miss. I always run my fingers around the inside wall after rinsing. If it still feels rough or gritty, I scrub again.
Old terracotta pots sometimes have a darkened, aged look. That patina is not a problem. You do not need to scrub it all off. What matters is removing the crust and debris. The aged look is fine.
Why I Clean the New Pot Too
I know it sounds unnecessary. But I rinse new pots before first use. Manufacturing dust, clay dust, or plastic shavings can be present. For new terracotta, I soak it in plain water for about 20 minutes. That saturates the clay so it does not suck all the moisture from the fresh potting mix right after planting. Dry terracotta can wick water away from the aloe roots too quickly, especially in the first week.
For new plastic pots, I just wash with warm soapy water and rinse. It removes any mold release residue or dust from the store. Then I dry them and they are ready.
My Biggest Pot Cleaning Mistake
I once cleaned a terracotta pot with pure vinegar and did not dilute it. The pot was heavily crusted. I thought stronger was better. I soaked it for two hours in undiluted vinegar. The pot survived, but the surface became chalky and slightly pitted. It also smelled like vinegar for weeks. The lesson is simple. Dilute the vinegar. Warm water does most of the work. Vinegar just speeds it up.
Another time, I scrubbed a plastic pot with a wire brush because I was in a hurry. It left deep scratches. Those scratches became hiding spots for algae and bacteria later. Use a nylon brush or sponge on plastic. Save stiff brushes for clay.
How Pot Cleaning Fits into Aloe Repotting
I clean the pot a day before repotting. That gives it time to dry fully. A damp pot plus fresh moist soil can create a soggy environment at the bottom. Aloe roots hate sitting in wet soil. Starting with a dry pot helps the soil drain properly from day one.
While the pot dries, I prepare the soil mix. For aloe, I use about half cactus mix and half perlite or pumice. Sometimes I add a little coarse sand. The mix should be gritty and fast draining. I also check the drainage holes. If the pot has only one small hole, I consider drilling another or choosing a different pot.
I never place gravel at the bottom of the pot. That used to be common advice, but it can create a perched water table. In other words, water sits above the gravel layer instead of draining out. Better to use a well-draining mix throughout the pot.
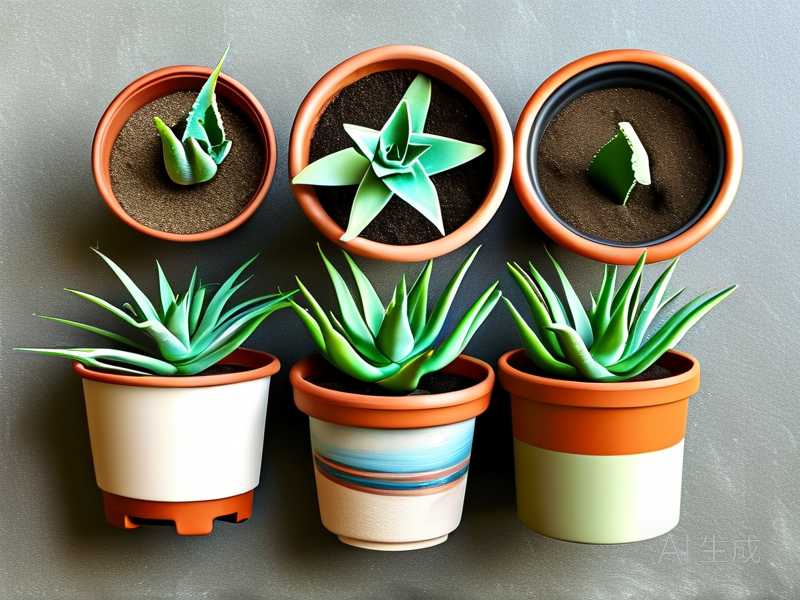
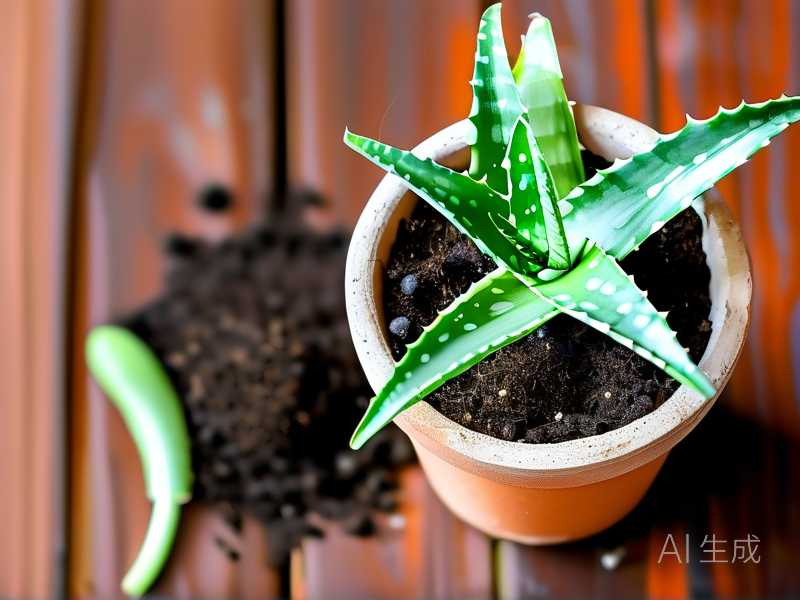
After the pot is clean and dry, I repot the aloe. I fill the bottom with a little soil, position the plant at the same depth as before, and backfill gently. I do not water immediately if I damaged any roots during repotting. I wait two or three days to let the roots heal. When I do water, I water lightly until it drains from the bottom.
The First Two Weeks After Repotting
I want to share what I observed after I started cleaning pots properly before aloe repotting. I repotted a pot-bound aloe vera into a cleaned terracotta pot. I used fresh gritty mix. I placed it in bright indirect light.
Day one to three. The aloe looked slightly stressed. Outer leaves drooped a little. That is normal after repotting. I did not water during this time.
Day four. I gave it a light watering. The water drained quickly. The pot surface was dry by the next day.
Day seven. The leaves firmed up. The color remained a healthy gray-green. No yellowing at the base.
Day ten. I noticed tiny new root nubs near the drainage hole when I lifted the pot to check. That told me the roots were settling in.
Day fourteen. The aloe looked stable. Lower leaves that were already old stayed slightly pale, but no new yellowing appeared. No gnats. No sour smell. The pot itself stayed clean with no new crust forming.
Compare that to my old habit of not cleaning pots. I would often see yellowing within the first week. Sometimes fungus gnats appeared. The difference was clear.
I also started cleaning the drip trays at the same time. Trays collect water and fertilizer runoff. They get crusty fast. A dirty tray can re-contaminate the pot bottom. I wash trays with the same vinegar solution and dry them.
Three Deadly Mistakes New Aloe Growers Make
I see the same problems over and over. Here are the three most common ones.
Mistake one is overwatering. I know everyone says it, but it remains the top killer. 90% of indoor plants die from overwatering. That is not a random number I made up. It reflects how often root rot happens in houseplants. Aloe needs the soil to dry out between waterings. In winter, I water my indoor aloe maybe once a month. In summer, every two to three weeks depending on heat. If the soil feels damp an inch below the surface, I do not water.
Mistake two is wrong light. Aloe loves bright light. But a plant moved suddenly from a shady corner to full direct sun can scorch. I did this once. The leaves bleached to a pale orange and felt soft. Gradual adjustment is better. Indoors, an east or south window with a sheer curtain works well. Outdoors, morning sun with afternoon shade is ideal in hot climates.
Mistake three is using the wrong pot. A pot without drainage holes is a death trap for aloe. I have bought cute ceramic pots without holes and tried to use them as outer pots. The inner pot sat in water and the aloe developed root rot. Always use a pot with at least one drainage hole. If you love a decorative pot without holes, keep the aloe in a plastic nursery pot and place that inside the decorative one. Remove it for watering and let it drain before putting it back.
Signs Your Pot Needed Cleaning Before Repotting
Sometimes the pot itself tells you something is wrong. White crust on the rim is a sign of salt buildup. A sour or musty smell from the drainage hole suggests anaerobic bacteria or rot. Green slime inside the pot means too much moisture and poor air circulation. Root debris stuck to the walls can harbor pests.
If you repot an aloe into a dirty pot, you may see symptoms later. Lower leaves turn yellow and mushy. The soil stays wet longer than it should. Fungus gnats appear. The aloe stops growing even in good light. When I see these, I think about pot hygiene right away.
Long-Term Care After a Clean Repot
Cleaning the pot is one part of aloe care. After repotting, I keep the plant in a stable spot. I avoid fertilizing for at least a month. Fresh soil already has some nutrients. Aloe does not need heavy feeding. I use a diluted succulent fertilizer at half strength once in spring and maybe once in summer. I skip fertilizer in fall and winter.
I water deeply but infrequently. I let water run through the pot until it drains out. Then I empty the tray after 15 minutes. I never let the pot sit in water. I wipe the outside of the pot if water splashes and leaves mineral spots. That keeps the pot cleaner longer.
One habit I picked up is checking the drainage hole each month. I look for crust forming around the hole. If I see it, I know salts are accumulating. I flush the soil with plain water once in a while to leach out salts. I do this outdoors or in the sink, running water through the pot a few times.
Frequently Asked Questions
Can I clean a pot with just hot water?
Hot water alone removes loose dirt, but it does not dissolve mineral crust or sanitize the surface. I use hot water as a pre-rinse. For actual cleaning, I add vinegar or mild soap. If the pot only has light dust and was used for a healthy plant, hot water and scrubbing might be enough. For crusty or previously diseased pots, use the full treatment.
How often should I clean pots before repotting aloe?
Every single time. I do not reuse any pot for any plant without cleaning it first. Even if the previous plant looked healthy, invisible residues remain. It is faster to clean a pot than to treat root rot later. Think of it like washing a dish before cooking a new meal.
Is bleach safe for terracotta pots?
Diluted bleach is safe for terracotta when used correctly and rinsed well. I use one part bleach to nine parts water. I soak for 15 minutes, then rinse several times and let the pot dry completely. I only do this for disease situations. For routine cleaning, vinegar and soap are safer and gentler. Never mix bleach with vinegar or other cleaners.
I used to skip pot cleaning because it felt like an extra chore. After losing aloes to rot and fungus gnats, I changed my mind. A clean pot is the simplest insurance you can give your plant. It costs almost nothing and takes less than an hour. When you combine a clean pot with gritty soil, good light, and careful watering, aloe becomes one of the easiest houseplants to grow. The old crust on a pot is not just ugly. It is a warning sign. Clean it off, and your aloe starts its new pot life with a real advantage.