bluename
How to Optimize Soil Environment for Aloe Seedling Rooting
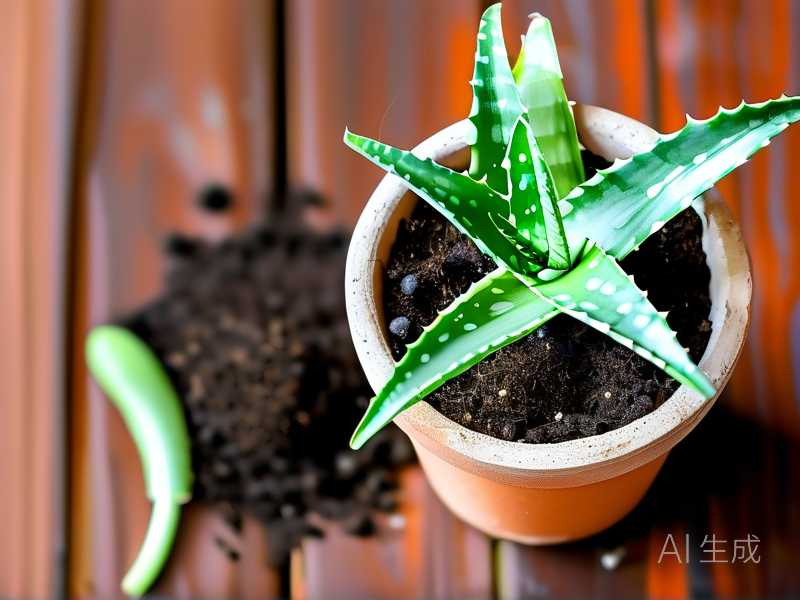
If your aloe pups keep rotting before they root, the problem is almost never the aloe. It’s the soil environment. I’ve killed enough aloe offsets to say that with embarrassing confidence. Getting aloe seedlings or pups to push out healthy roots comes down to three things. Fast drainage. Low moisture retention around the stem. And a pot that breathes. Once I fixed those, rooting went from a coin flip to nearly automatic. This guide covers exactly how to optimize soil environment for aloe seedling rooting. It also covers the rooting mistakes that cost me two full batches of pups before I finally learned better.
Aloe is one of the easiest houseplants to grow. It looks sculptural. It forgives neglect. It thrives on windowsills in the US, UK, Canada, and Australia. But rooting young aloes is a different game. Mature plants tolerate bad soil for a while. Seedlings and unrooted pups will not. One wrong watering, one dense mix, one oversized pot, and the base turns mushy overnight.
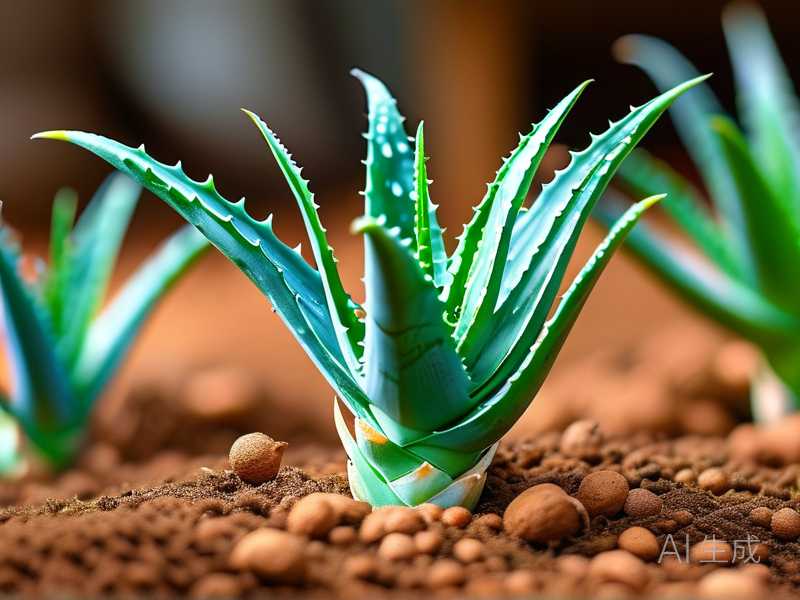
I have rooted aloe pups in Arizona heat and in a damp UK kitchen. Different climates. Same rules. The soil environment is everything.
What Makes Aloe Rooting Different from Other Houseplants
Aloe stores water in its leaves. That means the plant already carries reserves. While rooting, it can survive weeks without moisture from the soil. The roots only need two things. Oxygen and a little bit of humidity. Not wetness.
A moist, rich potting mix may work for pothos or peace lily cuttings. For aloe seedlings, it usually leads to stem rot. The developing root zone has almost no ability to absorb water yet. So any standing moisture suffocates the new root initials. That’s why the soil must be lean and fast-draining. Not bone dry forever. But never wet.
According to the RHS, succulents root best in a very free-draining growing medium with low nutrient levels. I tested a richer mix once. Within five days, two aloe pups had soft translucent spots at the base. The roots had not even emerged. The damage was already done.
Best Soil Mix for Rooting Aloe Seedlings
My current rooting mix is simple. And I mean really simple.
One part organic cactus soil. One part coarse sand. One part perlite or pumice.
No compost. No worm castings. No moisture-retaining crystals. Aloe seedlings and pups don’t need fertilizer during the first rooting phase.
The cactus soil gives a little structure. Coarse sand keeps the particles loose. Perlite opens air pockets. Pumice is even better if you can get it, because it doesn’t float to the surface over time.
A happy alternative is a 50/50 mix of succulent soil and perlite. That works well when coarse sand is hard to find. I used that blend for months while living in a small apartment. The key is that when you squeeze a handful of damp mix, it should fall apart. Not clump into a ball.
If it clumps, add more perlite or sand. Don’t guess. Feel it. I test every batch before using it.
Pot Choice Matters More Than Beginners Think
A pot is part of the soil environment. Not just a container. It controls how fast the mix dries.
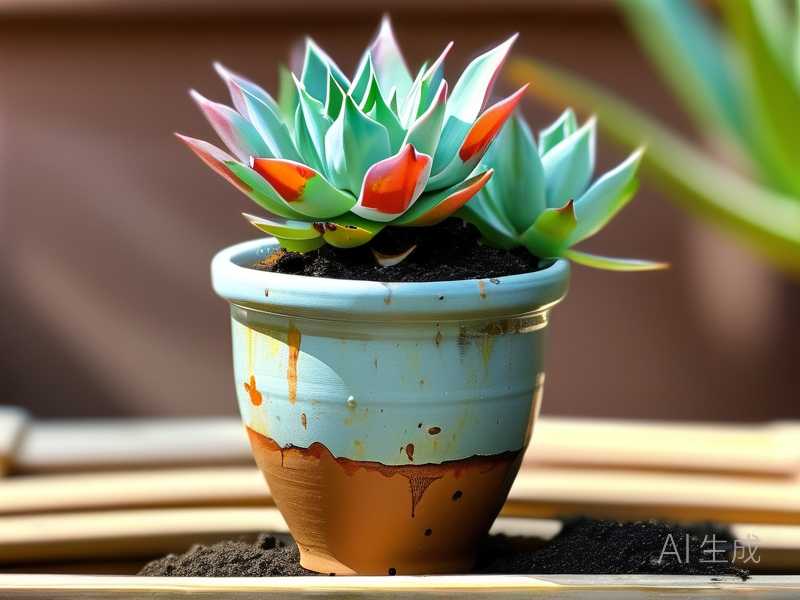
For aloe rooting, use terracotta or unglazed clay pots. These pull moisture away from the sides of the root zone. They also allow air exchange. Plastic works too, but only with very careful watering. Ceramic pots with glaze hold moisture longer. I avoid them for rooting.
Drainage holes are non-negotiable. One hole is okay. Multiple holes are better. I once rooted aloe pups in a decorative pot with a single small hole. The mix stayed damp near the bottom for six days. That batch failed.
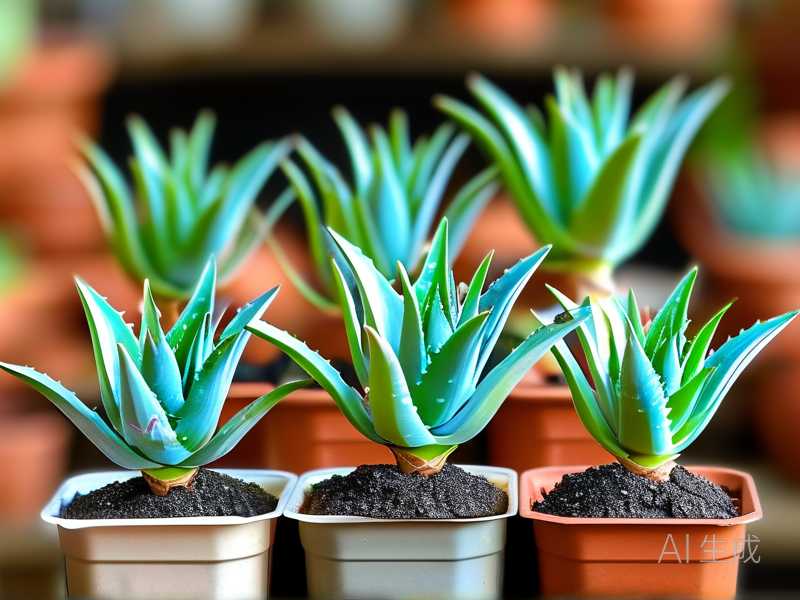
Pot size also affects rooting. Choose a pot only slightly larger than the root base. For a single aloe pup, a 4 inch terracotta pot is usually enough. For several pups, use a shallow tray or a wide, low pot. Deep pots hold too much unused soil. That unused soil stays wet and creates rot conditions around the developing roots.
How I Actually Root Aloe Seedlings Step by Step
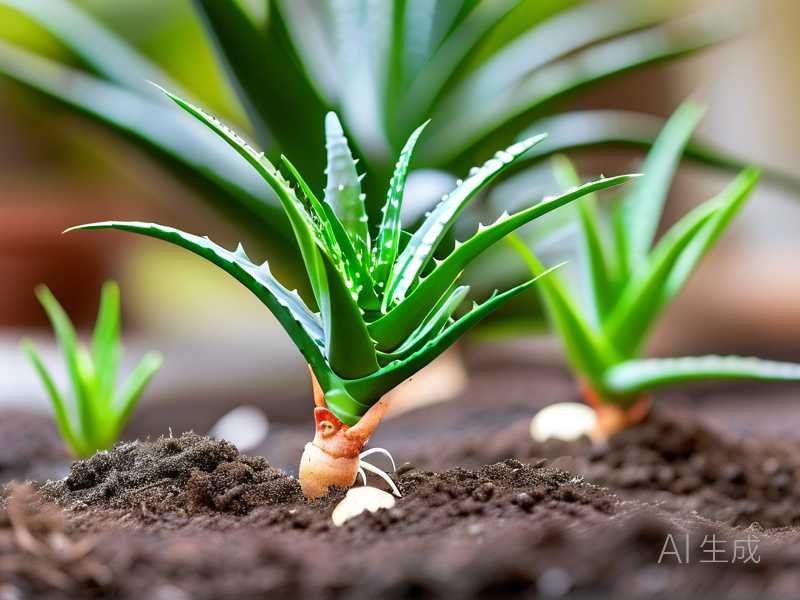
My process has changed over time. But the current version works. Here is exactly what I do.
First, I fill a small terracotta pot with dry rooting mix. Not pre-moistened. Dry.
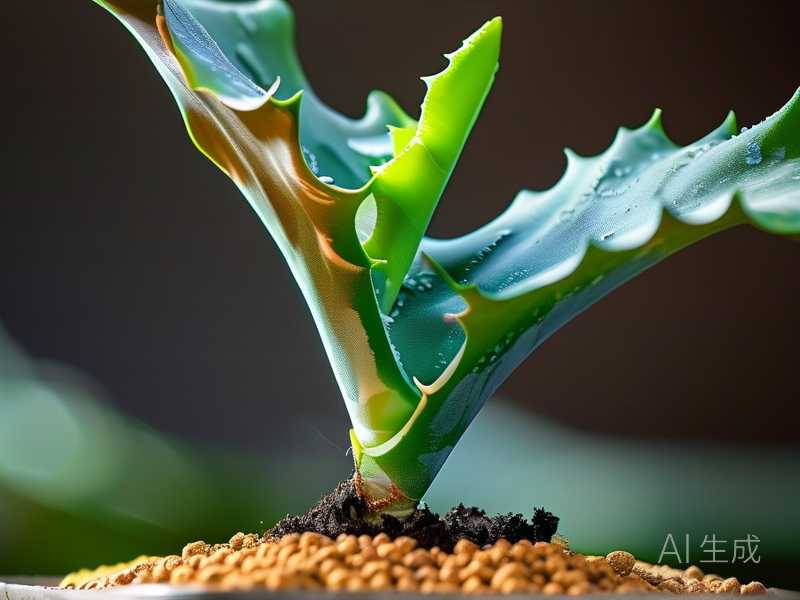
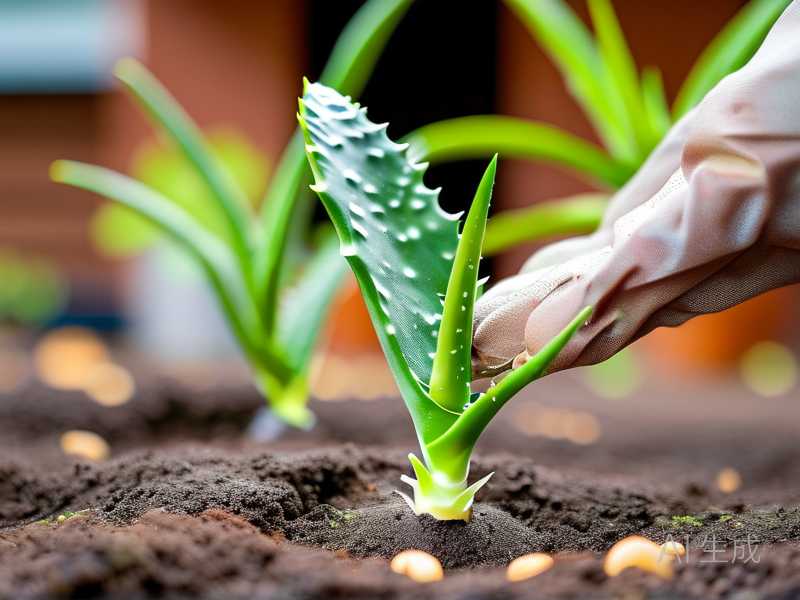
Then I make a shallow depression only about half an inch deep. If the seedling already has a tiny root nub, I gently place it into the mix. If it has no roots at all, I just rest the base on top and lightly cover the bottom edge. I don’t bury the stem deeply. That’s what caused several of my early losses.
For the first three days, I do not water. The base needs to callus if it is freshly removed or broken from the mother plant. Even small seedlings benefit from a short dry rest. In a humid room, I wait four days.
After that, I mist the top of the soil lightly. Just enough to settle the mix. Not enough to run through the drainage holes. I keep the pot in bright indirect light. Not full sun. Not a dark corner. Then I wait.
I check for roots once a week. Not by pulling the plant. I gently wiggle it. When there is resistance, roots are forming. That usually takes two to four weeks in warm conditions. Cooler homes take longer. My UK winter batch took almost six weeks.
The Two-Week Observation I Repeated Multiple Times
The first week is about stability. The aloe should not look worse. The outer leaves may look slightly thinner. That is fine. The plant is using stored water.
Between day seven and day ten, I usually see tiny root nubs if the plant is a pup with a clean base. On seedlings grown from seed, root development often starts lower and spreads faster once it begins.
By day fourteen, I introduce my first proper watering. Not a soak. I pour about one tablespoon of water around the base. Just enough to reach the top inch of mix. Then I wait until the pot is almost dry before watering again.
I tracked this over four batches. With dry start and light misting, rooting success was around eighty percent. With pre-watered soil and normal succulent watering, my earlier success rate was under fifty. The difference was dramatic.
How Watering Changes Once Roots Appear
Once roots have formed, I shift to a true soak and dry method. I water deeply until water runs from the bottom. Then I let the mix dry completely.
But for seedlings and young rooted pups, I do not wait as long as I would for a mature aloe. I let the top inch dry fully. Then the next inch can still have the faintest hint of coolness. Not wetness. That keeps young roots active without drowning them.
In warm growing conditions, that might mean watering every ten to fourteen days. In winter, once every three to four weeks. Less if the room is cold.
The Overwatering Warning That Changed Everything
90% of indoor plants die from overwatering. That includes aloe seedlings. I know that line gets repeated a lot online. But it matched what I saw on my own shelf.
Overwatered aloe pups don’t always turn yellow first. Sometimes the leaves still look green while the base collapses. The first sign is often a slight translucence near the soil line. Or a soft, water-soaked look. Then a smell. By that point, the roots are already gone.
If you catch it early, remove the pup. Cut away the mushy base with a clean knife. Let it callus for two or three days in open air. Then restart in dry mix. I have saved a few this way. But not many. Prevention is everything.
Light During Rooting
Rooting aloes do not want intense direct sun. The leaves can still lose water faster than the nonexistent roots can replace it. A bright north or east window works well. In the UK and Canada, a south window in winter is usually okay. In Arizona or Australia, direct afternoon sun during rooting will stress the plant.
I keep new aloe seedlings about two to three feet from a bright window. Or behind a sheer curtain. Once rooted and growing actively, I gradually move them into stronger light. Over a week or two. That prevents sunburn and shock.
Temperature and Humidity for Faster Rooting
Warmth speeds up root formation. A consistent temperature between 68°F and 78°F is ideal. That roughly translates to 20°C to 25°C. Rooting slows below 60°F. It can stall completely in a cold room.
Humidity is less critical. Normal indoor levels are fine. Very dry air only slows callus formation and causes outer leaves to shrivel faster. Very humid air increases rot risk if the soil is even slightly damp. I learned this the hard way during a rainy UK spring. The air was damp. The mix stayed cool. I hadn’t reduced watering enough. Three pups rotted.
If you grow in a humid climate, add more perlite. Water less often. And keep air moving. A small fan on low can help. Not pointed directly at the plants. Just enough to keep the surface drier.
New Grower Fatal Mistake One: Watering Too Much After Planting
Most beginners pot up an aloe pup and water it like a normal houseplant. The soil stays dark and damp. The pup sits in that mix. Within a week, the base rots.
The fix is to treat rooting aloes more like propagation than potting. Dry start. Minimal moisture. Then slow introduction of water once roots exist. I used to water right after potting because it felt unnatural not to. That single habit killed my first aloe pup before it ever had a chance.
New Grower Fatal Mistake Two: Wrong Light During the First Weeks
Some people put rooting aloes in full sun. Others tuck them in a dark room. Both fail.
Too much sun dehydrates the pup before roots form. Too little light weakens the plant and slows root development. Bright indirect light is the safe middle. I tell new growers to imagine the kind of light under a thin curtain on a sunny day. That is the rooting sweet spot.
New Grower Fatal Mistake Three: Using a Pot That’s Too Big or Has No Drainage
This one sneaks up on people. A large pot holds too much mix. That mix holds too much water. Even if you water sparingly, the moisture spreads through the entire root zone and lingers.
No drainage holes are worse. Water has nowhere to go. I once used a cute mug with no drainage for a tiny aloe seedling. It looked great for ten days. Then the leaves folded in on themselves. The bottom inch of soil was swampy. I never repeated that mistake.
I finally stopped making that error when I threw out every pretty but holeless pot from my rooting station. Now if a pot has no drainage, I use a plastic nursery pot inside it. Or I drill holes. Or I don’t use it.
Seasonal Adjustments When Rooting Aloe Seedlings
Rooting in spring and summer is much easier. The plant is naturally in an active phase. Temperatures are warm. Light is stronger. Roots form faster.
In autumn and winter, rooting is slower. The plant may sit without visible change for weeks. That’s not failure. It’s just dormancy. I root fewer aloes in winter. But when I do, I place them on a heat mat set to around 72°F. That one change made winter rooting possible in my cold office.
Heat mats should never be combined with wet soil. That creates the perfect rot environment. I use the mat only with dry or barely damp mix. I also check the pot every two days.
Do Aloe Seedlings Need Fertilizer While Rooting?
No. This is one area where less is clearly better. New roots are sensitive. A standard houseplant fertilizer at full strength can burn them before they establish. Even weak fertilizer is unnecessary in the first month or two.
I wait until I see active new leaf growth. Then I use a diluted succulent fertilizer at quarter strength. Once a month. Never more. Aloes are light feeders. They respond better to a gritty mix and good light than to regular feeding.
Long-Term Soil Maintenance After Rooting
Once an aloe is rooted and growing, I keep it in the same fast-draining mix. Aloes can stay in the same pot for two to three years. The soil may slowly compact. That’s the main reason to repot. Not to fertilize. Not to push growth.
When I repot, I do it in spring. I knock off the old mix, inspect the roots, and remove any dead or papery ones. Then I pot into dry mix. I wait a week before watering. That gives damaged roots time to seal.
What About Rooting Aloe in Water?
I’ve tried it. Several times. Aloe stems often rot in water before roots appear. I never recommend it for aloe. Unlike pothos or philodendron, aloe is not a water-rooting plant. The success rate with soil is much higher. If a friend asks, I always say skip water propagation for aloe.
What About Using Rooting Hormone?
Rooting hormone can help with stubborn pups. I use it occasionally on thin or older offsets that seem slow. I dip the callused base in a powder formulated for woody or semi-hardwood cuttings. Then I plant into dry mix. I have seen slightly faster rooting. But the soil environment matters more than the hormone. Hormone cannot fix soggy mix.
Signs a Rooting Aloe Is in Trouble
There are a few warning signs I watch for.
Soft translucent base. That is rot. Stop watering. Remove the plant. Cut away the damaged area and restart in dry mix.
Lower leaf shriveling that spreads upward. That often means the plant is losing water faster than it can take in. Move it out of strong light. Mist the soil surface lightly. But don’t water heavily.
No change after six weeks in warm conditions. That usually means temperatures are too low or light is too weak. Move the pot to a warmer, brighter spot. Not hot. Not direct afternoon sun.
Foul smell from the pot. That is anaerobic bacteria. The mix is too wet and too dense. Repot immediately in fresh dry mix.
My Personal Setup Now
I keep a small rooting tray by a northwest window. It holds several small terracotta pots. The mix is always the same simple blend. I label each pot with the date. That helps me track how long rooting takes. If a pot still has no roots after five weeks, I adjust something. Usually warmth or light.
I no longer fuss over daily checks. Aloe rooting rewards patience. The more I leave them alone, the better they do. I check moisture with a wooden skewer. If it comes out clean and dry, I add a tiny bit of water. If it comes out with damp mix clinging, I wait.
This simple system beat every complicated propagation setup I tried before.
Frequently Asked Questions
Why do my aloe pups rot before they root?
Almost always because the soil stayed too wet around the base. Use a gritty, fast-draining mix. Start with dry soil. Wait a few days before adding any moisture at all. Keep the pot small and use one with drainage holes.
How long does it take aloe seedlings to root in soil?
In warm conditions, most pups start rooting within two to four weeks. Seedlings grown from seed root faster once they have their first true leaves. Cool temperatures and low light slow the process significantly. Patience is more helpful than extra water.
Can I plant aloe pups directly into regular potting soil?
I wouldn’t. Regular potting soil holds too much moisture and not enough air for rooting aloe. Mix it with at least half perlite or pumice. Better yet, use a succulent mix with added coarse sand or pumice. The goal is a loose, gritty environment that dries quickly.
If I had to name the single biggest factor in aloe rooting success, it wouldn’t be the plant. It wouldn’t be the season. It’s the soil environment. Get that right, and aloe seedlings root with almost no effort. Get it wrong, and even the healthiest pup will collapse. I learned that through several failed batches and one very sad mug with no drainage hole. Now I keep it simple. Dry start. Gritty mix. Small breathable pot. Bright indirect light. Minimal water. That combination gives young aloes exactly what they need to push out strong roots and grow into low-maintenance houseplants.