bluename
If your potted aloe has been sitting in the same container for a year or more, you have probably noticed something frustrating. The soil surface turns hard, pale, and almost dusty. Water pools on top instead of soaking in. Or worse, the mix has collapsed into a fine powder that drains too fast and leaves the roots dry. This is soil powdering, and it slowly weakens aloe plants even when your watering habits are fine.
I have dealt with this on kitchen windowsills, covered porches, and in my own greenhouse corner. The fix is rarely one magic product. It is about changing how you water, what you pot in, and when you refresh the soil.
Below I will walk you through exactly what worked for me, including a two-week observation period that changed how I treat long-term potted aloe.
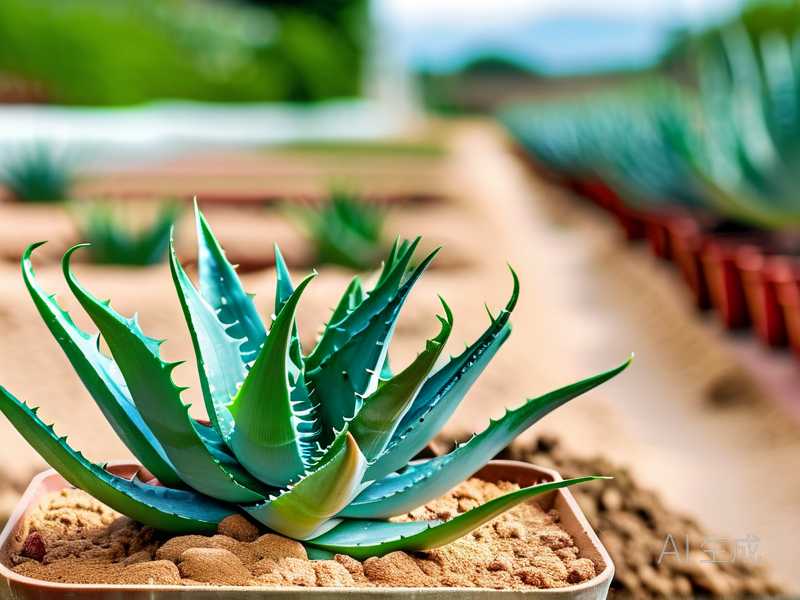
Every long-term potted aloe eventually faces tired soil. The gritty bits break down. Peat or coco coir shrinks. Salts from tap water build up. And the whole root zone stops behaving like soil. You end up with a dusty, compacted, or crusty layer that no longer holds the right amount of moisture.
The good news? You can prevent most of this. And if your aloe already has powdery soil, you can fix it without immediately repotting.
Let me show you the full approach.
Understanding Why Aloe Soil Turns Powdery
Aloe vera is a forgiving plant. It tolerates neglect. It survives bright windows and dry air. But the soil does not forgive as easily. After six to twelve months in the same pot, several things happen at once.
First, organic particles break down. Peat, compost, and fine bark decompose into dust. This dust fills the air pockets that roots need.
Second, minerals from tap water accumulate. Calcium and magnesium salts form a crust. The crust can look white, tan, or slightly shiny.
Third, the top layer dries out faster than the lower root zone. Repeated surface watering compacts that top layer. It turns hard and repels water.
I learned this the hard way with a mature aloe I had kept in the same terracotta pot for almost two years. The plant looked fine, but the soil surface was rock hard. When I watered, the water beaded up and ran down the inside edge of the pot. The center root ball stayed bone dry. The leaves slowly thinned and curled. That convinced me to stop treating aloe soil as a permanent thing.
Simple truth: 90% of indoor plants die from overwatering. But in old aloe soil, the opposite can happen. Water runs off and the roots dehydrate. Either way, the plant suffers.
How to Prevent Soil Powdering for Long-Term Potted Aloe
You do not need a complicated routine. But you do need to pay attention to three things: watering technique, soil structure, and pot choice. Let me get into each one.
Prevention starts the day you pot the plant. Use a chunky, mineral-heavy mix. Fine particles are the enemy. I avoid heavy garden soil, pure potting mix, and anything with a lot of fine sand. Fine sand fills pores and later compacts into a dense layer.
My basic aloe mix is roughly half inorganic material. I combine:
- 2 parts cactus or succulent potting mix
- 1 part perlite or pumice
- 1 part coarse horticultural grit or chicken grit
This drains fast. It also resists breaking down. The chunky texture lasts much longer than straight potting soil.
If I plant in a plastic pot, I add even more pumice. Plastic holds moisture. The extra grit keeps the root zone from staying wet too long. The RHS notes that succulents need very free-draining growing media, especially indoors. I have found that to be true across every climate I have grown aloe in.
Watering Technique That Prevents Surface Crusting
How you water matters as much as what you water. Years ago, I used to pour a quick cup of water on the top of the soil and walk away. The result? A hard crust within a few months.
Now I water differently. I use one of two methods depending on the pot size.
For small pots, I bottom water. I place the pot in a shallow tray of water for fifteen to twenty minutes. The soil pulls moisture up from the bottom. The surface stays undisturbed. This prevents surface compaction and salt buildup.
For large pots, bottom watering is awkward. Instead, I pour water slowly over the entire surface. I use a watering can with a narrow spout. I stop when water runs from the drainage hole. Then I wait five minutes and pour a little more. This slow soaking helps the whole root ball hydrate without blasting the surface.
After watering, I do not let the pot sit in a saucer full of runoff. That runoff contains dissolved salts. If the pot reabsorbs it, those salts stay in the soil. I dump the saucer after thirty minutes.
I also avoid misting the soil surface. Misting adds moisture to the top layer but never reaches the roots. It encourages crust formation. I reserve misting for propagation leaves only, and even then I keep it light.
The Two-Week Recovery Plan I Used
Let me share a real case from my collection. I had a potted aloe in a six-inch terracotta pot. The soil surface was dusty and cracked. Water ran off immediately. The aloe leaves were soft and slightly wrinkled near the base.
I did not repot it right away. Instead, I wanted to see if I could revive the existing soil structure. Here is exactly what I did over two weeks.
Week one, day one. I scraped off the top half inch of crusty soil with a small hand fork. I was careful not to dig into the shallow roots. Then I loosened the next inch lightly. I did not go deep.
After that, I bottom soaked the whole pot. I placed it in a container with water reaching halfway up the pot. I left it for twenty minutes. At first, the soil resisted. But by the end, the pot felt noticeably heavier. The water had finally penetrated the root ball.
Day four. I checked the surface. It had dried, but it was not hard. I used a bamboo skewer to test moisture below the surface. It came out slightly damp but not wet. I waited.
Day seven. I watered from the top but very slowly. The water absorbed in under ten seconds. That told me the hydrophobic layer was mostly gone. I added a thin mulch of small pumice chips on top. This helped slow evaporation and prevent future crusting.
Day ten. The leaves looked slightly plumper. The wrinkled base was firming up. I moved the aloe to a brighter spot with stronger airflow. Better airflow helped the soil dry evenly.
Day fourteen. The surface stayed loose. The pumice mulch was still in place. I tested with my finger. The top inch was dry, but the lower mix held faint moisture. The leaf color had improved from pale sage to a deeper green.
That two-week check taught me something important. You do not always need fresh soil to fix powdering. Sometimes you need better watering mechanics and a little patience. But if the soil has broken down into heavy, fine dust, no amount of soaking will help. That is when repotting becomes necessary.
Choosing the Right Pot to Slow Soil Breakdown
The pot you use directly affects how fast soil degrades. I have tried plastic, glazed ceramic, and unglazed terracotta. Each behaves differently.
Terracotta is still my favorite for indoor aloe. It breathes. Moisture escapes through the walls. This keeps the root zone from staying soggy. It also reduces the chance of fine soil particles staying waterlogged and turning slimy. The downside? The soil dries faster at the edges and can pull away from the pot. When that happens, water runs down the gap instead of soaking through the center. I check the edges every few waterings. If I see a gap, I gently press the soil back toward the rim.
Plastic pots retain more moisture. They also flex, which can crack hard soil around the edges. I only use plastic for smaller aloe pups or temporary propagation. If I do, I drill extra drainage holes.
Glazed ceramic looks nice but holds water almost as much as plastic. It works only if the soil is extra gritty. I also prefer a pot that is just slightly larger than the root ball. Oversized pots hold too much unused soil. That extra soil breaks down and stays wet far too long. The AHS has long emphasized matching pot size to plant root mass. It is one of those simple rules that prevents a lot of root rot.
Drainage holes are non-negotiable. A pot without a hole traps water at the bottom. The lower soil turns anaerobic. It breaks down fast and smells sour. I learned that with a decorative cachepot. The aloe looked fine for months, then collapsed into rot. The smell was unforgettable. Now I either drill holes or use an inner nursery pot.
Refreshing Soil Before It Fails
Long-term potted aloe benefits from a light annual soil refresh. You do not always need a full repot. But you should replace the top layer before it turns dusty.
Every spring, I remove the top one to two inches of old soil. I replace it with fresh gritty mix. This removes built-up salts and surface crust. It also gives the plant a fresh layer of nutrients. Aloe does not need much feeding, but the fresh mix adds a gentle boost.
If the plant has clearly outgrown the pot or the lower soil smells bad, I do a full repot. I tip the plant out. I shake off the old broken-down mix. I inspect the roots. Anything dark, mushy, or hollow gets trimmed with clean scissors. Then I repot in fresh chunky soil.
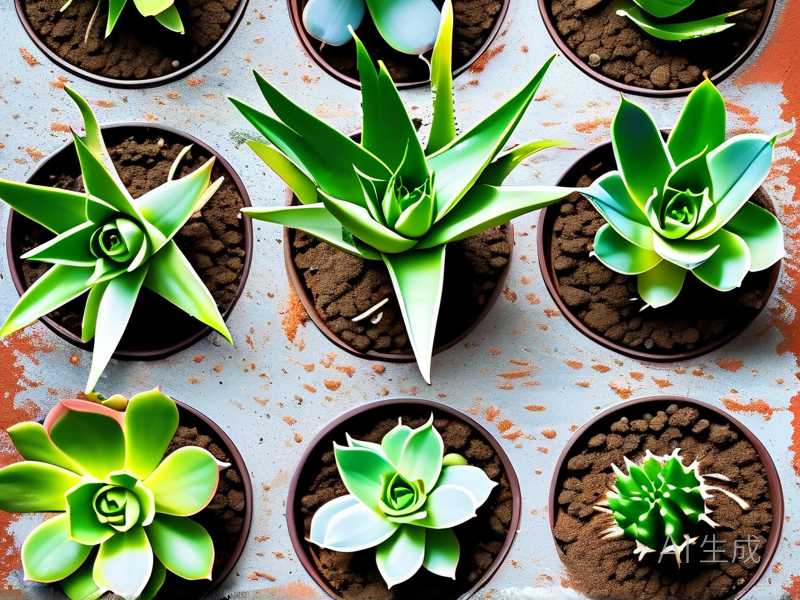
I do this in spring or early summer. Aloe recovers faster in warm weather with longer daylight. Repotting in fall or winter slows recovery and raises the risk of root issues.
How Fertilizer Affects Soil Structure
This part surprised me when I first started growing aloe. Fertilizer does not just feed the plant. It also changes the soil.
Liquid chemical fertilizers leave mineral salts behind. Over time, those salts bind to soil particles. The surface gets crusty. The mix turns slightly alkaline. Aloe prefers a slightly acidic to neutral pH, usually around 6.0 to 7.0. When pH drifts too high, nutrient uptake suffers. The plant may show pale growth or brown leaf tips.
I now fertilize aloe very lightly. A diluted succulent fertilizer once a month in spring and summer is plenty. I use half the labeled rate. I also skip feeding entirely in winter. This small habit has reduced crust buildup more than anything else I tried.
If I see white or tan crust on the soil surface, I stop fertilizing for a month. Then I flush the pot. Flushing means pouring water slowly through the soil several times to wash out excess salts. I use room temperature water. After flushing, I let the pot drain completely. This is a simple reset for the soil.
I also avoid using softened water. Water softeners add sodium. Sodium is terrible for aloe roots and soil structure. If your home has a softener, use collected rainwater, distilled water, or water from an outdoor tap that bypasses the system. I made this switch after noticing my aloe tips browning even with good light and drainage.
Light, Airflow, and Their Role in Soil Health
Most people think light only affects the leaves. But light affects how fast the soil dries. An aloe in bright light uses water more efficiently. The soil dries at a steady pace. In low light, the plant grows slowly and the soil stays damp longer. That dampness accelerates particle breakdown.
I keep my aloe in a south or west window when indoors. Outdoors, I give it morning sun and afternoon shade in hot climates. Strong light keeps the plant compact and the root zone active. It also reduces the chance of fine soil staying wet for weeks.
Airflow matters too. Stagnant air slows evaporation. A small fan or an open window makes a noticeable difference. My indoor shelf had poor airflow for a whole winter. By spring, the top layer of soil was crusty and slightly green on one side. A tiny clip fan fixed it within days. The surface dried evenly, and the green film disappeared.
If you grow aloe in a humid bathroom, watch the soil closely. Humidity slows drying. Use a grittier mix and water less often. The more humid the room, the chunkier the soil should be.
Common Mistakes That Lead to Soil Powdering
New aloe growers often make the same three mistakes. I made all of them myself.
First, watering too often. I used to water on a schedule. Every Saturday, I gave every plant a drink. Aloe hates that. It wants a dry period between waterings. Constant moisture breaks down the soil and suffocates roots. The fix? Water only when the soil is dry at least two inches down. In winter, I let the whole pot dry out.
Second, wrong light placement. A dim corner seems safe. But low light slows water use. The soil stays wet. Then the grower waters again because the surface looks dry. But the root zone is still damp. This creates a cycle of decay. Aloe needs bright light. A few hours of direct sun indoors is fine once the plant adjusts.
Third, using pots that are too large or lack drainage. Oversized pots hold too much soil. The extra soil stays wet for too long and breaks down. Pots without holes trap water at the bottom. That lower layer turns to sludge. The top may look dry while the roots sit in muck. I have pulled more than one aloe from a decorative pot to find black roots and sour soil.
If you avoid these three, you will prevent most soil powdering and root issues. The rest is just maintenance.
Seasonal Adjustments to Keep Soil Healthy
The way I care for aloe soil changes with the seasons. This is not complicated. But small adjustments keep the mix in good shape all year.
In spring, I do the biggest work. I remove the old surface soil. I add fresh gritty mix. If needed, I repot. I also resume light fertilizing. Spring is when aloe wakes up. The roots are active. Fresh soil and gentle feeding support new growth.
In summer, I focus on even watering and airflow. If the plant is outdoors, heat dries the pot quickly. I check the soil more often. But I still let it dry between waterings. In heat waves, I move pots to afternoon shade. Hot roots in a small pot can cook. That damages both roots and soil biology. I also watch for ants or other insects nesting in dry soil. A shallow layer of pumice mulch helps keep pests out.
In fall, I reduce fertilizer. I stop feeding by early autumn. I also cut back on water as daylight fades. I remove any dead leaves or debris from the soil surface. Debris holds moisture and encourages mold. I check the drainage hole for blockages. A blocked hole is a quiet killer.
In winter, I go into survival mode. I bring outdoor pots inside before frost. I almost stop watering. Indoor aloe may need water once a month or less. I keep pots away from cold windowsills and heating vents. Both extremes stress the roots. Cold soil stays damp too long. Hot dry air bakes the surface. A stable spot with bright light works best.
Troubleshooting Powdery or Crusty Soil
Even with good care, soil can degrade. Here is how I handle the most common signs.
If the surface is white and crusty, that is salt buildup. I scrape off the top layer. Then I flush the pot with clean water. I also skip fertilizer for several weeks.
If the surface is dusty and hydrophobic, water is rolling off. I bottom soak the pot. Then I add a thin pumice or gravel mulch. This keeps the surface from drying into a hard shell.
If the soil smells sour or drains too slowly, it has broken down. This usually means repotting. I knock off the old mix and use fresh gritty soil. I check the roots for rot and trim if needed.
If the aloe leaves are soft, wrinkled, or curling even though the soil is damp, the roots may be damaged. I unpot the plant immediately. I let the roots dry for a day. Then I repot in dry, chunky mix. I wait a full week before watering. This gives damaged roots time to heal.
If the leaves are thin and papery with dry, powdery soil, the plant may be dehydrated. I do a bottom soak to rehydrate the root ball. Then I adjust my watering routine going forward.
How Long Can Aloe Stay in the Same Pot?
There is no magic number. A healthy aloe in a gritty mix can stay in the same pot for two to three years. But the soil itself usually needs a top refresh every twelve months. The plant may look fine even as the mix slowly degrades.
I check my aloe pots every spring. I look at the soil surface. I feel the texture. If it is dusty, hard, or pulling away from the pot, I refresh the top layer. If the plant is top-heavy or the roots are circling the bottom, I move it up one pot size.
One mistake I used to make was repotting too often. I thought fresh soil would make the plant grow faster. But aloe likes to be slightly snug. Frequent repotting disturbs the roots and slows growth. Now I repot only when the plant tells me it needs it. Roots poking from drainage holes, a root ball that lifts easily from the pot, or a plant that dries out too quickly after watering are all signs.
Frequently Asked Questions
How do I know if my aloe soil has gone bad without unpotting the plant?
Look at the surface. If it is hard, pale, cracked, or repels water, the top layer has degraded. Smell the soil near the drainage hole. A sour or musty smell means the lower mix has broken down. Also feel the weight after watering. If the pot stays heavy for more than a week, drainage is poor.
Can I reuse old aloe soil after it has turned powdery?
I do not recommend reusing it as the main mix. It lacks structure and may hold too many mineral salts. You can mix a small amount of old soil into compost for non-succulent outdoor plants. But for aloe, fresh gritty mix is better. If you must reuse it, mix it half and half with fresh pumice and horticultural grit. Then flush well before planting.
Why does my aloe soil dry out too fast after becoming dusty?
Powdery soil loses its ability to hold water evenly. Water runs through the fine particles too quickly. The surface may look wet for a moment, then dry within hours. The root ball in the center often stays dry. Bottom soaking helps temporarily. But the real fix is replacing the broken-down soil with a chunkier mix that holds moisture in the right balance while still draining freely.
I used to think aloe soil problems meant I was a bad plant parent. But over time, I realized soil is a living, changing material. It breaks down. It shifts. It reacts to water quality and pot size and root growth. Preventing soil powdering is not about being perfect. It is about catching the early signs and making small corrections before the plant suffers.
The best thing you can do is check the soil surface every time you water. Notice how fast it absorbs. Notice the texture. When it starts to feel dusty or hard, take action. A quick scrape, a gentle bottom soak, or a light top refresh can add months of healthy growth. And when the soil is truly spent, repotting in a gritty mix brings the plant back fast.
Long-term potted aloe can thrive for years in the same pot. But the soil needs help along the way. Give it that help, and your aloe will stay firm, green, and full of life.