bluename
Aloe looks tough. It is. Until it sits in dense, suffocating soil indoors. Then the roots quietly rot. And you only notice when the leaves go soft and yellow. The real fix is not more sun. It is not less water. It is fixing poor soil air flow. I learned this after nearly killing three aloes in two years. Here is exactly how I turned compacted, airless potting mix into a loose, breathable home for indoor aloe. And how you can do it in one afternoon.
Why Poor Soil Air Flow Slowly Kills Indoor Aloe
Aloe roots need oxygen. Not just water. Not just nutrients. Oxygen. In nature, aloe grows in sandy, gravelly, fast-draining ground. Rain comes. Water moves through. Air rushes back into the gaps. Indoors we often stuff aloe into heavy bagged potting mix. That mix holds water like a sponge. It collapses around the roots. No air pockets. No gas exchange.
It looks fine for weeks. Then the lower leaves get mushy. The plant leans. The soil smells sour. By then the roots are already suffering.
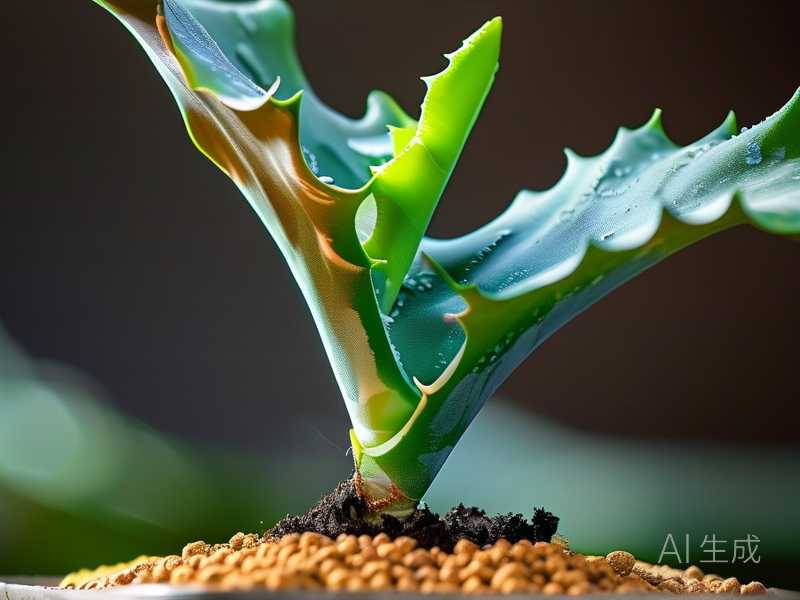
I have seen this exact pattern in my own kitchen. I bought a beautiful aloe from a grocery store. It sat in pure peat. The top of the soil felt dry. I watered it every ten days. It still rotted at the base. I was confused. The surface was dry. But two inches down it was swampy. That is what poor air flow does. It hides the problem until the roots are gone.
A plant without root oxygen cannot take up water properly. So it can look thirsty while actually drowning. This is the trap most beginners fall into. And it is why I now treat soil air flow as the number one indoor aloe issue.
Signs Your Aloe Soil Has Poor Air Flow
You do not need a fancy meter. You need your fingers and your eyes.
First sign: the soil stays damp for more than four or five days after watering. In a warm room with decent light, aloe soil should dry down noticeably within a few days. If not, air flow is poor.
Second sign: water pools on top for more than a few seconds. Good aloe mix lets water sink in fast. If it beads up or drains slowly, the mix is too dense.
Third sign: the pot feels heavy long after watering. Pick it up. A heavy pot two days after watering means the bottom is still wet.
Fourth sign: lower leaves turn yellow, soft, or translucent. This often starts before any brown tips. It looks like overwatering. But really it is an air flow problem that causes overwatering symptoms.
Fifth sign: a sour or musty smell from the soil. That is anaerobic bacteria. Roots are suffocating.
I once left an aloe in a glazed ceramic pot with no drainage. The soil was a fine, dark compost. After three weeks the smell was unmistakable. It reminded me of a wet basement. I took the plant out. The roots slid off in my hand. That smell is the final warning.
The Best Soil Structure for Indoor Aloe
Simple rule: think gritty, not fluffy. Aloe does not want rich fluffy potting soil. It wants something closer to what it grows in across rocky slopes.
The ideal mix has roughly one part organic matter to two parts inorganic grit. That gives roots something to hold onto. But it leaves enough air space for oxygen.
My go-to indoor aloe mix is simple.
One part regular cactus or succulent potting mix.
One part coarse sand or fine gravel.
One part perlite or pumice.
Sometimes I add a handful of small bark chips if the mix feels too heavy. Not big bark pieces. Small ones. They create irregular air pockets.
This looks lean. It feels gritty in the hand. Water runs through it fast. That is exactly what you want.
The goal is not to make the plant struggle. The goal is to mimic the fast-draining, airy conditions aloe evolved in. Dense rich soil is more dangerous than lean soil. Aloe forgives underfeeding. It does not forgive suffocation.
How to Fix Poor Soil Air Flow Step by Step
You can fix this without being an expert. I have done it on my kitchen counter more times than I care to admit.
Step 1: Take the plant out gently
Do not yank it. Turn the pot sideways. Tap the sides. Slide the root ball out. If it is stuck, run a thin knife around the inside edge. Go slow. Breaking a few small roots is fine. Breaking the main stem is not.
Step 2: Inspect the roots
Healthy aloe roots are pale, firm, and plump. Rotten roots are brown, black, soft, or slimy. They may smell bad. Cut them off with clean scissors or pruners. Clean the blades with rubbing alcohol first. You do not want to spread rot bacteria.
If more than half the roots are gone, do not panic. Aloe can recover if you give it dry airy soil and time. But do not water it right away. Let the cut ends dry for a day or two before repotting. This calluses the wounds and reduces infection risk.
I made the mistake of repotting a root-damaged aloe and watering immediately. The rot came back within a week. Now I always wait. The plant can handle a day or two of dry air. What it cannot handle is wet wounds.
Step 3: Choose the right pot
This is huge. I used to think any pretty pot worked. It does not.
The best pot for indoor aloe has drainage holes. No exceptions. One hole is minimum. More is better. Terracotta is my favorite because it breathes. Moisture escapes through the walls. That improves soil air flow even more.
Plastic works if you are careful. Glazed ceramic can work if the soil is gritty enough. But if your aloe already has air flow problems, choose terracotta. It gives you a safety margin.
Size matters too. Do not jump from a small pot to a huge pot. Big pots hold more soil. More soil holds more water. Less air reaches the root zone. Go up only one pot size at a time. The root ball should fit with about an inch of space around the sides.
Step 4: Mix the new soil
Do not pour straight bagged mix into the pot. Even cactus mix alone is often too dense for indoor aloe, especially in humid rooms or low light. Add grit.
I make a simple bucket mix. Two scoops cactus mix. Two scoops perlite. One scoop coarse sand. Mix it with my hands until it feels loose and slightly gritty. It should not clump into a heavy ball when squeezed. If it does, add more perlite.
Some people use pumice instead of perlite. Pumice is heavier and does not float to the top as much. I like pumice for top-heavy aloes because it anchors the roots better. Perlite works fine if you do not have pumice.
Avoid fine beach sand. It compacts. Use coarse builder’s sand or horticultural grit. The particles should be visible. Think small pebbles, not powder.
Step 5: Repot with air flow in mind
Put a small layer of gritty mix in the bottom. Not a thick gravel layer. That old trick does not improve drainage. It just creates a perched water table. A thin layer of your regular mix is fine.
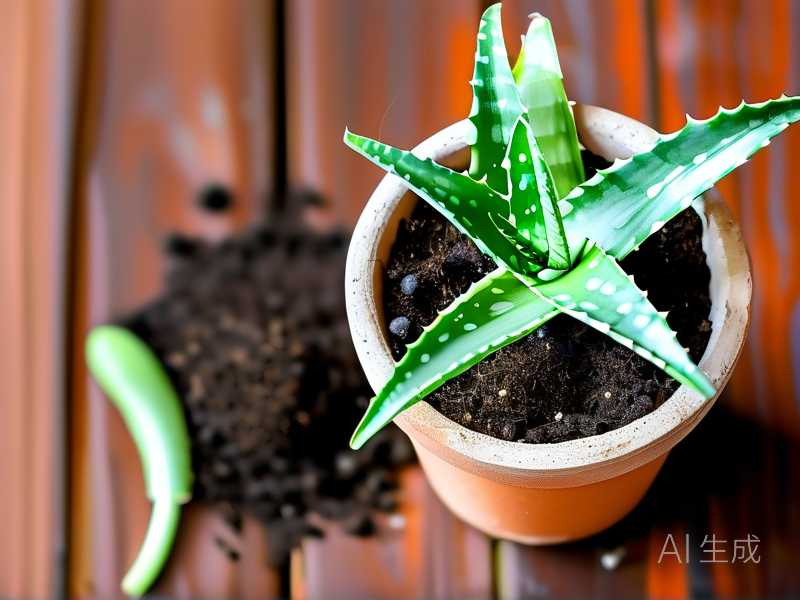
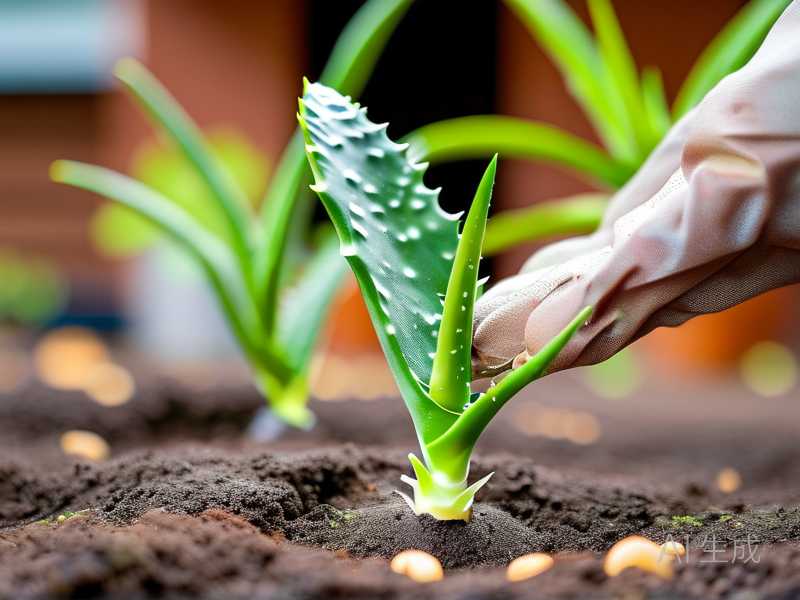
Place the aloe at the same depth it was before. Burying the stem deeper invites rot. Fill in around the roots with mix. Tap the pot gently to settle the soil. Do not pack it down hard. Firm but not compressed. Pressing too hard squeezes out the air spaces you just created.
Do not water immediately. Wait three to five days. The roots need time to heal from repotting stress. Then water lightly. This is the hardest part for most people. I have killed at least one aloe by watering the day after repotting. The roots were not ready. The wet soil sat against damaged tissue. Rot followed.
Step 6: Move it to the right spot
Air flow in the soil improves faster if the plant is in bright indirect light. Good light means the plant uses water. Water usage means the soil dries. Drying creates air exchange. It is all connected.
I keep my aloes near a south or west window. Not pressed against hot glass in summer. But bright. In darker rooms, even perfect soil stays wet too long. Light is part of the soil air flow equation.
A small fan can help too. Not pointed directly at the plant all day. Just gentle air movement in the room. It speeds surface evaporation and helps the top of the soil dry. This is optional. But it has helped my plants in humid summer months.
My Two-Week Fix: What Actually Happened
I want to share a real test I did. Last winter I noticed one of my aloes getting soft lower leaves. The soil was dense and stayed damp for over a week. The pot was plastic. The room was cool. Classic poor air flow.
I unpotted it on a Friday evening. I did nothing else that day. Just left the plant on paper towels on the counter.
On Saturday morning I cut away three rotten roots. The rest looked thin but healthy. I mixed new soil: one part cactus mix, one part perlite, one part coarse sand. I used a clean terracotta pot one size down from the original plastic pot. The root ball was smaller than I thought, so downsizing made sense.
I did not water. I placed the pot in bright indirect light near an east window. The room stayed around 68 degrees Fahrenheit during the day.
For the first week, I touched the soil every day. The top stayed dry. The pot felt light. I did not water.
On day eight, I watered lightly from the top. Just until a few drops came out the drainage hole. Then I stopped.
On day ten, the soil was almost dry again. That had never happened with the old mix. The new gritty soil was breathing. My aloe’s leaves were still soft but not worse.
By day fourteen, the lower leaves had firmed up slightly. One yellow leaf dried completely and I removed it. The plant looked stable. Not perfect. But stable.
That two-week window taught me something important. Indoor aloe recovery is slow. Do not expect overnight change. But if the soil dries quickly and the rot stops spreading, you are on the right path.
Watering After Fixing Soil Air Flow
Here is the thing. Fixing the soil changes how you water. Gritty airy soil dries faster. So you might water more often than before. Do not panic. That is normal. It is also why 90% of indoor plants die from overwatering. Not from underwatering. People see dry soil and add water too often out of fear. But well-draining soil handles regular light watering better than dense soil handles occasional heavy watering.
My rule for indoor aloe is simple. Water deeply. Then let the soil dry completely before watering again. In summer that might be every seven to ten days. In winter it could be every three to four weeks. It depends on your home.
I check by pushing a finger two inches into the soil. If it feels cool or damp, I wait. If it is dry, I water. For bigger pots, I also lift the pot. After a while you know the weight of dry soil versus wet soil. It becomes instinct.
Do not water on a calendar schedule. That is the fastest way to undo all your soil work. Water when the plant and soil tell you to.
Three Fatal Mistakes Beginners Make
I have made all three. More than once. And I see these same mistakes in almost every struggling indoor aloe.
1. Overwatering
This is the big one. It is not about giving too much water at one time. It is about watering too often. Aloe stores water in its leaves. It can go weeks without a drink. When in doubt, wait. A slightly thirsty aloe recovers in a day. A drowned aloe may never recover.
Early on I thought my aloe looked droopy, so I watered it. The droop got worse. The leaves turned yellow. I was literally drowning it while trying to save it. Now I err on the side of dry. Always.
2. Wrong light placement
Too little light means slow growth and wet soil. Too much direct hot sun, especially after a season indoors, can scorch leaves. The sweet spot is bright but indirect or filtered. A sunny windowsill with a sheer curtain works well. Morning sun is gentler than late afternoon sun.
I once moved an aloe from a dim corner straight into full afternoon sun. The leaves bleached white and brown within three days. I thought I was helping. I was shocking it. Move aloes gradually if you change their light.
3. Using the wrong pot
No drainage hole is the quickest way to kill aloe. Even with perfect soil, water has nowhere to go. The bottom stays wet. Roots sit in stagnant water. Air cannot enter. The plant suffocates.
I have bought pretty pots without holes and told myself I would water carefully. It never worked. Not once. Now I only use pots with holes. If I love a holeless pot, I use it as a decorative outer pot and keep the aloe in a plastic nursery pot inside. That way I can take it out to water and let it drain freely.
Seasonal Soil Air Flow Notes
Air flow problems change with the seasons. In winter, homes are cooler and darker. Soil dries slowly. Even gritty mix can stay damp too long if the plant is in a cold room. I move my aloes to the brightest spot I have and water less often. I do not fertilize in winter. The plant is not growing much. Extra nutrients plus wet soil can damage roots.
In summer, the opposite can happen. Warm bright rooms dry soil fast. My aloes sometimes need water every five or six days. Air flow is usually better because windows are open and the air is moving. But heat plus sun can bake the roots if the pot sits directly on a hot surface. I keep pots off metal windowsills in peak summer.
Humidity matters too. In humid climates, even good soil dries slower. Add extra perlite or pumice if you live somewhere muggy. In dry climates, aloes are often happy with slightly less grit.
I adjust my mix a little depending on where I live and what season it is. Not radical changes. Just small tweaks.
Common Questions
Can I reuse old compacted soil for aloe?
I would not reuse it as is. Old soil breaks down over time. It loses structure and air spaces. You can mix old soil with fresh gritty material, but I prefer starting fresh for a struggling aloe. The risk is not worth the savings.
How often should I repot indoor aloe?
Every two to three years works for most aloes. If roots are circling the pot or poking out the drainage holes, it is time. Repot in spring if possible. That gives the plant a full growing season to recover.
What if my aloe has no roots left after rot?
Do not throw it out. Cut away all rotten tissue. Let the base dry for a few days. Then place it on top of dry gritty mix. Do not bury it deep. Wait for new roots to appear. This can take weeks. I have saved aloes this way. They are tougher than they look.
Does charcoal help with soil air flow?
Horticultural charcoal can help. It does not create air spaces by itself, but it can absorb impurities and keep the soil from turning sour. A small handful mixed into gritty soil is fine. It is not a substitute for perlite or pumice.
Should I mist my indoor aloe?
No. Aloe does not need misting. Wet leaves can develop fungal spots in stagnant indoor air. Focus on soil air flow and good light instead. That matters far more for aloe health.
Better soil air flow changed everything for my indoor aloes. Once I stopped fighting dense wet mix and started giving the roots real breathing room, the plants became almost effortless. The leaves firmed up. The yellowing stopped. I stopped guessing and second-guessing every watering.
If your aloe looks sad and the soil stays wet for too long, do not wait. Pull it out. Check the roots. Mix something grittier. Repot. Wait a few days to water. Give it bright light. And let the soil breathe.
You will be surprised how quickly an aloe bounces back when its roots can finally get air.