bluename
 How to Select Standard Pots for Uniform Aloe Growth
If your aloe keeps growing lopsided, drying out too fast, or getting root rot no matter how careful you are, the pot is usually the problem. I killed my first three aloes before I understood this. Standard pots are not all the same. The shape, material, and size all change how water moves through the soil and how the roots expand. Once I switched to the right standard pot, my aloe stopped stretching sideways and started growing full, balanced rosettes. Let me walk you through how to pick standard pots that actually support uniform aloe growth at home.
What Uniform Aloe Growth Actually Means
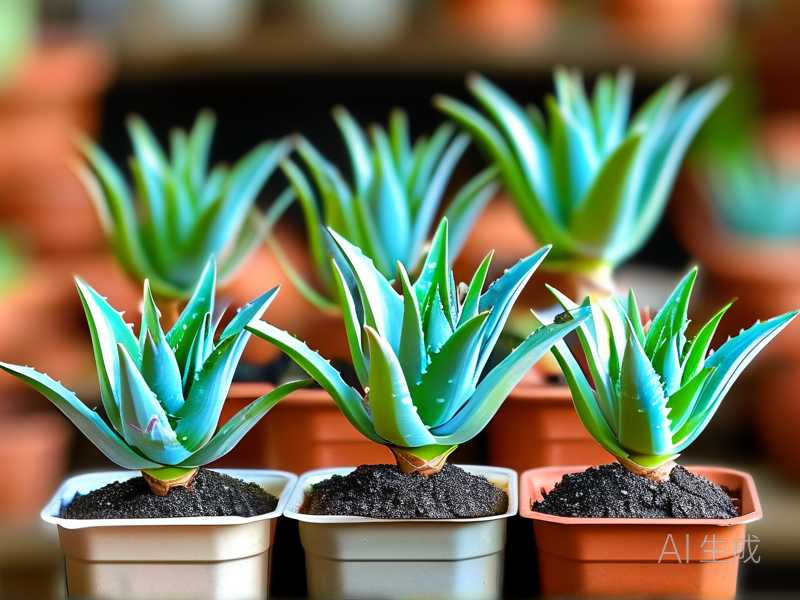
Uniform growth means the leaves should push out evenly in all directions. Not one giant leaf shooting up while the rest stay small. Not a rosette leaning hard toward the window. You want a balanced shape, consistent leaf width, and steady color. The pot plays a bigger role here than most people think.
A pot that is too wide encourages the roots to spread horizontally. The plant then puts energy into root expansion, not leaf symmetry. A pot that is too deep holds water at the bottom. The top of the soil feels dry, but the bottom stays wet. Roots sit in moisture, rot begins, and the leaves above start collapsing one by one from the outside in.
I learned this the hard way with a decorative ceramic pot I bought because it looked nice. It had no drainage hole. The aloe looked fine for two weeks. Then the outer leaves went soft and yellow. By the time I pulled it out, the roots smelled like a swamp. That was my second dead aloe.
Why Standard Pots Work Better Than Decorative Containers
Standard pots have a predictable ratio of height to width. They usually sit close to equal, or just slightly taller than they are wide. This shape works with how aloe roots naturally grow. Aloe roots are fibrous and shallow. They do not dive deep like tomato roots. They spread out near the surface and need air.
A standard pot keeps the soil column short enough to dry evenly. That is the key. Even drying means the roots at the bottom are not drowning while the top is bone dry. Uniform soil moisture leads to uniform nutrient uptake. And that shows up in the leaves.
I have grown aloes in tall narrow pots, wide shallow bowls, and standard nursery pots. The difference is obvious within a month. In standard pots, the leaves stay plump and upright. In tall pots, the lower leaves tend to yellow and droop first. In wide bowls, the plant stays small and spreads flat instead of forming a nice upward rosette.
Size Rules I Follow for Choosing a Standard Pot
Start small. Aloe likes to be snug. A pot that is only an inch or two wider than the root ball is enough. I used to think a bigger pot meant more room to grow. That is true for some plants. Aloe is not one of them.
I once moved a small aloe into a pot three sizes larger thinking I was doing it a favor. The soil stayed damp for days after each watering. The roots never filled the space. Fungus gnats showed up. The leaves started browning at the tips. I ended up downsizing and the plant recovered within a few weeks.
Here is my basic sizing guide:
- 4-inch pot for a young aloe with three to five leaves
- 6-inch pot for a medium plant about eight to ten inches wide
- 8-inch pot for a larger rosette that has outgrown the 6-inch
- 10-inch pot only for mature plants with multiple offsets
The depth should not exceed the height of the root ball by more than two or three inches. For most aloes, a pot that is wider than it is tall works better than the opposite. A standard azalea pot or standard bulb pan is often ideal. I know that sounds specific, but those shapes hold the right soil volume without creating a soggy bottom layer.
Drainage Is Non Negotiable
The pot must have at least one drainage hole. Ideally more than one. I have drilled extra holes into plastic and terracotta pots before. It helps. A single center hole can get blocked by soil or a root. Multiple holes let water escape faster and air move through.
If you have a beautiful pot with no hole, use it as a cachepot. Keep the aloe in a standard plastic pot with drainage. Set that inside the decorative one. Remove the inner pot to water. Let it drain completely before putting it back. This is the only way I use non draining pots now.
A quote that helps me stay disciplined: 90% of indoor plants die from overwatering. I say this to myself every time I want to water on a schedule instead of checking the soil.
Material Choices for Aloe Pots
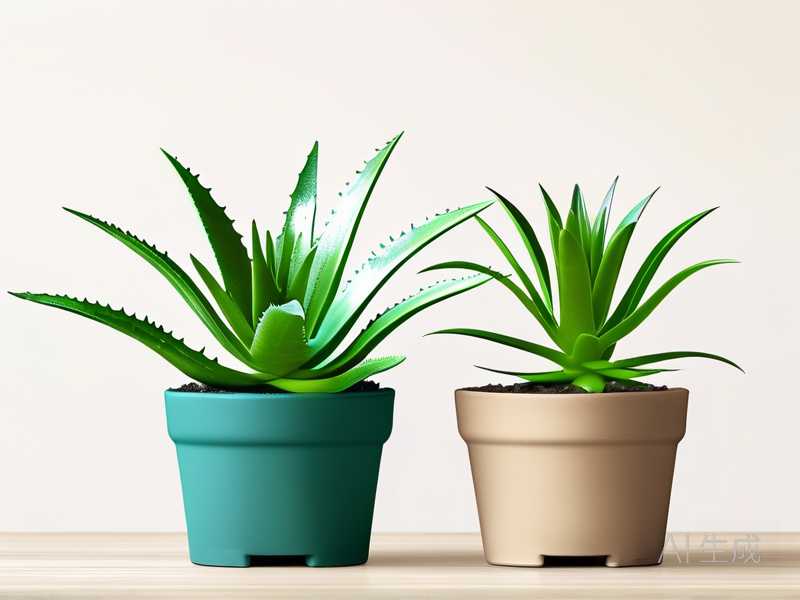
Terracotta is my default. It breathes. Excess moisture wicks through the sides and evaporates. For aloe, that is usually a good thing. I have kept aloes in terracotta for years with almost no rot issues, even when I watered a bit too often in summer.
But terracotta has a downside. In hot dry climates, it dries out fast. You may need to water more often. And if you live somewhere humid, terracotta is great. It helps balance that extra moisture in the air. I grew aloes in both the UK and the southern US. In the UK, terracotta plus a gritty mix worked well. In a dry Texas summer, plastic was easier to manage because it held a little more moisture longer.
Plastic standard pots are lighter and cheaper. They work fine if the soil is gritty enough and you do not overwater. The sides do not breathe, so you have to be more careful. I use plastic for smaller aloes that I might move around often.
Ceramic glazed pots hold water the longest. I avoid them for aloe unless the pot is wide and shallow and the soil is extremely well draining. Even then, I watch closely. I lost one aloe to a glazed pot when the top two inches of soil felt dry but the middle was soaked. I now check deeper before watering any aloe in ceramic.
Soil Mix for Standard Pots
The pot and soil work together. A standard pot with the wrong soil still fails. Aloe needs a fast draining mix. I use a simple recipe:
- 50% cactus and succulent potting mix
- 25% perlite or pumice
- 25% coarse sand or fine gravel
This mix drains in seconds. Water should run out of the bottom almost immediately. If it pools on the surface for more than a few seconds, the mix is too heavy. Add more perlite.
I made the mistake of using straight cactus mix from a bag once. It was still too peaty. The top dried out but the bottom stayed damp. My aloe did not rot, but it stopped growing for months. The roots were not happy. Once I added perlite and pumice, new growth appeared within three weeks.
A chunky gritty mix is even better for mature aloes. But for beginners, the recipe above is easy to make and works across most climates. The main thing is that the soil should dry out within a few days after watering. If it takes a week, the pot is too big or the mix is too heavy.
How Pot Selection Affects Watering Frequency
This is where I see people struggle the most. The same aloe in a terracotta pot may need water every seven to ten days in summer. In a plastic pot, it might need water every ten to fourteen days. In a glazed ceramic pot, maybe every two to three weeks.
I do not water on a schedule anymore. I check the soil. For a standard pot, I push my finger into the soil up to the second knuckle. If it feels dry at that depth, I water. If there is any coolness or moisture, I wait.
In winter, I cut back hard. Aloe goes semi dormant when temperatures drop and light levels fall. I might water once a month. Sometimes less. The pot matters here because a smaller pot dries faster in winter indoor heat. A larger pot stays wet longer and can cause rot in cool conditions.
Repotting into a Standard Pot for Better Shape
If your aloe is currently leaning or growing unevenly, repotting can fix a lot of that. I take the plant out and inspect the roots. I remove any brown mushy roots with clean scissors. Then I reposition the plant so the rosette sits centered and upright. The roots do not have to be perfectly symmetrical. The leaves will adjust over a few weeks of even light.
When I repot, I use the same pot size or one size up. Never a huge jump. A root bound aloe is not a problem. The tight space often encourages more offset production and keeps the leaves compact. I have waited until roots were circling the bottom of the pot before moving up.
After repotting, I do not water for about five to seven days. This gives any damaged roots time to callus. Then I water lightly and put the plant in bright indirect light. Direct sun right after repotting can stress it. After two weeks, I move it back to its normal spot.
My Two Week Observation After Switching Pots
I moved a lopsided aloe into a 6 inch terracotta standard pot with my gritty mix. The plant had been in a tall decorative pot. For the first few days, nothing changed. I was patient. By day five, the leaves looked slightly firmer. By day ten, the color deepened from pale green to a richer green. At the two week mark, the plant had started to straighten slightly. The new center growth was more even.
This was not magic. The roots were finally getting the right balance of water and oxygen. The plant stopped wasting energy on stress and started growing properly. That is what a standard pot with good drainage does.
The Three Fatal Mistakes New Aloe Growers Make
I have made all three. Most people do. Here they are:
-
Watering too often. Aloe stores water in its leaves. It does not need constant moisture. When in doubt, skip a watering.
-
Wrong light placement. Too little light makes aloe stretch and grow weak. Too much direct sun after being indoors can scorch the leaves. I slowly acclimate mine to brighter spots over a week or two.
-
Using the wrong pot. No drainage, too large, too deep, or glazed ceramic with heavy soil. Any one of these can kill an aloe. The pot is not just decoration. It is part of the plant’s root system.
Light Requirements for Uniform Growth
Light and pot choice go hand in hand. A pot that dries evenly helps, but the plant still needs enough light to grow evenly. Aloe wants bright light. In the home, a south or west facing window is usually best in the northern hemisphere.
I rotate my aloe a quarter turn every week. This prevents it from leaning toward the window. Without rotation, all the new leaves will face one direction. The rosette becomes one sided. That is a common cause of non uniform growth that has nothing to do with the pot.
If you only have a north facing window, consider a grow light. I have used a simple LED grow light for overwintering aloes in a dim room. The plants kept their shape and did not stretch. A cheap clip on light placed eight to ten inches above the plant was enough.
In summer, I move some aloes outside. But I do it gradually. One hour of morning sun the first day, then two, then three. After a week or two, they can handle full morning sun and some afternoon shade. Aloe can burn if you move it from indoors to full sun in one day. I scorched one badly that way. The leaves turned white and then brown. It survived, but the scars lasted for months.
Seasonal Care and How Pots Fit In
Spring is the best time to repot. The plant is waking up and can recover quickly. I check the roots in early spring. If they fill the pot, I move up one size. Spring is also when I resume watering more regularly after the winter rest.
Summer means more heat and more light. The pot will dry faster. I check the soil more often. Good airflow helps prevent pests. I keep a small fan running in my indoor plant room during humid summer weeks. It helps the soil dry evenly and keeps fungus gnats away.
Fall is when I slow down. I stop fertilizing by September. I reduce watering gradually. The goal is to prepare the aloe for indoor winter conditions. If the plant spent summer outside, I bring it in before nighttime temperatures drop below 50 degrees Fahrenheit.
Winter is the danger season. Cold drafts, low light, and overwatering kill more aloes than any other time of year. I water very little. Maybe once a month. I keep the plants away from cold windows and heating vents. A terracotta pot helps prevent root rot during this time because it does not hold excess moisture.
Fertilizing Aloe in Standard Pots
Aloe is a light feeder. I fertilize once a month during spring and summer only. I use a balanced liquid fertilizer diluted to half strength. Sometimes I use a cactus specific fertilizer. I do not fertilize in fall or winter. The plant is not actively growing, and excess nutrients can build up in the soil.
I burned an aloe once by fertilizing too often. The leaf tips turned brown and crispy. I flushed the soil with plain water and stopped fertilizing for two months. The new growth came in clean. Now I follow the rule of less is more.
Never fertilize a dry plant. Water first. Then apply diluted fertilizer. This prevents root burn. I learned this from the RHS advice on succulent care, which emphasizes feeding only during active growth.
Common Problems and How the Pot Plays a Role
Yellowing lower leaves are often a sign of overwatering. The lower leaves are the first to go. Check the pot. Is it too large? Does it have drainage? If the soil is wet and the leaves are soft, remove the plant and let the roots dry. Repot into a smaller standard pot with gritty mix.
Wrinkled leaves usually mean underwatering. But not always. If the roots have rotted from too much water, the plant cannot take up water and the leaves wrinkle. This confuses a lot of people. They water more and make it worse. Always check the roots.
Brown tips can be from tap water chemicals, overfertilizing, or low humidity. Aloe is not too picky about humidity, but indoor winter air can be harsh. I use filtered or rain water when possible. Letting tap water sit overnight helps too.
Pests are not usually a huge problem for aloe. But mealybugs and scale can show up. I use a cotton swab dipped in rubbing alcohol to remove them. For a bad infestation, insecticidal soap works. I isolate the plant so pests do not spread.
How Long Does It Take to See Improvement After Repotting
Give it two to four weeks. Do not expect overnight change. The roots need time to settle. New leaf growth is the real indicator. If the center of the rosette starts pushing out plump, even leaves, the plant is happy.
I keep a simple plant journal. I note the pot size, soil mix, and watering dates. This helped me see patterns. When I stopped guessing and started tracking, my aloe care improved dramatically. You do not need a fancy system. A notebook page works.
Final Advice on Choosing Standard Pots
Pick a pot that matches the size of the root ball plus a little room. Make sure it has drainage. Choose terracotta or plastic depending on your humidity and watering habits. Use a gritty mix. Rotate the plant for even light. Do not overwater.
That is the whole system. I have used it for years now and my aloes grow evenly-shaped, full rosettes. No more leaning plants. No more root rot surprises. The average home gardener can absolutely grow beautiful aloe indoors. The right standard pot makes it much easier.
Frequently Asked Questions
Can aloe grow in a pot without drainage? Barely. Some people do it by adding a thick layer of gravel at the bottom and watering very carefully. But I do not recommend it. The risk is too high. If you love a pot without holes, use it as a cover pot with a standard plastic pot inside.
How often should I repot aloe? Every two to three years on average. Repot in spring if roots are circling the pot or the plant has clearly outgrown it. Do not rush to repot. Aloe likes being snug.
What size pot should I use for a small aloe plant? A 4 to 6 inch standard pot works for most young aloes. Choose one that gives the root ball about an inch of space on all sides. Anything much larger holds too much water.