bluename
How to Choose Anti-Slip Pots for Household Aloe Vera
I still remember the morning I walked into my sunroom and found my biggest aloe vera face-down on the tile floor. The pot had slid right off the windowsill during a draft. That was the day I started taking anti-slip pots seriously. If you're growing aloe indoors, the pot you choose matters just as much as how you water it. Honestly, a slippery pot is a disaster waiting to happen — especially in homes with kids, pets, or hardwood floors.
Quick answer up front: choose anti-slip pots for household aloe vera by looking for a weighted base, a rubberized or textured bottom, and a material that grips rather than glides. Terracotta with a rubber pad, ceramic with a silicone foot ring, or resin pots with built-in grip feet all work well. Skip glossy plastic saucers and smooth-bottomed pots — that's the short version. The rest of this article walks you through everything I've learned after killing more aloe plants than I'd like to admit.
Why Aloe Vera Needs a Stable Pot More Than You Think
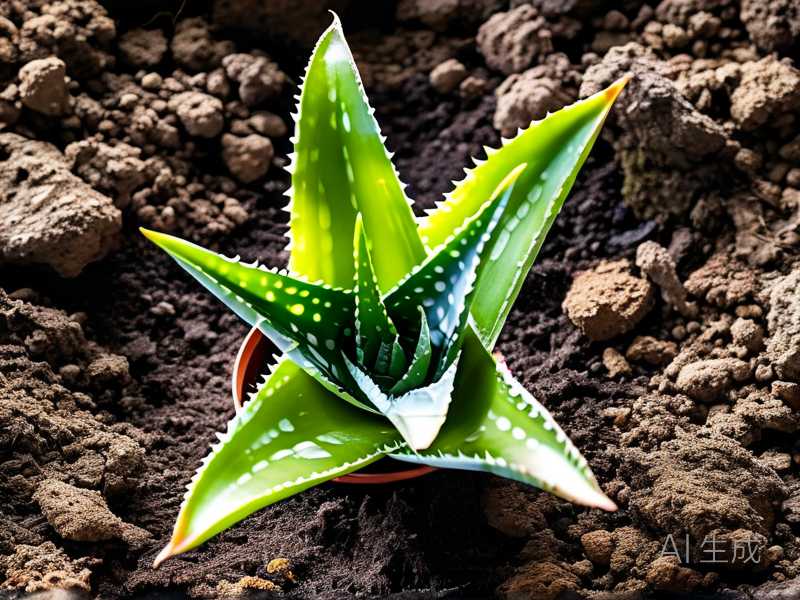
Aloe vera is top-heavy. The leaves grow upward and outward, and the plant stores a lot of water in those thick leaves. That weight sits above a relatively small root ball. So when the pot is light or the base is slick, the whole thing tips easily.
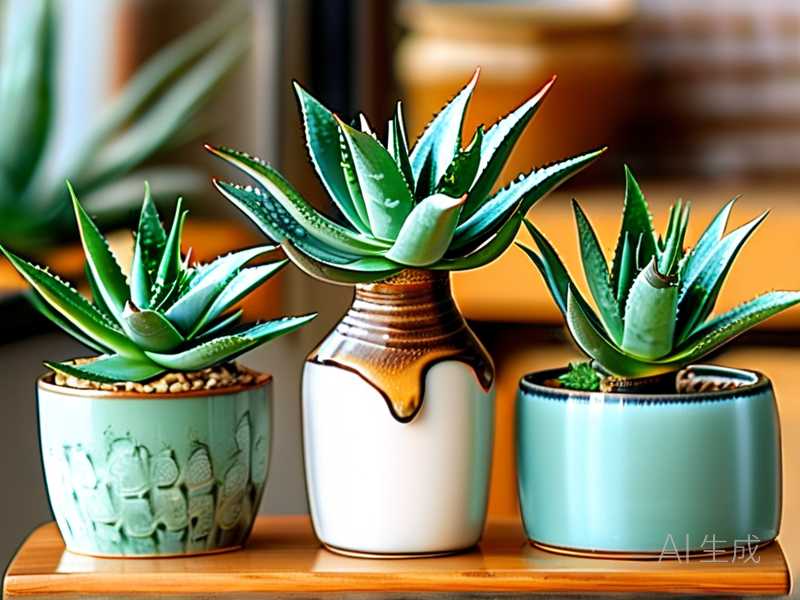
I've tested this myself. I put two similar aloe pups in different pots — one in a smooth ceramic pot, one in a terracotta pot with a rubber grip ring. Over two weeks, the smooth pot slid about three inches across my windowsill every time I opened the window. The gripped pot didn't move at all. That tiny detail made me a believer.
RHS [https://www.rhs.org.uk] actually notes that aloe vera prefers stability and good drainage, and pot choice affects both. AHS [https://ahsgardening.org] also emphasizes matching pot weight to plant architecture for container-grown succulents. It's not just about looks.
The 3 Beginner Mistakes That Kill Aloe Plants
Before we get into pot specifics, let's clear the air. Most aloe problems start with three mistakes. I made all of them.
Mistake 1: Overwatering
This is the big one. I need to say it plainly: 90% of indoor plants die from overwatering. Aloe is a succulent. Its leaves hold water. When you water too often, the roots sit in wet soil and rot. I lost my first aloe this way — I watered it every three days because I thought it looked "dry." It wasn't dry. It was drowning.
Mistake 2: Wrong Light
Aloe wants bright, indirect light. Not deep shade. Not blazing afternoon sun through a south-facing window in July. I once put an aloe on a south windowsill in summer and the leaves turned reddish-brown and crispy at the tips. That's sunburn. Move it back a foot or two from the glass.
Mistake 3: The Wrong Pot
This ties right back to our topic. A pot that's too big holds too much wet soil. A pot with no drainage holes traps water. A pot with a slick bottom slides and tips. I've made all three errors. The fix is simple: right-size pot, drainage holes, anti-slip base.
What Makes a Pot "Anti-Slip" Exactly
Let's break this down practically. Anti-slip doesn't mean the pot is glued down. It means the pot resists sliding and tipping under normal household conditions.
Weighted Base
Heavy materials like ceramic, concrete, or thick terracotta naturally resist sliding. Light plastic pots — even nice-looking ones — slide easily. If you love a lightweight pot, put a few smooth stones in the bottom before adding soil. That adds weight without blocking drainage if you arrange them around the drainage hole.
Rubber or Silicone Feet
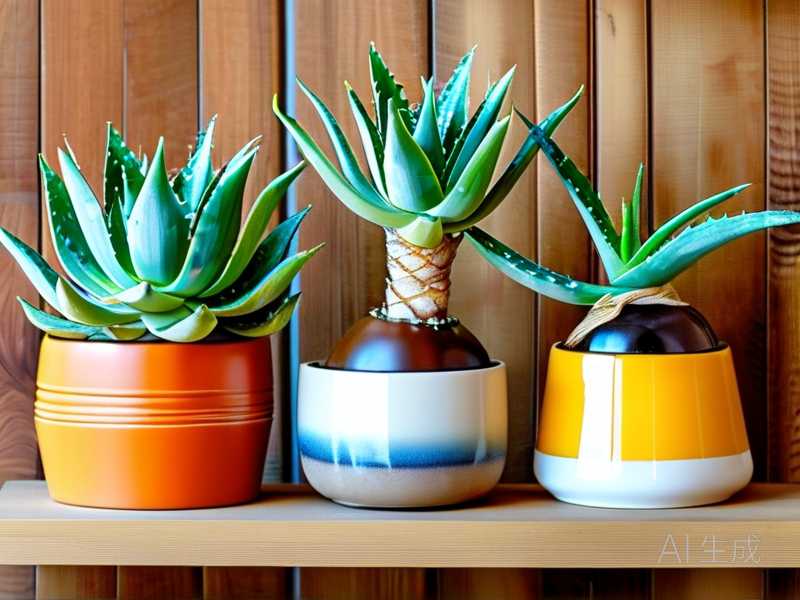
Some pots come with small rubber pads or a silicone ring on the bottom. These grip surfaces really well. You can also buy adhesive rubber pads and stick them on yourself. I do this with almost every pot in my house now. It takes two minutes and costs almost nothing.
Textured Bottom
Pot bottoms with ridges or a rough finish create friction. Smooth, glossy bottoms don't. Flip the pot over in the store and look. If it's slick like glass, pass on it.
Saucer Grip
If you use a saucer, choose one with a raised rim that holds the pot in place. A flat saucer lets the pot slide right off. I've had that happen on a tile floor, and the cleanup was not fun.
Material Comparison: Which Pot Type Wins for Aloe
Here's my honest take after trying pretty much every material.
Terracotta
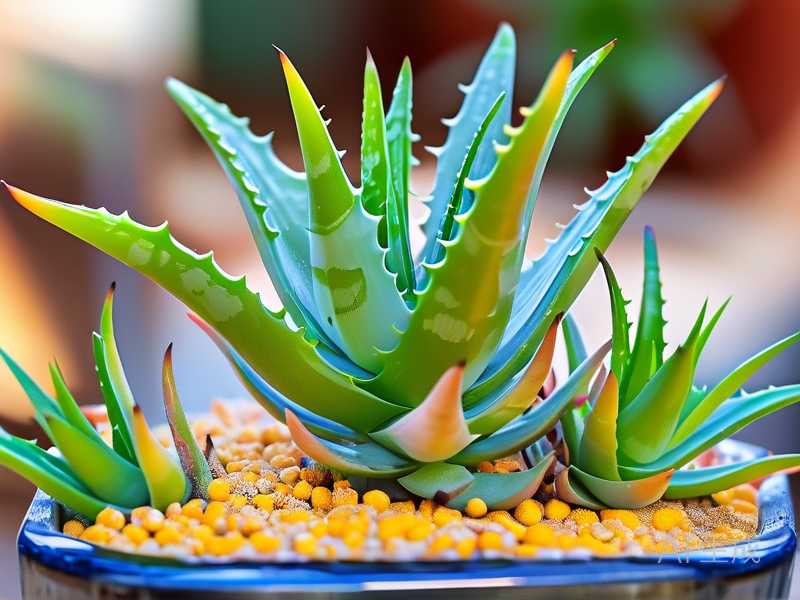
My top pick. It's heavy, porous, and grips well. The porous walls help soil dry out faster, which aloe loves. Downside: it can crack in freezing temps if you leave it outside. Indoors, it's nearly perfect. I add a rubber pad to the bottom for extra grip.
Ceramic (Glazed)
Beautiful and heavy. Glazed ceramic doesn't breathe, so you need to be more careful with watering. But the weight makes it stable. Check the bottom — many glazed pots have a smooth base. Add grip pads.
Concrete
Very heavy. Very stable. But also very heavy to move. If your aloe stays in one spot, concrete is great. If you like rearranging, skip it.
Plastic and Resin
Lightweight and cheap. Also the most likely to slide. If you go this route, choose a resin pot with a wide base and add rubber feet. I've had decent luck with thick resin pots that have a molded grip pattern on the bottom.
Fabric Grow Bags
These don't slide much because the fabric grips, but they tip easily when light. Not my first choice for a top-heavy aloe.
Size and Drainage: The Non-Negotiables
A pot can be anti-slip and still be wrong if it's the wrong size or has no drainage.
Right-Sizing
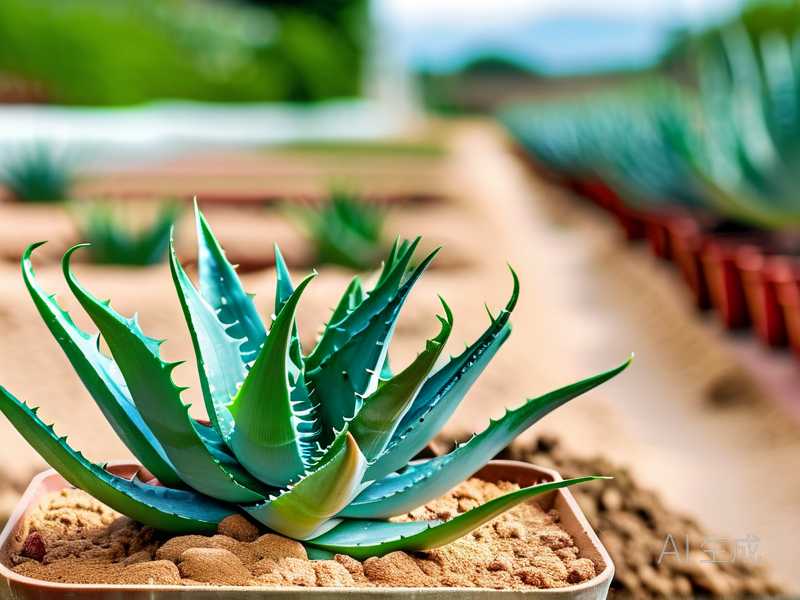
Choose a pot that's about one to two inches wider than the root ball. Too big means excess soil stays wet. Too small means the plant gets root-bound fast. I learned this after putting a small aloe in a huge decorative pot — the soil stayed damp for weeks and the roots rotted.
Drainage Holes
Always. No exceptions. If you fall in love with a pot that has no holes, use it as a cachepot and keep the aloe in a nursery pot inside it. Take the inner pot out to water. That's what I do with a gorgeous glazed pot I couldn't resist.
Saucer Strategy
Use a saucer that's slightly wider than the pot base and has a rim. Empty it after watering so the pot doesn't sit in water. Standing water is a root rot invitation.
Light and Water Basics for Aloe in Anti-Slip Pots
Pot choice and care go hand in hand. Here's the quick version.
Aloe wants bright, indirect light — a few hours of gentle morning sun is ideal. In summer, shade it from harsh afternoon sun. In winter, move it closer to the brightest window you have.
Water deeply but infrequently. Let the soil dry completely between waterings. In summer, that might mean every two to three weeks. In winter, once a month or less. I stick my finger an inch into the soil — if it's dry, I water. If it's even slightly damp, I wait.
Soil and Repotting Tips
Use a cactus or succulent mix. I blend mine with extra perlite — about 70% mix, 30% perlite. That keeps drainage fast. Repot every one to two years, or when roots start circling the drainage hole.
When repotting, gently loosen the roots and shake off old soil. Set the plant at the same depth it was before. Water lightly and wait a week before watering again.
Seasonal Care Through the Year
Spring
This is when aloe wakes up. I start watering a bit more often and move the plant to a brighter spot. It's also the best time to repot and divide pups. I fertilize once in mid-spring with a diluted succulent fertilizer.
Summer
Watch the sun. Even in a stable pot, a sunburned aloe looks rough. I pull mine back from the window during July and August. Water when the soil is bone dry. Keep air moving — a small fan or an open window helps prevent rot in humid weather.
Fall
Slow down on water and stop fertilizing by mid-fall. This is when I check the pot's grip pads and replace any that look worn. Clean the leaves with a soft damp cloth to remove dust.
Winter
The danger season. Aloe hates cold drafts and wet feet. I move mine away from windows that get icy at night. Water sparingly — maybe once every four to six weeks. No fertilizer. Keep the room above 50°F if you can manage it. If your home gets dry heat, that's fine — aloe handles dry air better than cold, wet soil.
Common Problems and Fixes
Yellow leaves usually mean overwatering. Let the soil dry out fully and check for root rot. Mushy roots need to be trimmed and the plant repotted in fresh dry mix.
Brown crispy tips are usually sunburn or underwatering. Move the plant back from harsh light and check your watering schedule.
Pests like mealybugs and scale can show up. Wipe them off with a cotton swab dipped in rubbing alcohol. Check crevices between leaves weekly.
A wobbly pot? That's your anti-slip cue. Add grip pads or switch to a heavier pot.
FAQ
Do I really need a special anti-slip pot, or can I just use a saucer? A saucer helps, but it doesn't replace grip. I use both — a rimmed saucer and rubber pads on the pot bottom. That combo has kept my aloe upright for over a year now.
Will a heavy pot stop my aloe from tipping if a pet bumps it? Heavy helps, but a wide base matters just as much. A heavy pot with a narrow base still tips. Look for weight and width together.
Can I make my existing pot anti-slip without buying a new one? Yes. Adhesive rubber pads or a silicone grip ring on the bottom work well. I've done this with three pots already, and the difference is night and day.
Choosing the right anti-slip pot for your household aloe vera isn't complicated once you know what to look for. Weight, grip, drainage, and the right size — that's the whole formula. Start there, and your aloe will stay upright, healthy, and happy for years.