bluename
How to Refresh Topdressing Soil for Mature aloe vera plants
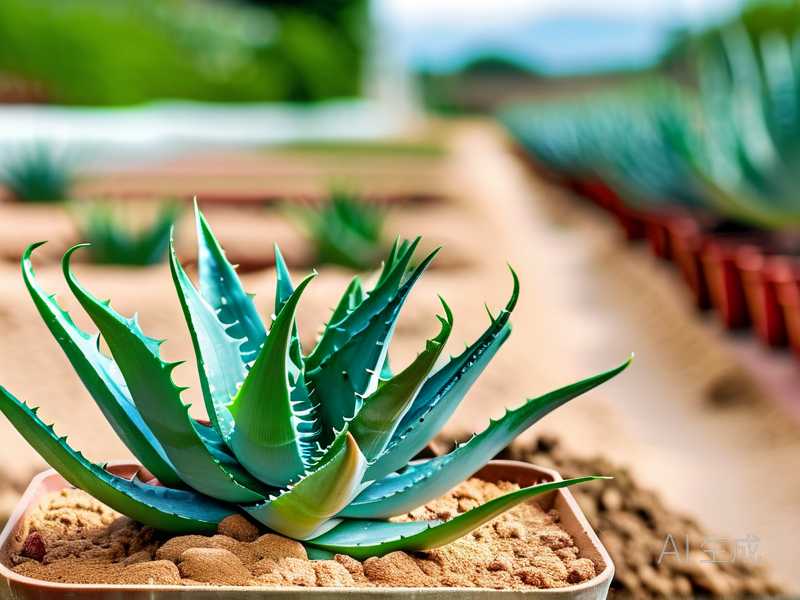
If your mature aloe vera has been sitting in the same pot for two or three years, the top inch of soil is probably crusty, compacted, or pulling away from the sides. Refreshing that tired topdressing soil is the fastest way to wake up a sluggish plant without a full repot. I’ll walk you through exactly how I do it, what to use, and what to avoid.
I’ve kept aloe vera plants for over a decade now. Some of mine are old, heavy, awkward to lift, and frankly hate being disturbed. That’s where topdressing refresh comes in. You’re not ripping out the root ball. You’re replacing the spent upper layer of potting mix with fresh, gritty material. It improves drainage, feeds the surface roots gently, and firms up a plant that’s started to lean.
Why Mature Aloe Vera Needs a Topdressing Refresh
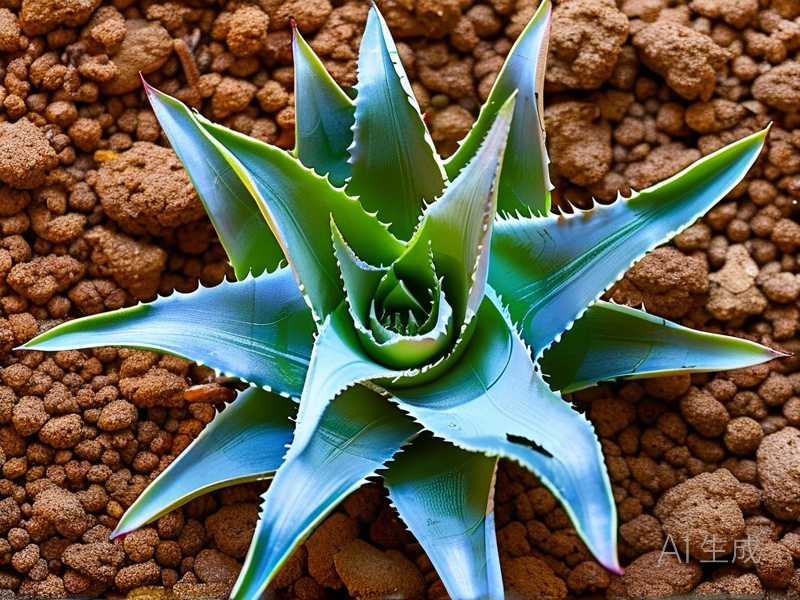
Aloe vera is a succulent. In the right conditions it can live for many years, but the soil it sits in doesn’t last forever. Over time organic matter breaks down. Perlite floats to the top or washes away. The surface crusts over. Water starts pooling instead of soaking in.
The RHS notes that container-grown succulents benefit from periodic refreshing of potting media because structure and drainage decline over time. That matches what I’ve seen at home. Old aloe soil becomes hydrophobic. You pour water on and it runs straight down the gap between the root ball and the pot wall. The roots never actually get a drink.
A topdressing refresh won’t fix a root-bound disaster, but it solves the surface compaction and nutrient depletion problem. It’s also the only safe option if your plant is too large to repot easily or if it’s not the right season for major root disturbance.
Signs Your Aloe’s Topdressing Soil Needs Help
I don’t refresh on a strict calendar. I look at the plant and the soil surface. These are the signs that push me to act.
The soil surface has turned pale and hard. Water beads up and sits there for minutes before sinking.
The soil has shrunk away from the pot edge. There’s a visible gap all the way around.
The plant is leaning. Old aloes get top-heavy. A compacted top layer doesn’t anchor the stem well anymore.
There’s a crust of white mineral salts from tap water or fertilizer.
You see fine surface roots poking through the old mix.
The top layer smells musty or stays damp for days after watering.
If I see two or three of these, I refresh the topsoil. It takes me about twenty minutes from start to finish for a large plant.
What I Use for a Fresh Aloe Topdressing Mix
Aloe vera does not want rich, moisture-retentive topsoil. It wants something loose, gritty, and fast-draining. My go-to topdressing blend is simple.
Two parts cactus and succulent potting mix. I look for one with pumice or perlite already blended in.
One part coarse sand or fine horticultural grit. This keeps the surface from crusting.
One part small pumice or perlite. I prefer pumice because it doesn’t float to the top as easily.
A tiny handful of worm castings. Optional, but I find it gives a gentle nitrogen boost without burning surface roots.
I avoid fine play sand. It compacts. I also avoid topsoil from the garden. Too heavy, too many pests, and it turns to mud.
The AHS has long recommended lean, fast-draining media for succulents grown in containers. I’ve found that a topdressing mix slightly leaner than the main potting mix works best. It dries quickly and reduces the chance of crown rot.
Step-by-Step Topdressing Refresh Method
I’ve done this enough times now that the process feels routine. But I learned it the hard way after yanking at compacted soil with a trowel and snapping off healthy roots. Go gently.
Step one is to stop watering for about a week before you start. Dry soil falls away more easily. Wet soil clumps and tears roots.
Step two is to remove the old top layer. I use a wooden chopstick or a dull butter knife. I scrape away the top one to two inches of crusty mix. With a mature aloe, that upper layer is usually full of dead leaf debris and old perlite. I work outward from the stem but I never dig deep near the base.
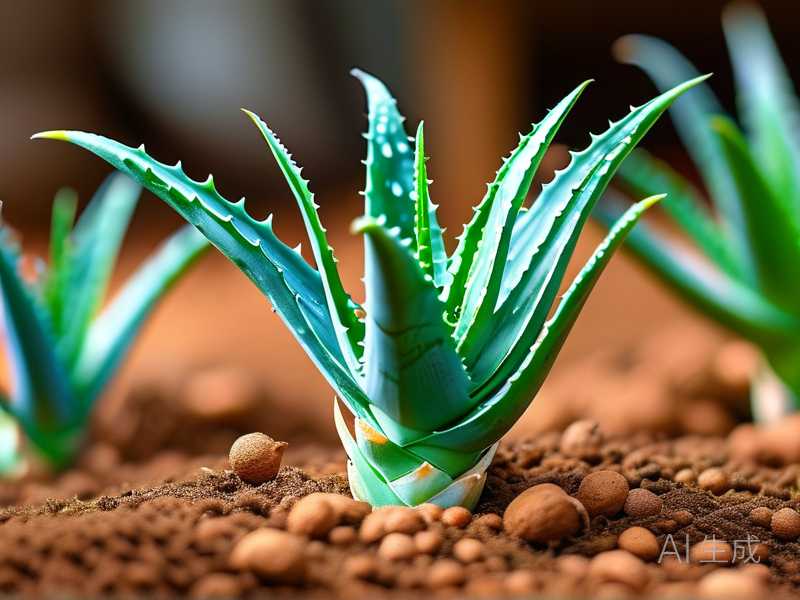
Step three is to loosen the exposed soil surface lightly. I use my fingers for this, not a tool. The goal is to break up the hard pan without slicing into roots. You’ll probably see some fine roots. That’s normal. Leave them alone.
Step four is to add the fresh topdressing mix slowly. I sprinkle it on in layers, tapping the pot between layers to settle it. I don’t press down hard. Aloe roots suffocate in packed soil. A light firm is enough.
Step five is to leave the plant dry for three to five days. The roots need time to recover from any small damage before water hits them. Watering immediately after topsoil refresh is the mistake that leads to rot.
Step six is a light watering after the rest period. I water from the edge of the pot, not directly around the stem.
My Two-Week Observation After Refreshing Topdressing Soil
I want to be honest about what actually happened after my last refresh on a mature aloe. The plant in question is roughly seven years old. It lives in a twelve-inch terracotta pot, sits in a bright south-facing room, and had developed that pale crusty soil layer.
Week one was boring, which is exactly what I wanted. The plant didn’t sulk. No leaf droop, no yellowing. The surface dried within two days after the first light watering. The old hydrophobic pool problem disappeared. Water soaked in within seconds instead of sitting on top.
By day ten I noticed the plant looked firmer in its pot. The added topdressing around the base reduced the slight wobble it had developed. Color stayed a healthy grey-green. One older lower leaf yellowed a little. I expected that. Aloes shed old leaves occasionally, especially after any root zone change.
At week two I watered normally. Water moved through the pot evenly. No dry patches, no runoff channeling. The surface layer stayed crumbly rather than crusting over. One thing I really noticed was that the plant’s center growth looked brighter. That may be from the small amount of worm castings I mixed in, or simply from improved air exchange at the soil surface.
I also kept an eye on fungus gnats. Fresh organic matter can trigger them. I didn’t see any. The top layer dries too quickly for larvae to thrive.
Common Mistakes I’ve Made With Aloe Topdressing
I killed my first aloe many years ago by treating it like a tropical foliage plant. I refreshed the topsoil with standard potting mix, watered generously, and put it back in a dark corner. The stem rotted at the base within three weeks. It smelled awful. I didn’t know then that 90% of indoor plants die from overwatering, and aloe is even more sensitive than most.
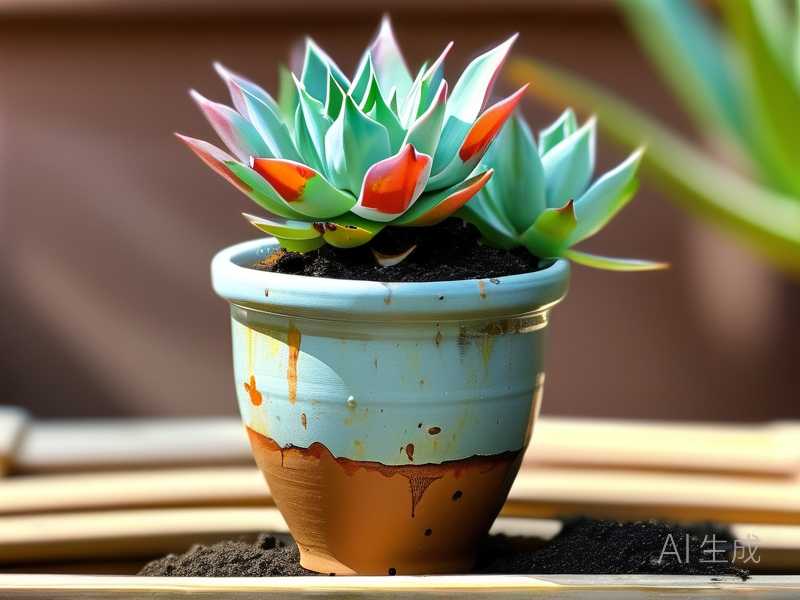
The second mistake was using a pot without drainage. I thought a pretty glazed container would be fine with a layer of gravel at the bottom. It wasn’t. Water sat in the lower third of the soil. The roots turned to mush. Now I only use pots with at least one good drainage hole.
The third mistake was refreshing topsoil too aggressively. I once removed four inches of old mix because I thought deeper was better. The exposed roots dried out, the plant went into shock, and I lost an entire offshoot. Two inches maximum. That’s my rule now.
I also learned not to fertilize immediately after refreshing. The fresh mix has enough available nutrients for a month or two. Adding synthetic fertilizer on top of disturbed roots only causes burning.
Three Fatal Mistakes New Aloe Growers Make
Before going deeper into seasonal care, I want to lay out the three big killers for anyone new to aloe vera topdressing or general care.
Mistake one is watering too often. Aloe stores water in its leaves. The roots need to dry completely between waterings. If the top inch of soil is damp, do not water. I check with my finger or a wooden skewer. When in doubt, wait three more days.
Mistake two is putting aloe in low light. A mature aloe in deep shade stretches, turns pale, and weakens. It becomes more prone to rot because it isn’t photosynthesizing enough to use the water in its soil. Bright indirect light or a few hours of gentle direct sun is ideal indoors.
Mistake three is using a pot that’s too large or unglazed with no drainage. Too much soil holds too much moisture. Aloe likes to be slightly snug. I only go up one pot size at repotting time, and I never use a container without a hole.
How Topdressing Refresh Differs From Full Repotting
I think it’s worth clarifying this because people often confuse the two. A full repot means removing the entire root ball, shaking off old mix, trimming dead roots, and moving up a size or replacing all the soil. That’s invasive and stressful.
A topdressing refresh only deals with the upper one to two inches. The roots below stay completely undisturbed. The plant doesn’t know it’s been “potted up.” There’s no transplant shock, no recovery period, no leaf drop.
For mature aloe plants that don’t need a size increase, I refresh the topdressing every twelve to eighteen months. I do a full repot only when the plant is clearly root-bound, the pot is cracking, or the lower soil has broken down into sour mud.
Best Time of Year to Refresh Aloe Topdressing Soil
I’ve refreshed topsoil in almost every season through trial and error. Some worked better than others. Early spring is ideal. The plant is waking up and can use the fresh material for new root and leaf growth. Late summer also works, but I’m more cautious with water afterward because the plant is heading toward dormancy.
I avoid doing it in the middle of winter. Mature aloes slow down in cool, dark months. Disturbing the root zone then means the plant can’t recover quickly. If the topdressing is in truly terrible shape in winter, I do a very light scrape and add a thin half-inch of dry grit mix. That’s it. No water.
Seasonal Aloe Vera Care After Topdressing Refresh
Spring
Spring is my busiest time with aloe plants. After the last frost, my indoor plants start showing new growth at the center. That’s my signal. I scrape away the old topdressing, apply a fresh lean mix, and wait a week before watering. If the plant has outgrown its pot, spring is also the best time for a full repot.
I don’t fertilize heavily in spring. A light sprinkle of worm castings in the topdressing is enough. Aloe grows slowly. Overfeeding causes soft, stretched, floppy leaves that flop outward.
Summer
Summer heat can be tricky for potted aloe indoors. A south or west window can turn into an oven. I’ve scorched leaves by moving plants into too much direct sun too quickly. After a topdressing refresh, I keep the plant in bright but filtered light for two weeks. Then I gradually reintroduce stronger sun.
Watering needs go up a little in summer, but not nearly as much as people think. I still let the top two inches dry completely. I water deeply but infrequently. I also make sure air circulates around the pot. Stagnant warm air plus damp soil is a recipe for root rot and fungal issues.
Fall
In fall I cut back on water and stop all feeding. Fresh topdressing applied earlier in the year should still be in decent shape. If I refreshed in late summer, I simply monitor the surface for crusting. I don’t do any heavy scraping or root disturbance heading into winter.
This is also when I remove dead or shriveled lower leaves. They snap off cleanly at the base if they’re ready. If they resist, I leave them. Pulling half-attached leaves away can tear stem tissue.
Winter
Winter is survival mode for aloe. I move plants away from freezing window glass at night. I stop fertilizing completely. I water once every four to six weeks, depending on indoor heat and light. The topdressing should stay dry and crumbly. If the surface looks compacted, I fluff it gently with a fork but don’t remove anything.
Cold drafts and wet soil together will kill an aloe faster than almost anything else. If my plant sits near a door that opens frequently, I shift it a few feet away. The pot itself also matters. Terracotta breathes. Plastic holds moisture. In winter I prefer terracotta for mature aloe because it dries faster.
Dealing With Salt Buildup on Old Topdressing Soil
Tap water leaves mineral deposits behind, especially on indoor plants that never get rained on. I see it as a white crust on the soil surface and sometimes a chalky ring on the pot. That crust can make the top inch of mix hydrophobic and alkaline.
My fix is to remove the worst of the crusted layer with a spoon, then refresh with new gritty topdressing. I also switch to rainwater or distilled water for a few months if the buildup was heavy. The RHS advises that regular leaching with soft water can help reduce soluble salt accumulation in container plants.
I don’t try to scrub the salt off the existing soil. It doesn’t work well. It just makes mud. Remove and replace is faster and safer.
Common Aloe Pests and Problems After Refreshing Topsoil
Fresh topdressing can occasionally introduce fungus gnats if the mix is damp or of poor quality. I’ve had this happen once. I solved it by letting the soil surface dry completely for ten days and placing a yellow sticky trap nearby. The larvae can’t survive in dry gritty mix.
Mealybugs are another pest I’ve found on indoor aloe. They hide at the base of leaves and in the crevices where leaves meet the stem. After refreshing the topdressing, I check those spots carefully. A cotton swab dipped in rubbing alcohol removes small numbers.
Scale can show up on older aloe leaves. It looks like tiny brown shells. I scrape them off gently with a soft toothbrush and follow with insecticidal soap if they keep returning.
Yellowing lower leaves are usually not a disease. They’re just old. If the yellowing is soft and mushy, that’s overwatering. If it’s papery and dry, that’s normal shedding.
Brown crispy leaf tips can be caused by dry indoor air, salt buildup, or sunburn. I trim those tips back with clean scissors if they bother me, but I don’t cut into healthy green tissue.
Rot at the base is the worst. If the stem is black and mushy, the plant may be beyond saving even with a topdressing refresh. I take healthy offshoots from the sides and start fresh.
How Often Should You Refresh Aloe Topdressing Soil?
For a mature aloe in a stable home environment, I recommend every twelve to eighteen months. This isn’t a strict rule. It depends on how fast the existing mix breaks down, how hard your water is, and how much you fertilize.
Plants in small pots break down faster because there’s less soil volume to buffer things. I refresh those every six to eight months, usually just a thin half-inch scrape and replace. Large tubs can go closer to two years.
If you top-water with tap water every week, expect more crusting. If you bottom-water, the top layer stays in better shape longer because salts don’t push upward as much.
Can You Reuse the Old Topdressing Soil?
I get asked this a lot. The short answer is no for the crusty, hydrophobic upper layer. It’s done. Toss it.
But if the old topdressing is only lightly used and still crumbly, I do reuse it. I sift out debris, bake it in a low oven for thirty minutes to kill any pest eggs, and mix it with fresh grit at about fifty percent. This works for succulent mixes that were originally high quality.
I’ve done this with decent results. But honestly, for how little soil it takes to topdress even a large aloe, buying or mixing a fresh small batch is easier and safer.
What About Pebbles, Gravel, and Decorative Topdressings?
Some growers like a decorative pebble layer on top of aloe soil. It can look great. It can also trap moisture against the stem and hide what’s happening underneath. I used polished river stones on one aloe years ago. It developed rot at the base because the soil never dried properly.
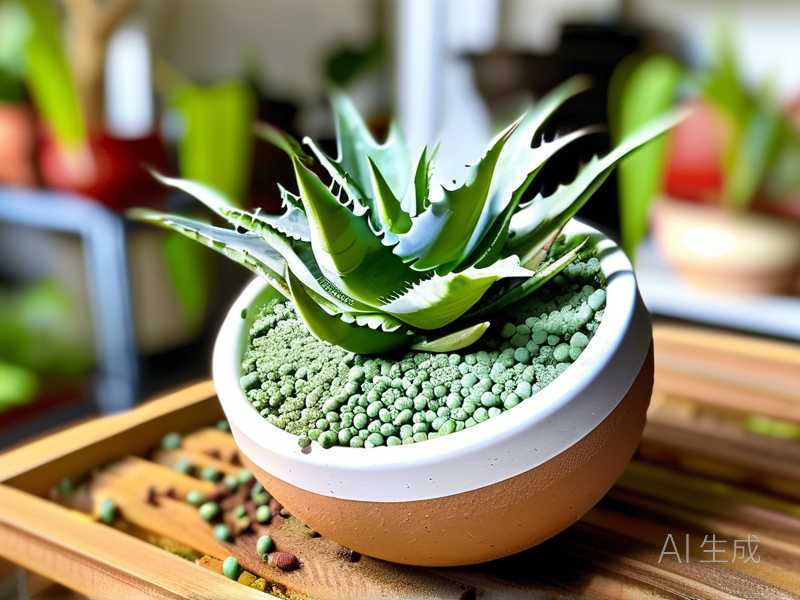
I now avoid non-porous decorative toppings on aloe. If I want a finished look, I use a thin layer of dry pumice or small lava rock. These are porous and don’t seal moisture in. They also add a little extra drainage at the surface.
A quarter-inch layer of pumice is fine. Anything deeper starts to act like a mulch. Mulch is for moisture-loving plants, not succulents.
Tools I Keep on Hand for Topdressing Refresh
I’m not a fan of using gardening tools that look like they belong in a surgical kit. Aloe work is simple. A wooden chopstick, a small spoon, my fingers, and a spray bottle are all I really need.
The chopstick loosens crusted mix without slicing roots. The spoon scrapes away old material cleanly. My fingers are best for checking moisture and lightly firming new mix. The spray bottle is for moistening dusty fresh topdressing without making the pot soggy.
I also keep a pair of clean sharp scissors for trimming dead leaf tips. I wipe them with rubbing alcohol before use, especially if a plant has shown any sign of disease.
Frequently Asked Questions
How much old soil should I remove when refreshing topdressing for a mature aloe?
I remove no more than one to two inches from the surface. Any deeper and you risk damaging fine roots and sending the plant into shock. For very large pots, I may go slightly deeper near the outer edge but stay shallow near the central stem.
Can I refresh topdressing soil and fertilize at the same time?
No. I would not. Fresh topdressing mix usually contains enough light nutrients for at least a month. Adding fertilizer on top of that risks burning the surface roots. Wait four to six weeks, and even then use a diluted succulent fertilizer at half strength.
Will refreshing topdressing soil help an aloe that’s already overwatered?
It can help a little, but it won’t save a plant with advanced root rot. If the lower leaves are mushy and the stem is soft, remove the plant from the pot, trim rotten roots, and repot into completely dry gritty mix. A topdressing refresh alone is not enough at that point.
For mature aloe vera plants, refreshing the topdressing soil is one of the most underrated houseplant tasks. It takes minutes, costs almost nothing, and solves a whole list of slow-decline problems that full repotting can’t fix without risk. I’ve lost plants by ignoring crusty soil and saved others with nothing more than a chopstick, fresh grit, and patience.
Keep the layer lean, keep it dry, and let the plant rest after you do it. That’s the whole secret. Once you see water soaking in cleanly and the plant standing firmer in its pot, you’ll know exactly why this small task matters so much.