bluename
 Aloe Vera Root Development: How to Promote Healthy Roots
There’s nothing more frustrating than a beloved aloe vera plant that just won’t thrive. You water it, give it sunlight, but it remains stubbornly limp, refuses to grow new pups, or worse, starts to wobble in its pot. I’ve been there, staring at a plant that seemed healthy above the soil but was secretly struggling below. The secret, I’ve learned through years of trial and error, almost always lies in the roots. Healthy aloe vera root development is the absolute foundation for a vibrant, resilient plant. Without a robust root system, your aloe can’t absorb nutrients or anchor itself, no matter how perfect your care routine seems.
This realization sent me on a mission to master the art of fostering strong roots. I want to share a practical, step-by-step guide from one plant lover to another, detailing exactly what I did to rescue and promote root growth, including the mistakes I made along the way and the two-week transformation I witnessed.
Understanding the Aloe Vera Root System: Why It’s So Crucial
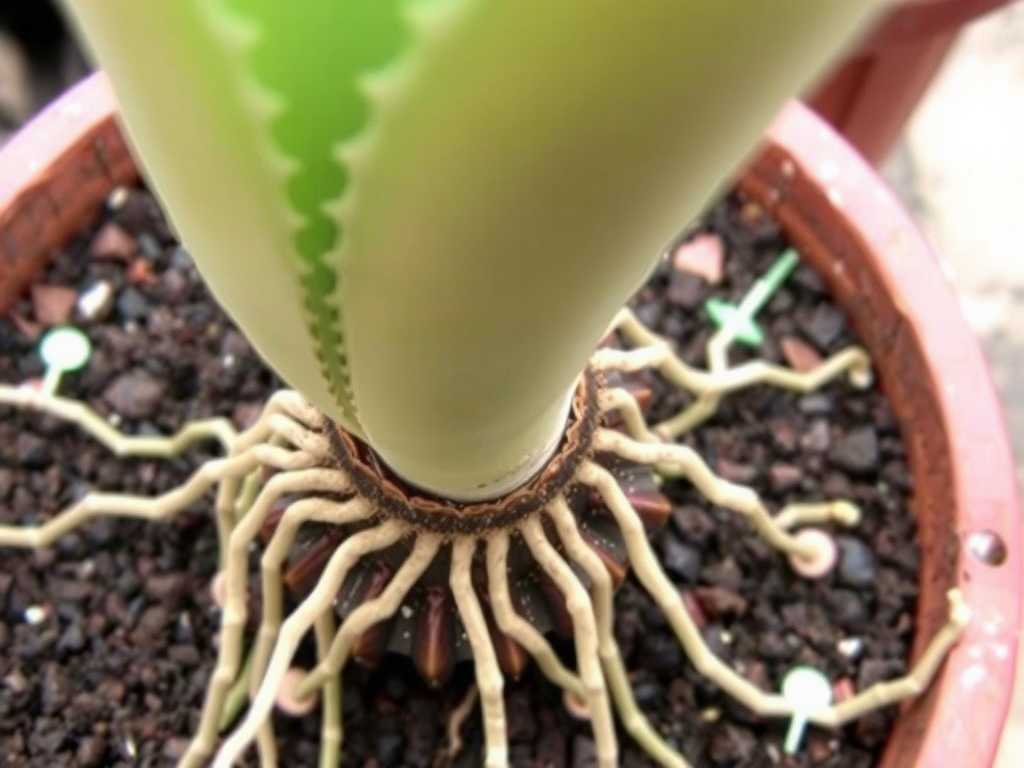
Aloe vera roots are surprisingly shallow and fibrous. They aren’t deep taproots but rather a network designed to quickly absorb moisture in their native arid environments. This means they are particularly sensitive to their growing conditions. According to the Royal Horticultural Society (RHS), succulents like aloe vera require excellent drainage above all else, as “waterlogged compost is a common cause of root death.” When roots rot, the plant’s entire foundation collapses.
For us, the goal is to create an environment that mimics their natural habitat, encouraging the roots to spread and strengthen without threat. This involves three key pillars: the right soil, the perfect pot, and a disciplined watering technique.
My Step-by-Step Process for Promoting Robust Roots
I decided to apply these principles to a mature aloe plant that had stopped growing and felt loose in its pot—a classic sign of poor root health in aloe vera. Here’s my exact process.
Step 1: The Gentle Unpotting and Root Audit First, I stopped watering the plant for over a week to dry out the soil completely. I then carefully tipped the pot and eased the plant out. The initial sight confirmed my fears: the root ball was small, dark, and slightly mushy in spots—clear evidence of early-stage rot. Many of the finer, hair-like roots were gone.
Step 2: The Surgical Trim and Dry-Out Using sterilized, sharp scissors, I trimmed away all the soft, brown, or blackened roots. I only left the firm, pale-colored healthy ones. This is a scary step, but it’s essential. Rot spreads. After the trim, I had a much-diminished but clean root system. I then placed the entire plant in a warm, airy spot out of direct sun for a full 48 hours. This allows the cut ends to callous over, sealing them and preventing new infection when planted—a critical tip I learned the hard way.
Step 3: Repotting with the Ideal “Root Gym” This is where we build the perfect home for new root growth in aloe vera.
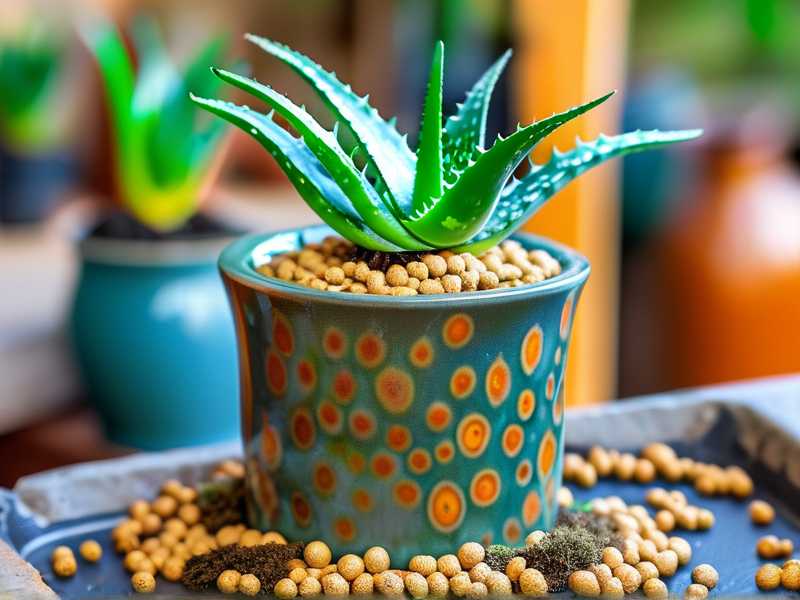
- The Pot: I chose a terracotta pot only one size larger than the remaining root ball. Terracotta is porous, allowing the soil to breathe and dry evenly. Crucially, it had a large drainage hole.
- The Soil Mix: I abandoned regular potting soil forever. Instead, I mixed a specialized succulent and cactus mix (about 60%) with additional perlite (30%) and a handful of coarse sand (10%). This creates a gritty, fast-draining, and airy medium that roots can easily penetrate without sitting in moisture. The American Horticultural Society (AHA) emphasizes that “a well-draining soil mix is non-negotiable for succulent health,” as it prevents the anaerobic conditions that cause rot.
- The Planting: I placed a piece of broken pottery over the drainage hole, added a layer of my gritty mix, and set the aloe on top. I gently filled around the roots, tapping the pot to settle the soil without compacting it. I planted it slightly higher than before to keep the base of the stem dry.
Step 4: The Initial “No-Water” Period Here was my biggest past mistake: watering immediately after repotting. This time, I did not water at all. I placed the repotted aloe in bright, indirect light and left it completely dry for another week. This forces the plant to seek out moisture, encouraging the roots to grow and expand into the new soil in search of it.
The Two-Week Observation: A Remarkable Turnaround
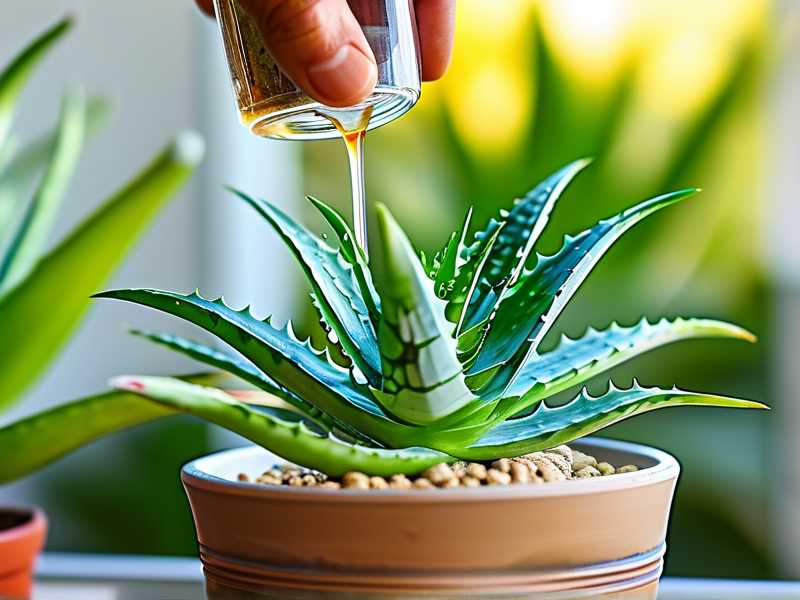
Days 1-3: The plant looked unchanged, perhaps a little stressed, which is normal. Days 4-7: After the first week (and still no water), I noticed the outermost leaves, which had been slightly soft, began to firm up. This was the plant utilizing its internal water stores and the roots beginning their work. Day 8: I performed the first watering. I used the “soak and dry” method: placing the pot in a sink and watering thoroughly until it ran freely from the bottom, ensuring the entire root ball was moistened. Then, I let it drain completely. Days 9-14: This is where the magic happened. The central, newest leaves showed a noticeable vibrancy, a deeper green. The most telling sign? A gentle tug on the plant met with firm resistance. Just a week prior, it would have wiggled. This was concrete proof of new root growth anchoring it securely. The plant was no longer just surviving; it was actively establishing itself.
The Pitfalls I Encountered and How to Solve Them
The Overwatering Trap: My earliest mistake was loving my aloe to death with water. I used to water on a schedule. The fix? I now only water when the soil is completely dry, and I always check by sticking my finger deep into the pot. In winter, this can mean a month between waterings. The “Big Pot” Fallacy: I once potted a small aloe in a large, beautiful pot. The excess soil held moisture for far too long, drowning the roots. Always size up incrementally. The roots should fill about 2/3 of the new pot. Ignoring the Signs: A wobbly plant or lack of growth over a season is a cry for help. Don’t wait until the leaves are brown and mushy. Investigate the roots at the first sign of trouble.
Frequently Asked Questions
Can I use rooting hormone on aloe vera cuttings? While you can, it’s often unnecessary for leaf or pup propagation. The most important factor is allowing the cut end to dry and callous for several days before placing it on well-draining soil. I’ve had equal success with and without hormone; the callousing is the key step.
How often should I fertilize to help root growth? Less is more. I use a diluted, balanced liquid fertilizer (like a 10-10-10) only during the active growing season (spring and summer), and no more than once a month. Fertilizing a stressed plant or in dormant periods can harm the roots. Focus on a good soil foundation first.
My aloe’s roots are growing out of the drainage hole. What does this mean? This is generally a healthy sign of vigorous growth and means your plant is likely root-bound. It’s time to repot into a slightly larger container using the gritty soil mix described. Don’t let aerial roots alarm you; they often indicate the plant is seeking more stability or moisture from the air.
Promoting strong aloe vera root development is a lesson in restraint and providing the right foundation. It’s about creating an environment where the roots feel safe to explore and expand. By focusing on a gritty, breathable soil mix, a pot that promotes dryness, and mastering the “soak and dry” watering technique, you give your aloe the best possible chance to build a powerful, healthy root system. That strong foundation is what translates into the lush, plump, and thriving plant we all desire. The two-week test with my own plant proved that with a little knowledge and patience, you can turn a struggling aloe into a rooted success story.