bluename
 How to Grow Aloe Vera in a Vertical Garden Wall: My Step-by-Step Journey
I love houseplants, but my apartment has always suffered from a severe lack of horizontal space. I dreamed of a lush, green wall but worried about the maintenance and the right plant choices. That’s when I decided to tackle growing aloe vera in a vertical garden wall. It seemed like the perfect solution: a hardy, sculptural succulent that purifies the air and offers handy gel, all while saving precious floor space. I was determined to make it work, not just as a theory, but as a hands-on project. Over two weeks, I learned what truly makes a vertical aloe garden thrive and stumbled upon a few surprises that every beginner should know.
Why Aloe Vera is a Vertical Garden Superstar
Before I built anything, I researched. The Royal Horticultural Society (RHS) notes that aloe vera’s shallow root system and drought tolerance make it exceptionally well-suited for containers with limited soil volume—a key feature for vertical planting. Furthermore, a NASA Clean Air Study highlighted aloe vera as one of the plants effective at removing common household toxins like formaldehyde and benzene. This combination of low water needs, air-purifying qualities, and architectural form solidified my choice. I wasn’t just creating decor; I was building a functional, living filter.
My Vertical Garden Setup: Choosing the Right System
Not all vertical systems are equal for succulents. I needed something that prioritized drainage above all else. After comparing pocket planters, modular trays, and custom-built frames, I chose a modular, felt-pocket system designed for herbs. My concern was its moisture retention, but its excellent drainage holes and breathable fabric won me over for my aloe vera vertical garden experiment. I ensured the mounting wall received bright, indirect light for most of the day—a south-east facing spot was ideal.
Gathering My Supplies: A Careful Curation
My shopping list was specific:
- Modular vertical felt planter panel (6 pockets)
- High-quality, fast-draining succulent & cactus potting mix
- Coarse perlite (for extra drainage)
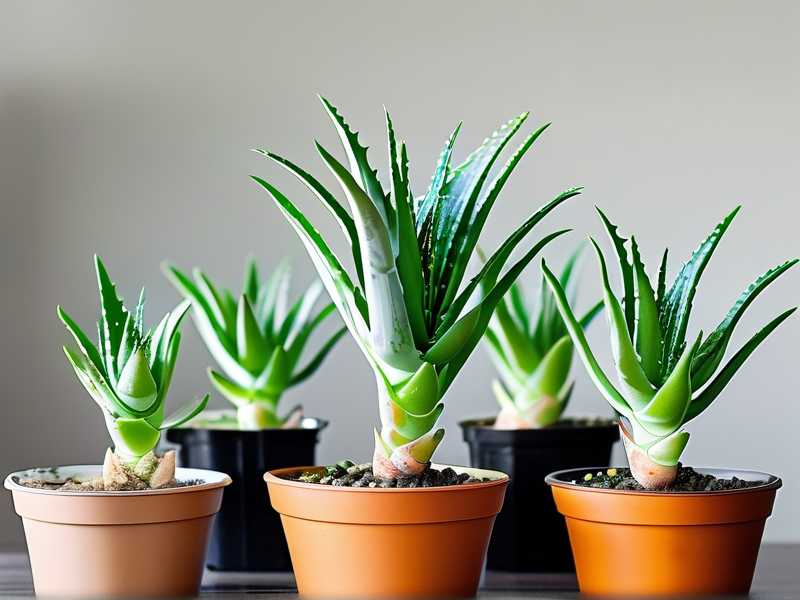
- Small, healthy aloe vera pups (4 plants)
- A reliable watering can with a narrow spout
- Wall anchors and a level
I amended the pre-bagged cactus mix by mixing in an extra 25% perlite. For vertical gardening with aloe vera, you cannot overdo drainage. Soggy roots are a death sentence, especially when gravity is pulling water downward through the system.
The Planting Process: A Delicate Operation
Step one was hydrating the potting mix until it was just barely damp—not wet. I then carefully filled each pocket about one-third full. Gently, I loosened the roots of my aloe pups and positioned each one in a pocket, holding it steady as I backfilled with more soil mix. I made sure the base of the aloe was level with the top of the soil to prevent stem rot. A gentle tap settled the plants in. I left the top two pockets empty initially, planning to use them for trailing succulents later for visual contrast.
The First Critical Two Weeks: Observation and Adjustment
This was where the real learning happened.
Days 1-3: The Settlement Phase After planting, I did not water. I let the plants and any disturbed roots acclimate. They looked slightly dull, which is normal transplant shock. I monitored light levels closely, making sure the midday sun wasn’t scorching the leaves through the window.
Days 4-7: The First Watering and a Big Mistake On day four, the soil felt completely dry an inch down. I used my watering can to give each pocket a thorough but careful drink until I saw a slight drip from the bottom. Here was my first major pitfall: I underestimated how quickly water would flow through. The stream was too strong, and it dislodged soil in one pocket, exposing some roots.
- My Solution: I immediately used a spoon to carefully add fresh soil mix to cover the roots. For future waterings, I placed the spout directly against the felt at the top of the pocket, allowing water to trickle in slowly, minimizing erosion.
Days 8-14: Signs of Success and a Humidity Surprise By the end of the first week, the aloes perked up. Their grey-green color deepened, and they felt firm to the touch—a sign of good water uptake. However, I noticed the leaves in the center-most pocket looked slightly less plump. Upon investigation, I realized this pocket received slightly less airflow.
- My Solution: I gently rotated the entire panel 45 degrees on its mount every few days to ensure even light and air exposure. This simple trick made a visible difference within days. The American Horticultural Society (AHS) emphasizes that air circulation is crucial for preventing fungal diseases in dense plantings, and this proved vital in my vertical succulent garden.
Key Lessons from My Two-Week Trial
- Drainage is Non-Negotiable: My extra-perlite mix was the best decision I made. No pockets ever felt waterlogged.
- Watering Technique is Everything: A slow, targeted soak beats a quick pour. Water less frequently than you think; I found a 10-12 day interval was perfect in my environment.
- Light and Air Need to Be Active Considerations: Even in a bright spot, micro-environments exist. Regular slight rotations promote even growth.
- Start with Established Pups: Using young but established plants with their own roots gave me a much higher success rate than trying to propagate leaf cuttings directly in the wall.
Long-Term Care for Your Vertical Aloe Wall
After the successful establishment period, care is refreshingly simple. I plan to water only when the soil is completely dry, which may be every 2-3 weeks depending on the season. A diluted, balanced fertilizer will be applied once in the spring and once in mid-summer. The beauty of an indoor vertical garden with aloe is its minimalism. It’s a living piece of art that asks for little but gives back so much.
Frequently Asked Questions
Can I use mature, large aloe plants in a vertical wall? I don’t recommend it. Their weight and top-heaviness can strain the system and make them unstable. Opt for smaller pups or juvenile plants, which will adapt better and grow to fit their space gracefully.
How do I harvest aloe gel without harming the plant in a vertical setup? Choose a thick, outer leaf. Using a clean, sharp knife, cut it as close to the base as possible at a slight angle. The vertical position makes this easier than in a crowded pot. The plant will seal the wound, and harvesting this way minimizes stress on the main rosette.
What other plants can I pair with aloe vera in my vertical garden? Stick with succulents that have similar light and water needs. Excellent companions include hens-and-chicks (Sempervivum), string of pearls (Senecio rowleyanus), or echeveria. This creates a textured, low-maintenance tapestry of drought-tolerant plants.
Growing aloe vera vertically transformed a blank wall into a point of pride and practicality. It required attention to detail in the setup and a watchful eye during the first critical weeks, but the payoff is a stunning, self-sufficient garden that thrives on neglect. By choosing the right system, mastering the watering technique, and ensuring excellent drainage and airflow, you can successfully create your own thriving vertical aloe vera garden. It’s a rewarding project that proves you don’t need a yard to cultivate a beautiful, useful green oasis.