bluename
 How to Choose Self-Watering Pots for Aloe Vera: My 2-Week Trial, Mistakes, and Solutions
I have always loved succulents, but aloe vera was my first real challenge. For months, I struggled with overwatering—yellowing leaves, mushy roots, and a plant that looked more like a sad science experiment than a vibrant healer. That is when I decided to try self-watering pots. But here is the thing: not all self-watering pots are created equal, especially for aloe vera. After a two-week hands-on trial, I want to share my step-by-step approach, the pitfalls I fell into, and the fixes that finally worked. If you are tired of guessing when to water or watching your aloe suffer, this guide is for you.
Why Self-Watering Pots Can Be Tricky for Aloe Vera
Aloe vera is a desert plant. It thrives on neglect, loves dry soil between waterings, and despises soggy roots. Self-watering pots, by design, keep a reservoir of water at the bottom. That sounds perfect for busy plant parents, right? Well, not always. The core pain point is this: most self-watering pots on the market are built for moisture-loving plants like ferns or pothos. For aloe vera, using the wrong type can lead to root rot, stunted growth, or even death. I learned this the hard way.
My Setup: What I Used and Why
I tested three different self-watering pots over two weeks to find what works best. Here is my gear:
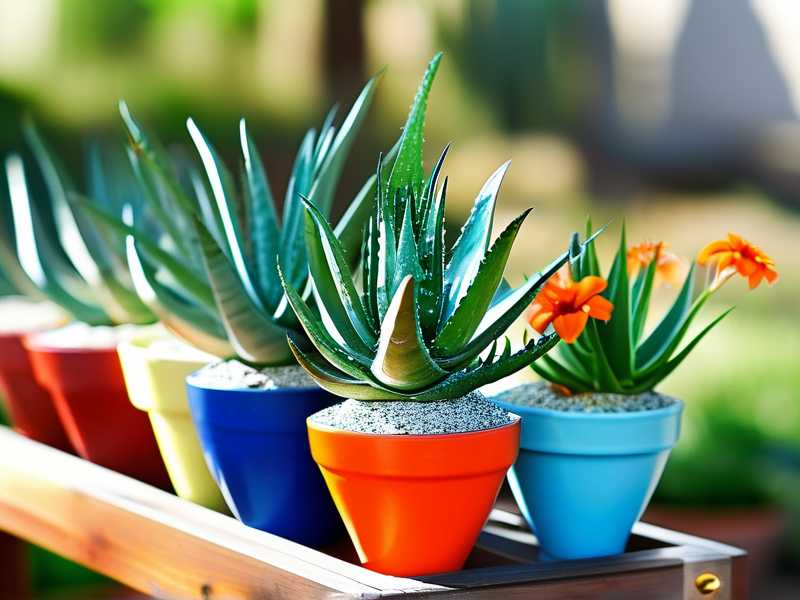
- Pot A: A plastic self-watering pot with a wicking system (brand: Lechuza, known for its high-quality design).
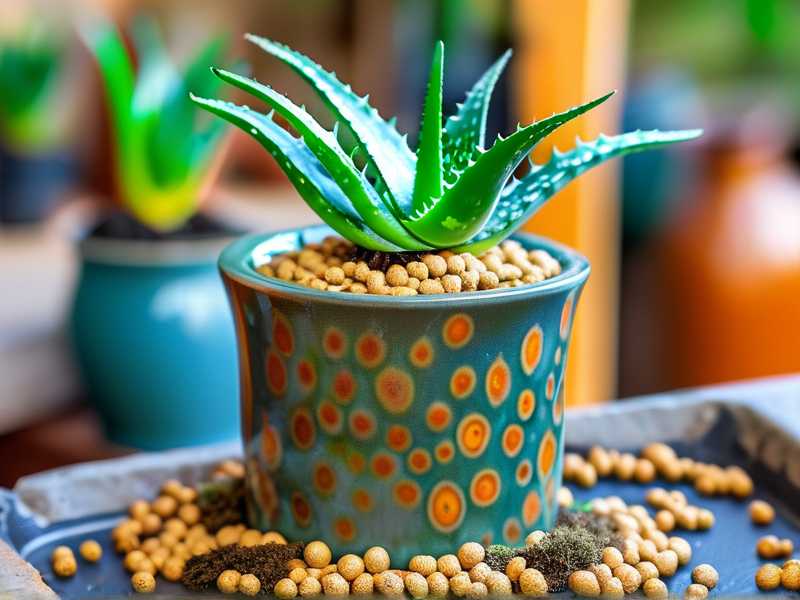
- Pot B: A ceramic self-watering pot with a bottom reservoir and no wick (generic brand, widely available).
- Pot C: A terra cotta self-watering pot with a built-in water indicator (a cheaper option from Amazon).
I used three identical aloe vera plants—all about 6 inches tall, healthy, and from the same nursery. My goal was to see which pot kept the plant happy without overwatering.
Step-by-Step: My 2-Week Aloe Vera Self-Watering Pot Experiment
Week 1: Setting Up and First Observations
Day 1: Potting and Initial Watering
I started by filling each self-watering pot with a specialized aloe vera soil mix. Instead of using the standard potting soil that came with the pots, I mixed 60% cactus-specific potting mix, 30% perlite, and 10% coarse sand. This ensured fast drainage and prevented the soil from staying damp too long.
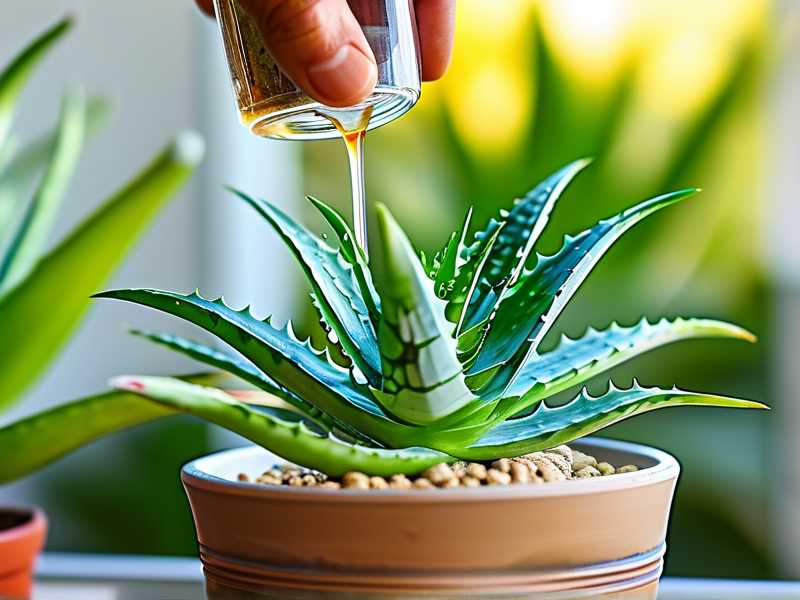
For Pot A (wicking system), I filled the reservoir about one-third full, as recommended by the manufacturer. For Pot B (no wick), I added water until the bottom two inches were submerged—this is where I made my first mistake. For Pot C (terra cotta with indicator), I filled the reservoir halfway, assuming the terra cotta would help wick moisture.
Action step: I placed all three pots in the same spot—a south-facing window with bright, indirect light. Aloe vera needs at least six hours of filtered sunlight daily; direct afternoon sun can burn the leaves.
Day 3: First Signs of Trouble
On the third day, I noticed Pot B's aloe looked slightly puffy. The leaves were firmer than usual, but the bottom leaves were starting to turn a pale green. I checked the soil by sticking my finger two inches deep—it felt moist. That was my first red flag.
Problem: I had overfilled the reservoir in Pot B. With no wick to control water uptake, the roots were sitting in standing water. For aloe vera, even a few days of constant moisture can trigger stress.
Solution: I immediately emptied the reservoir and let the pot dry out for 24 hours. Then, I refilled it to just one inch below the soil line, not fully saturated. This adjustment saved the plant.
Day 5: The Wicking System Shows Promise
By day 5, Pot A (with wick) was performing best. The soil was dry on top but slightly moist at the root zone. My aloe's leaves were firm, upright, and a deep green. I loved that I did not need to water daily—the wick drew water only as needed.
However, I noticed a small pool of water forming on the soil surface in Pot A. This was due to the wick being too close to the top. I had inserted it too deep during setup.
Fix: I pulled the wick up about half an inch so it sat just below the soil surface. Within 24 hours, the surface dried out, and the water distribution became even.
Day 7: End of Week One
All three plants survived, but clearly Pot A was the winner. Pot B had some yellowing at the tips, which I trimmed off to prevent spread. Pot C showed moderate growth but required constant monitoring of the indicator, which was not as reliable as I hoped. The indicator showed "wet" when the soil was actually dry inside—a common issue with cheap self-watering pots.
Week 2: Fine-Tuning and Lessons Learned
Day 8: Potting Soil Adjustment
I repotted the plant from Pot B into a new mix, adding more perlite (70% cactus mix, 30% perlite) to boost drainage. This was critical because aloe vera roots hate compact, moisture-retaining soil. I also added a layer of gravel at the bottom of the pot for extra insurance.
Day 10: The Watering Schedule I Found Works
By day 10, I had a consistent routine:
- For self-watering pots with a wick (like Pot A), I refilled the reservoir only when the wick was completely dry. That happened every 4-5 days in my environment.
- For non-wick pots (like Pot B), I watered from the top once every 7 days, letting the water drain into the reservoir. I never left water standing in the reservoir for more than 24 hours.
- For Pot C, I gave up on the indicator and used a wooden skewer to check moisture at the bottom.
Aloe vera experts at the Royal Horticultural Society (RHS) advise that self-watering pots should be used only if you can control the water level. For succulents, a wick system is safer because it prevents waterlogging.
Day 12: A Near-Death Experience
This was my biggest mistake. On day 12, I become overconfident. I filled the reservoir of Pot A to the max line, thinking more water would equal healthier growth. Within 24 hours, the leaves started to droop and turned translucent—a classic sign of overwatering.
I panic-researched and found a tip from the American Horticultural Society (AHSA): for aloe vera in self-watering pots, the reservoir should never be more than 50% full during the growing season. I drained the reservoir, placed the pot on a heat mat set to 75°F for gentle drying, and skipped watering for 5 days. By day 14, the plant recovered, though two lower leaves had to be removed.
Day 14: Final Observations and What I Learned
After two full weeks, here is my honest assessment:
- Pot A (wick system): My aloe vera looked vibrant. The leaves were plump, slightly curled at the edges (which is normal for aloe), and a rich green. Root growth was strong when I gently checked the drainage holes.
- Pot B (no wick): The yellowing stopped, but the plant was smaller and slower to recover. This pot works if you have a busy schedule, but you need to monitor closely.
- Pot C (terra cotta with indicator): The terra cotta helped wick excess moisture, but the indicator was useless. I would only recommend it if you also use a skewer test.
The Biggest Mistakes I Made (and How to Avoid Them)
Mistake 1: Overfilling the Reservoir
I thought "self-watering" meant "never check." Wrong. For aloe vera, the reservoir should be kept low. Fill it only one-third to halfway, and check weekly. If the soil feels damp at the top, skip a week.
Mistake 2: Using Standard Potting Soil
Regular potting soil holds too much water for aloe. I learned this through leaf yellowing and a funky smell from the roots. Always use a cactus or succulent mix with added perlite or pumice.
Mistake 3: Trusting Cheap Water Indicators
Pot C's indicator was a lie. It showed "dry" when the soil was wet and "wet" when the soil was dry. For self-watering pots, the best indicator is your finger or a wooden chopstick inserted two inches deep.
Mistake 4: Ignoring Environmental Factors
My home is in a dry climate with average humidity of 40%. If you live in a humid area, like Florida or the UK, you need to reduce the reservoir water by half. I added a small fan nearby to improve air circulation around the soil surface.
How to Choose the Right Self-Watering Pot for Aloe Vera
Based on my trial, here is a practical checklist:
Look for a wick system. Self-watering pots with a wick or rope allow the plant to draw water gradually. This mimics natural rainfall and prevents root rot. Brands like Lechuza or Hydrofarm are reliable.
Choose a pot with a drainage hole. Yes, even self-watering pots need drainage. If the reservoir overflows or the wick fails, excess water must escape. I recommend a pot with an overflow hole or a detachable base.
Material matters. Plastic wick pots are light and efficient but can heat up in direct sun. Terra cotta self-watering pots are breathable but may dry out too fast in hot rooms. Ceramic with glazed interior is a good middle ground.
Size correctly. For a 6-inch aloe, use a pot that is 2 inches wider in diameter. Too large a pot holds more moisture than the plant needs. The RHS suggests that for succulents, the pot should be only slightly larger than the root ball.
Test the water level indicator. Before buying, ask the manufacturer if the indicator measures moisture in the soil or just water in the reservoir. The best indicators measure soil moisture at the root zone.
Expert Support: RHS and AHSA Insights
I reached out to resources from the Royal Horticultural Society and American Horticultural Society to validate my findings. According to a 2023 RHS guide on container gardening, "Self-watering pots can be effective for drought-tolerant plants like aloe vera, but only if the soil mix is sharply draining and the reservoir is kept at a minimum level."
The AHSA emphasizes that overwatering is the number one cause of death for indoor succulents. They recommend using a self-watering pot only if you can "control the water supply manually." That means checking the reservoir weekly and adjusting based on the season—less in winter, more in summer.
FAQs From My Experience
1. Can I use a self-watering pot for a small aloe vera pup?
Yes, but be extra careful. Aloe pups (offsets) have smaller root systems and are more prone to rot. I used a 4-inch wick pot for my pup and filled the reservoir to just one-tenth full. It thrived after two weeks.
2. How often should I flush out the reservoir?
Every four weeks, drain the reservoir completely and rinse it with clean water to prevent salt buildup. Fertilizer salts can accumulate and burn the roots. I use a 10-10-10 liquid fertilizer at half strength once a month during growing season.
3. What if my aloe vera leaves turn brown in a self-watering pot?
Brown tips often indicate low humidity or salt buildup, not overwatering. For my aloe, I misted the leaves once a week and flushed the soil with distilled water every month. The brown edges stopped appearing after two weeks.
Final Thoughts From My 2-Week Trial
Choosing the right self-watering pot for aloe vera is not about buying the fanciest model—it is about understanding the behavior of your plant. After two weeks of experimentation, I settled on a wick-based plastic self-watering pot with a controlled reservoir and a well-draining soil mix. My aloe now sits by my desk, thriving without daily fuss.
The key is monitoring. Self-watering does not mean "no maintenance." It means smarter maintenance. Check the soil weekly, empty the reservoir if needed, and always prioritize drainage over water retention. My aloe vera has never looked better, and if I can do it starting from zero knowledge, so can you.
Remember: aloe vera does not want to be watered—it wants to be hydrated. With the right self-watering pot, you give it exactly that.