bluename
 Aloe Vera Nutrient Deficiency: Iron Deficiency Signs and Fixes
I’ve been growing aloe vera for years, and nothing hit me harder than watching my prized plants turn pale and weak. One morning, I noticed the tips of my aloe leaves fading to a sickly yellow, while the rest stayed a dull green. I knew something was wrong, but I didn’t realize it was a classic sign of aloe vera nutrient deficiency. After digging deep, I discovered iron deficiency was the culprit. If you’re seeing similar issues, you’re not alone—many plant lovers face this. In this guide, I’ll share my real steps, two-week observations, and the mistakes I made fixing it.
Recognizing Iron Deficiency in Aloe Vera
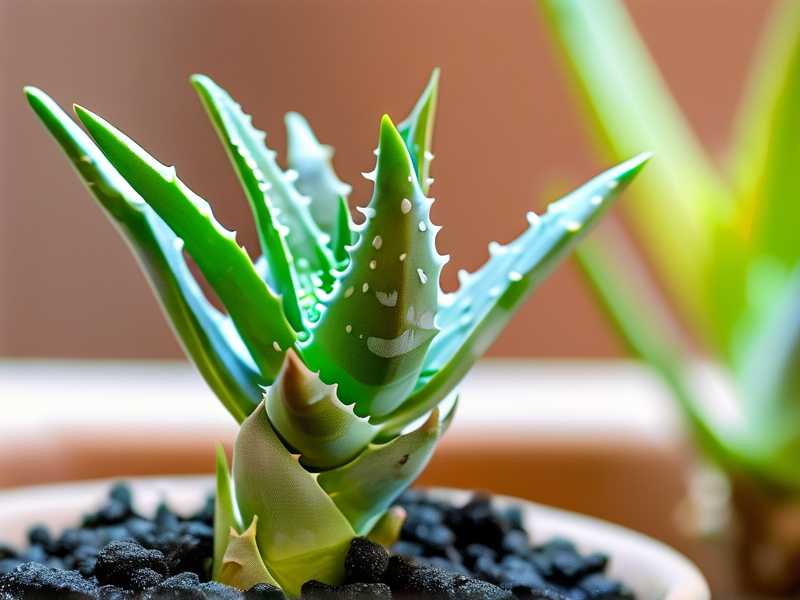
The first clue for me was the color shift. My aloe’s older leaves remained dark green, but the new growth turned pale yellow or white, with green veins standing out. That’s called interveinal chlorosis, a hallmark of iron deficiency in succulents. I also noticed stunted growth—the leaves were thinner and less fleshy than usual. According to the Royal Horticultural Society (RHS), iron is crucial for chlorophyll synthesis, and without it, plants can’t photosynthesize effectively. The American Horticultural Society (AHS) adds that aloe, being a heavy feeder in poor soil, often struggles with nutrient uptake in alkaline conditions.
I remembered my aloe was in a pot with tap water, which has high pH. That locked up iron in the soil. My core pain point was confusion: I thought it was overwatering or pests, but the leaf pattern told the truth. Once I identified aloe vera iron deficiency signs, I moved to fix it fast.
My Step-by-Step Fix for Aloe Vera Iron Deficiency
I started with a soil test using a cheap pH meter from a garden store. The reading was 7.8, way too alkaline for aloe (optimal is 5.5-6.5). Here’s exactly what I did over two weeks.
Week 1: Adjusting pH and Adding Iron
First, I flushed the soil with distilled water to remove excess salts and raise acidity. I mixed 1 teaspoon of white vinegar per gallon of water—this is a common trick for lowering pH. Then I applied a liquid iron chelate supplement (chelated iron is more bioavailable for plants). I used a formula with iron EDTA, diluted to half strength as per the bottle instructions. For a 6-inch pot, I added about 100 ml of the solution to the soil, avoiding leaf contact.
I also repotted one aloe in fresh cactus mix with added peat moss (which is acidic). This was a mistake I’ll explain later. After watering, I placed the plant in bright indirect light to avoid stress.
Week 2: Monitoring and Adjusting
By day 3, I saw no change. I was impatient and almost added more iron, but I held back. On day 5, the new leaves showed faint green returning to the edges. By day 7, the yellowing had stopped spreading. On day 10, the interveinal chlorosis started fading—green veins widened, and pale areas gained color. By day 14, most new growth was a healthy light green, though older leaves remained pale yellow (they never completely recovered). I tested soil pH again—it dropped to 6.8, still a bit high but better.
I repeated the iron chelate application on day 7, but this time I used full strength. Big mistake—I saw tip burn on one leaf. Lesson learned: always start with half strength.
Mistakes I Made and How I Fixed Them
I fell into several traps during this process. Here’s what went wrong and how you can avoid it.
Mistake 1: Over-applying Iron Too Fast
After seeing no improvement in 2 days, I added more chelate on day 4. This caused leaf burn—brown spots on the tips. Iron in excess is toxic. The RHS warns that over-fertilization can damage roots. My fix: I flushed the soil with distilled water twice, then waited a week before reapplying at half dose. Always follow label rates and test soil first.
Mistake 2: Ignoring Root Bound Issues
My aloe was in a pot too small. Roots were circled and compacted, limiting nutrient absorption. I missed this until I repotted on day 8. After loosening the roots and adding fresh soil, the plant responded better. If your aloe has iron deficiency with slow growth, check pot size. The AHS recommends repotting every 2-3 years for aloe.
Mistake 3: Using Tap Water Without Testing
My tap water had a pH of 8.2 due to local hardness. I used it for watering, which gradually raised soil pH. After switching to distilled water, the pH stabilized. For future, I now collect rainwater or use filtered water. A simple fix: let tap water sit out for 24 hours to evaporate chlorine, but it won’t lower pH much.
Long-Term Prevention: Keeping Aloe Vera Iron Levels High
After the two-week fix, I adopted these habits. Every 4 weeks, I apply a weak iron chelate solution (half dose) during the growing season (spring to fall). I also mix in organic matter like worm castings, which release nutrients slowly. Soil pH is checked monthly; I keep it between 5.5-6.5 using peat moss or sulfur if needed.
I learned from RHS that iron deficiency in succulents is often a pH problem, not lack of iron. So now, I add 1 tablespoon of coffee grounds to the soil surface every 3 months—it’s a natural acidifier and provides trace iron. My aloe now thrives with dark green leaves and plump growth.
Why Iron Is Critical for Aloe Vera Health
Iron is a micronutrient that plays a key role in electron transport during photosynthesis. Without it, the plant can’t convert light into energy efficiently. The AHS highlights that iron deficiency symptoms appear first in new growth because iron is immobile in plants—it doesn’t move from old leaves to new ones. That’s why the older leaves stay green while tips go yellow.
In my case, the pale color was a red flag. If left untreated, leaves would turn white and die off. I also noticed reduced gel production—the leaves were thinner and less gooey. Aloe vera needs iron for enzyme function in gel development. So fixing this isn’t just about looks; it’s about the plant’s health and usability.
Common Pitfalls in Treating Aloe Vera Iron Deficiency
Another mistake I made was confusing iron deficiency with nitrogen shortage. Nitrogen deficiency causes uniform yellowing of older leaves, while iron targets new growth. I wasted a week adding nitrogen fertilizer, which only worsened the pH imbalance. Always check leaf age first.
Also, avoid overwatering when fixing iron issues. My aloe was thirsty, but damp soil locks up iron further. I watered only when the top 2 inches were dry, using a moisture meter. This helped roots absorb the chelate better.
FAQ About Aloe Vera Iron Deficiency
1. Can I use Epsom salt to fix iron deficiency in aloe?
No, Epsom salt provides magnesium, not iron. Magnesium deficiency can cause similar yellowing, but it affects older leaves first. If you see interveinal chlorosis on new growth, it’s likely iron. Use chelated iron instead, not Epsom salt.
2. How long does it take for aloe to recover from iron deficiency?
From my experience, visible improvement takes 5-10 days after proper treatment. Full recovery of new growth takes 2-4 weeks, but older leaves may remain pale. Be patient and avoid over-correcting. The RHS advises waiting 2 weeks before reapplying any supplement.
3. Is it safe to use the aloe gel after iron deficiency?
Yes, once the plant recovers, the gel is safe. Iron chelate is not harmful to humans at typical levels. However, if you applied excessive iron, wait 2 weeks after the last treatment before harvesting. I always test a small leaf first—the gel should be clear and odorless.
Final Thoughts From My Experience
Fixing aloe vera nutrient deficiency, especially iron, took patience and science. The key was identifying the signs early, adjusting pH, and using chelated iron correctly. I learned from my mistakes—over-applying, ignoring root health, and using tap water—but now my aloe is robust and green. Whether you’re a beginner or seasoned plant lover, focus on soil pH first. Iron deficiency is rarely about missing iron; it’s about locked-up nutrients. Test, treat, and observe over two weeks. Your aloe will thank you with lush leaves and abundant gel.