bluename
Aloe Vera Root Rot Prevention: Pre-Planting Tips That Actually Work
There’s a special kind of heartbreak that comes from watching a healthy aloe vera plant slowly succumb to root rot. I’ve been there. You bring home a vibrant plant, pot it with love, only to find its leaves turning soft, mushy, and brown from the base up. It’s a silent killer, often going unnoticed until it’s too late. After losing a few prized aloes to this fate, I realized the battle isn’t fought when the rot appears; it’s won or lost long before, in the crucial pre-planting phase. True aloe vera root rot prevention starts with the choices you make before the plant even touches the soil.
For years, I treated potting as a simple, almost mundane task. My focus was on watering and sunlight, assuming the foundation was sound. I was wrong. It took a systematic, two-week experiment with careful observation to understand how foundational pre-planting steps are the ultimate shield against rot. Here’s my journey, the steps I now swear by, the mistakes I made, and how you can build an unshakable defense for your aloe vera from the ground up.
The Foundation: Choosing and Preparing the Right Pot
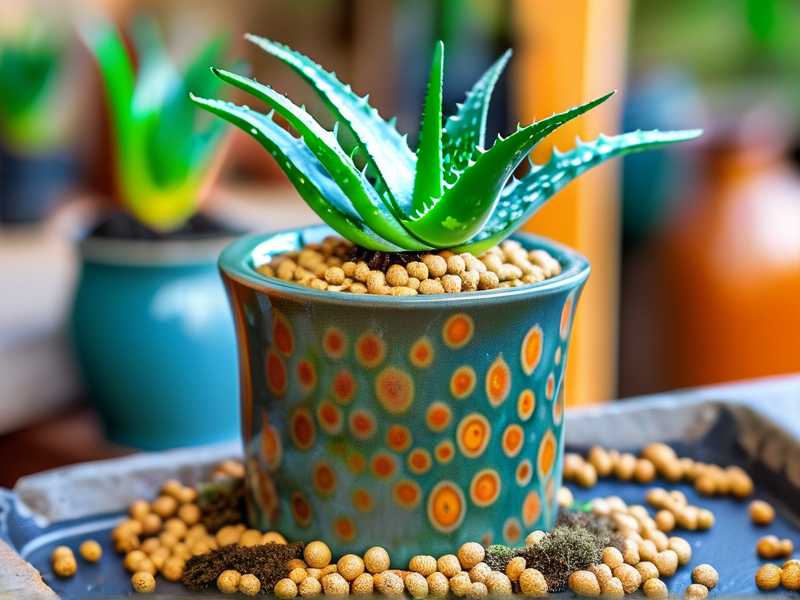
The container is your plant’s home, and its design is the first line of defense. I used to repot aloes into any decorative pot I fancied, often ceramic without drainage. This was my first and most critical mistake.
My Non-Negotiable Pot Criteria:
- Drainage Holes Are Mandatory: This is non-negotiable. Every pot must have at least one sizable drainage hole. I now test this by pouring a cup of water through an empty pot to ensure it flows freely.
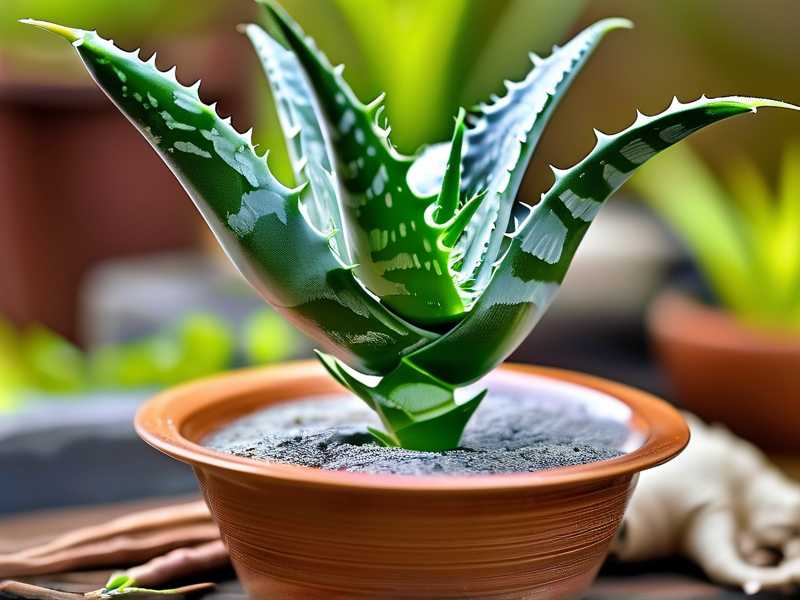
- Material Matters: Terracotta is my gold standard. Its porous nature allows the soil to breathe and wicks away excess moisture from the roots. If using plastic or glazed ceramic, I am doubly cautious with my watering schedule and soil mix.
- Size Appropriately: Aloes prefer to be slightly root-bound. A pot that’s too large holds excess soil, which stays wet longer, creating a perfect environment for root rot fungi. I choose a pot that’s only 1-2 inches wider in diameter than the root ball.
The Two-Week Observation: I potted two identical aloe pups from the same mother plant. One went into a snug terracotta pot with a drainage hole. The other, as a controlled test, went into a slightly oversized, non-draining glazed pot. After the initial watering, I monitored the soil moisture with a simple finger test. In the terracotta pot, the top inch dried out in about 7 days. In the glazed pot, the soil remained damp and cool to the touch for the entire 14 days. The plant in the well-draining pot showed firm, plump leaves, while the other’s lower leaves began to feel slightly softer by the end of the second week—a very early warning sign.
The Game-Changer: Crafting the Perfect Well-Draining Soil Mix
This was the most transformative step in my pre-planting strategy for healthy aloe roots. Bagged “cactus and succulent” soil from the store is a good start, but I found it often retains more moisture than ideal for aloes, especially indoors.
My Custom Aloe Vera Soil Recipe: I mix my own blend to guarantee drainage. Here’s my formula:
- 2 parts high-quality potting soil (provides structure and nutrients)
- 1 part coarse perlite (creates air pockets and improves drainage)
- 1 part horticultural sand or poultry grit (adds weight and prevents compaction)
I thoroughly combine these in a large tub until the mixture is uniform. According to the Royal Horticultural Society (RHS), a well-aerated, free-draining compost is essential for succulents to prevent waterlogging at the roots—a primary cause of rot. My mix aligns perfectly with this expert guidance.
The Pitfall and Fix: Initially, I used fine play sand. Big mistake. It compacted the soil, essentially creating concrete around the roots and hindering drainage. The fix was switching to sharp, coarse sand or gritty materials. The difference was night and day. Water now percolates through the mix instantly during watering, which is exactly what you want.
The Critical Pre-Planting Inspection and Prep
You can have the perfect pot and soil, but planting an already compromised plant is a doomed effort. This step is about ensuring aloe vera root health before potting.
My Step-by-Step Plant Prep:
- Gentle Removal: I carefully tip the nursery pot and coax the aloe out, supporting the base. I never pull on the leaves.
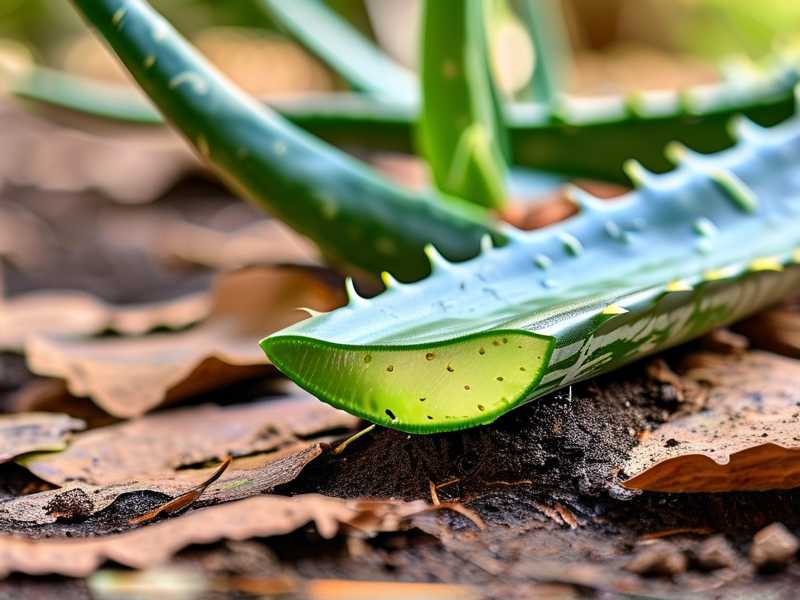
- Root Ball Examination: I gently loosen the old soil from the roots with my fingers. This is a detective moment. I’m looking for firm, white or tan roots. Any that are dark brown, black, mushy, or slimy are infected and must go.
- The Surgical Step: Using pruning shears sterilized with isopropyl alcohol, I snip off every single rotten root, cutting back to healthy, firm tissue. It can feel drastic, but it’s necessary.
- The Callus Period: This is my secret weapon. After pruning, I don’t plant immediately. I let the aloe, with its freshly cut roots, sit in a dry, shaded, airy spot for 24-48 hours. This allows the wounds to callus over, sealing them and preventing soil-borne pathogens from entering. The American Horticultural Society (AHS) notes that allowing cuts to dry before replanting is a key practice for many succulents to prevent infection.
The Two-Week Observation: I took two aloes from the same source. For one, I performed the full inspection and callusing process. The other, I repotted immediately after a quick root shake. Both were potted in my custom mix. Over two weeks, the “immediate repot” plant showed no growth and its color seemed slightly dull. The callused plant, after a period of initial shock, began to show signs of new root growth and maintained turgid, bright green leaves. The callusing period gave it a resilient start.
The Planting Ceremony: Doing It Right
How you place the plant in the pot matters more than you think.
My Planting Protocol:
- I place a piece of breathable landscape fabric or a coffee filter over the drainage hole to keep soil in while allowing water out.
- I add a layer of my pre-moistened soil mix to the bottom.
- I position the aloe so its base (where the leaves meet the roots) sits just below the pot’s rim. Crucially, I ensure no leaves are buried. Burying the stem or lower leaves is an invitation for rot.
- I fill in around the roots with more soil, gently tamping to remove large air pockets. I leave about a half-inch of space at the top for watering.
- Here’s the final, vital step: I do not water it. After all that careful drying and callusing, I wait. I place the newly potted aloe in bright, indirect light and leave it alone for 5-7 days. This encourages the roots to seek out moisture and begin establishing in their new, dry environment.
The Pitfall: My old habit was to give a “welcome drink” immediately after repotting. This often led to the cut roots sitting in wet soil, negating all the careful callusing work. Withholding that initial water was a game-changer for my aloe vera root rot prevention success rate.
Frequently Asked Questions
How do I know if my aloe needs repotting, and is that the best time for these pre-planting steps? Look for roots growing out of the drainage holes, the plant becoming top-heavy and tipping over, or the soil degrading and compacting. Yes, repotting is the perfect, controlled opportunity to implement all these pre-planting tips. It’s much easier to prevent rot during a scheduled repot than to emergency-treat an already rotting plant.
Can I use regular garden soil for my aloe vera? I strongly advise against it. Garden soil is designed to retain moisture and often contains clay, which compacts in containers, suffocating roots and creating a waterlogged environment. It also may harbor pests and pathogens. The controlled, sterile, and well-draining environment of a custom potting mix is far safer for container-grown aloes.
What’s the single most important tip here if I only do one thing? If you only change one practice, make it the pot with excellent drainage. No amount of careful watering can compensate for a pot that traps water at the bottom. Combining this with a gritty soil mix addresses over 90% of the root rot risk factors before you even begin your care routine.
The health of your aloe vera is dictated in those quiet moments before it settles into its new home. By investing time in selecting the right container, crafting a breathable soil environment, meticulously preparing the plant itself, and planting with intention, you build resilience into its very foundation. My two-week experiments proved that these pre-planting steps don’t just prevent problems; they actively promote vigorous, healthy growth. It’s a shift from reactive plant care to proactive plant stewardship. Start strong, and your aloe will reward you with years of robust, trouble-free growth.