bluename
Can Aloe Vera Be Grown as a Ground Cover? My Two-Week Experiment
I’ve always been on the lookout for resilient, low-maintenance ground cover plants that can handle my sunny, sometimes neglectful garden patches. The usual suspects like creeping thyme or sedum are great, but I wanted to explore something more unusual, with added benefits. That’s when the question hit me: can aloe vera be grown as a ground cover? It seemed like a wild idea. We all know aloe as a potted succulent, prized for its gel. But could it spread and blanket the soil like a true ground cover? I decided to run a real-world, two-week experiment to find out, documenting every step and surprise along the way.
My primary goal was to test its practicality. I needed a solution for a hot, well-draining slope where water runs off quickly and other plants have struggled. The promise of a living mulch that could also provide handy aloe gel was incredibly appealing. This journey would test the plant's hardiness, spread, and overall viability in this unique role.
Understanding Aloe Vera's Natural Habits
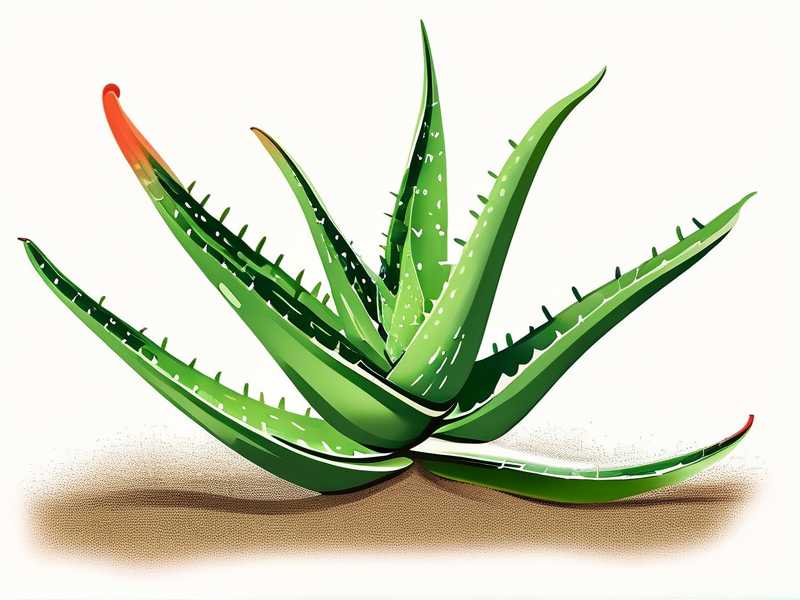
Before digging in, I had to set realistic expectations. Aloe vera is a clumping succulent, not a runner like strawberries or ivy. It won’t send out stolons to colonize areas rapidly. Instead, it reproduces by producing offsets, or "pups," around its base. For ground cover use, this means dense planting is crucial from the start. I also learned from resources like the Royal Horticultural Society (RHS) that while aloe is drought-tolerant, it is frost-tender. This immediately defined the scope of my experiment: a warm, frost-free microclimate in my garden was non-negotiable.
My Step-by-Step Ground Cover Planting Process
I chose a south-facing slope with excellent drainage, about 4 feet by 6 feet. The soil was already sandy, which was perfect. Aloe vera despises "wet feet," so good drainage is the number one rule.
Week 1: Preparation and Planting
Day 1-2: Soil and Site Prep I didn’t need to amend the soil much, but I did loosen it and mix in a generous amount of coarse sand and perlite to guarantee drainage. I also cleared all weeds meticulously. Any competition for resources would hinder the aloe's establishment.
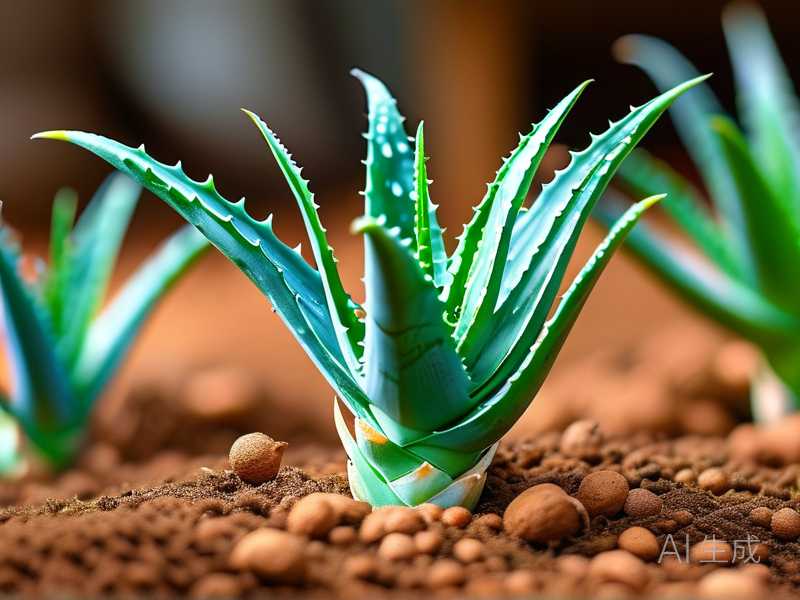
Day 3: Sourcing and Spacing Plants Buying enough mature aloe plants to cover the area would have been expensive. Instead, I used a mix: five large, healthy "mother" plants from my collection and about 20 smaller pups I had propagated over previous months. The key to a ground cover effect is tight spacing. I planted them roughly 8 to 10 inches apart, center to center. I nestled each plant into the soil, ensuring the root ball was level with the surface and the stem was not buried, which can cause rot.
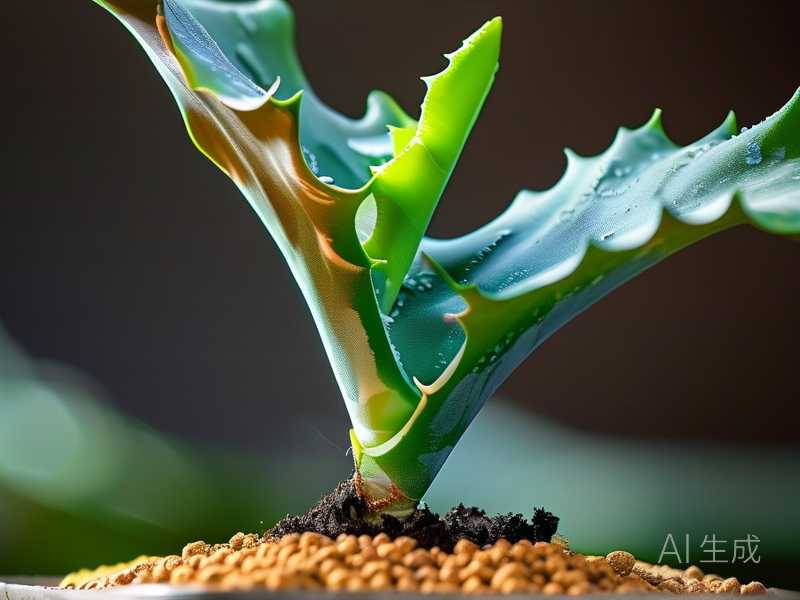
Day 4: Initial Watering and Mulch After planting, I gave them a thorough but careful watering, directing water to the soil, not the rosettes. To help retain some moisture and suppress weeds while they settled, I used a thin layer of small, light-colored gravel as mulch. This reflects heat, keeps the leaves dry, and mimics their natural rocky habitat.
The First Two Weeks: Observation and Adjustments
The initial two-week period was critical for monitoring stress and adaptation.
Week 1 Observations: The first few days were uneventful. Then, around day 5, I noticed the first problem. A few leaves on some larger plants, especially on the sunniest side of the patch, started to turn a reddish-brown. This was alarming! I feared sunburn or disease.
The solution came from recognizing the signs. These plants were likely stressed from the sudden transition to full, all-day sun, even though aloe loves light. They needed acclimatization. I couldn’t move them, so I improvised a temporary shade cloth for the hottest part of the day (11 AM to 3 PM) using a piece of burlap stretched over a few stakes. I also checked the soil; it was bone dry an inch down, which was actually good. I resisted the urge to overwater.
Week 2 Observations: By the start of the second week, the discoloration stopped progressing on the shaded plants. The smaller pups, interestingly, showed no signs of stress and appeared to be establishing well. The gravel mulch was proving its worth—no weeds had emerged, and the soil temperature seemed more stable.
I removed the temporary shade after day 10. The plants now seemed more accustomed to the spot. There was no visible spreading (I didn’t expect any yet), but crucially, there was no dieback either. The plants were holding their ground, their leaves firm and turgid. I gave them one more deep watering at the end of week two, only because we’d had no rain and the leaves showed the very slightest hint of thinning.
Key Challenges and Solutions in Using Aloe as Ground Cover
My experiment highlighted specific challenges of using aloe vera for landscaping on a larger scale.
-
The Spreading Speed "Issue": This is the biggest mental shift. Aloe vera for full sun coverage requires patience and upfront investment. You are planting a "living mosaic" that will slowly fill in over months and years as pups form. It’s not an instant carpet. My solution was to accept this and appreciate the architectural, sculptural look of the closely spaced clumps in the meantime.
-
Moisture Management: The line between drought-tolerant and parched is fine. While established plants are resilient, new plantings need careful monitoring. My "less is more" watering approach, guided by checking for leaf firmness, was vital. Overwatering would have been a death sentence.
-
Climate Limitations: The American Horticultural Society (AHS) heat zone map confirms aloe's love for warmth, but its cold intolerance is a major constraint. My two-week test happened in stable weather. For long-term success, I have a frost cloth ready for any unexpected cold snaps. This isn’t a "plant and forget" solution for all zones.
Assessing the Two-Week Results and Long-Term Viability
After 14 days, can I call it a successful aloe vera ground cover alternative? For my specific goal, yes—but with clear caveats.
The planted area looked healthy, structured, and intentionally designed. It was effectively suppressing weeds and holding the sandy slope in place with its root systems. No plants were lost. The aesthetic was modern and water-wise, exactly what I wanted for that difficult spot.
For true ground cover purposes, aloe works best in specific scenarios: in frost-free climates (USDA zones 9-11), in well-draining soils or slopes, and where a slow-filling, sculptural look is desired. It’s phenomenal for xeriscaping. For someone wanting quick, dense coverage or dealing with shady, moist, or cold conditions, traditional ground covers are a better choice.
Common Questions About Using Aloe Vera as Ground Cover
How fast does aloe vera spread as ground cover? Don’t expect rapid coverage. From my setup, I anticipate waiting 1-2 full growing seasons for the pups to fill most of the gaps between the initial plants. Growth is slow but steady in favorable conditions.
Can you walk on aloe vera ground cover? Absolutely not. This is a crucial point. Aloe leaves are brittle and filled with gel. They will break and crush underfoot. This planting is purely ornamental and for soil stabilization, not a substitute for lawn or walkable thyme. Design it in areas with defined pathways or viewing angles.
How do you maintain an aloe vera ground cover? Maintenance is refreshingly simple. Water deeply but infrequently, only when the soil is completely dry. Remove any dead or damaged outer leaves to keep it tidy. The only real "work" is harvesting the pups. You can either replant them to thicken the coverage elsewhere or pot them up to share with friends. An annual top-up of gravel mulch helps maintain appearance and drainage.
My two-week deep dive proved that growing aloe vera as a ground cover is not only possible but can be a brilliant, low-water landscaping solution in the right context. It asks for a shift in perspective—from seeing it as a potted healer to appreciating it as a structural, living mulch. The initial challenges of sun acclimation and spacing are easily managed with a little knowledge. If you have a hot, dry, well-draining spot and the patience to watch a beautiful, useful plant community slowly expand, then this experiment is well worth trying in your own garden.