bluename
 How to Improve Soil Stability for Wind-Exposed Aloe Pots
If your aloe pot keeps tipping over or the soil keeps washing away every time the wind picks up, the fastest fix is to switch to a heavier, chunkier soil mix and use a wider, heavier pot. I learned this the hard way after losing two gorgeous aloe plants to a single windy afternoon on my balcony. Aloe vera and other upright aloe species have shallow root systems. They store a lot of water in their thick leaves. That makes them top-heavy. Add wind, and you have a recipe for constant tipping, soil erosion, and root damage.
I’ve been growing aloes on a windy rooftop deck for about six years now. I’ve killed my fair share. I’ve also figured out what actually works. Wind-exposed aloe pots are a different challenge than aloes sitting on a sheltered windowsill. You’re not just growing a plant. You’re managing a small, exposed ecosystem where soil stability directly affects root health and plant survival.

Let me walk you through what I do now. These are steps I’ve tested over multiple growing seasons. Some of them took me two weeks of daily observation to confirm. Others failed completely the first time.
Why Wind-Exposed Aloe Pots Lose Soil Stability
The problem usually isn’t the aloe itself. It’s the combination of three factors. Light soil mix. Tall pot. Small root mass. When wind hits the broad leaves, the plant acts like a lever. The roots can’t hold the soil tightly because aloe roots are thin and spread out rather than deep. The soil particles, especially if you’re using a peat-based mix, are too light. Peat dries out and becomes hydrophobic. Then it blows away in chunks. Perlite floats to the surface and scatters everywhere.
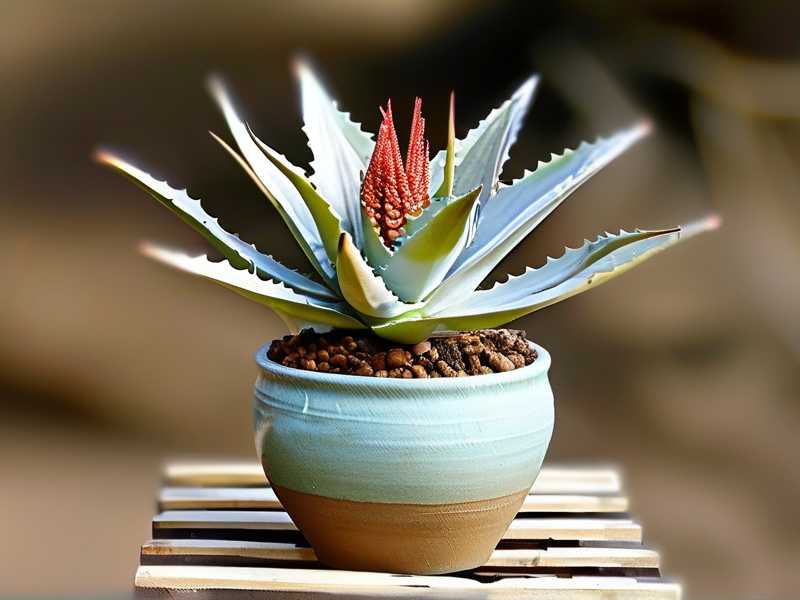
I used to use a standard cactus mix straight from the bag. It was mostly peat and perlite. Every time the Santa Ana winds kicked up here in Southern California, I’d find half my soil scattered across the deck. Within two weeks, the roots were partially exposed. The plant started leaning. One aloe snapped at the base during a 30 mph gust.
The fix wasn’t just adding more soil. I had to rethink the entire pot setup.
First, let’s talk about pot choice because that’s the quickest change you can make today.
Move your aloe into a low, wide pot made of terracotta, ceramic, or concrete. Not plastic. Not tall and narrow. A low, wide pot lowers the plant’s center of gravity. Terracotta and concrete add significant weight at the base. I now use a 10-inch terracotta azalea pot for my largest aloe. It’s wider than it is tall. Even in strong gusts, the pot stays put. The plant might wiggle, but the whole thing doesn’t tip.
If you have a pot you love that’s too light, you can add a layer of heavy rocks or broken bricks at the bottom. I don’t mean filling the entire bottom with gravel. That’s a drainage myth and it doesn’t help aloes. I mean placing two or three heavy stones right at the base of the pot, under the soil, just to add mass. For plastic pots, you can nest the plastic pot inside a heavier ceramic cachepot. That gives you drainage and weight.
The Soil Mix That Stays Put
Here’s the mix I use now. I’ve tested several ratios. This one survived two weeks of daily wind exposure without losing more than a teaspoon of soil from the surface.
Base mix:
- 2 parts cactus soil (I use whatever organic cactus mix is available)
- 1 part coarse sand (builders sand or horticultural sand, not fine play sand)
- 1 part pumice or crushed granite (perlite is too light for wind-exposed pots)
- Optional: a thin top dressing of pea gravel or crushed rock
Coarse sand and pumice add weight. They also create larger pore spaces. That helps water drain through quickly. The key difference is that pumice doesn’t float to the surface the way perlite does. Perlite is great for indoor pots. But outdoors in wind, perlite behaves like tiny styrofoam balls. It blows out of the pot and leaves the soil less aerated over time.
Crushed granite is even heavier than pumice. If you can find it at a landscape supply yard, I recommend it for top-heavy aloes. I use about 10 percent crushed granite in my mix now. The soil feels dense in the hand but still drains fast. After two weeks of daily wind, I checked the soil surface. No significant loss. The roots were still covered.
Top dressing matters more than I expected. A half-inch layer of pea gravel or small pebbles acts like a shield. It keeps wind from lifting the dry soil surface. It also slows evaporation slightly, which helps in hot, windy climates. I use 3/8-inch black lava rock as a top dressing on all my outdoor aloes. It looks clean and adds even more weight.
One caution. Aloe roots hate staying wet. A top dressing can trap moisture if you water too often. I adjust by checking the soil with my finger before watering. More on that below.
Pot Anchoring Strategies That Actually Work
Sometimes the pot is heavy enough, but the plant still leans because the roots haven’t anchored yet. Young aloes, especially newly repotted ones, don’t have enough root structure to stabilize their top growth.
I lost my very first aloe to this exact problem. I repotted it into a lovely tall ceramic pot. Three days later, a moderate wind snapped it at the soil line. The roots were still loose in the new soil. They hadn’t had time to grip anything.
Now I stake newly repotted aloes for the first two to three weeks. I don’t tie the stake to the leaves. I place two or three bamboo stakes around the root zone and gently wedge the aloe in place. The stakes go deep into the pot, almost to the bottom. This keeps the base from rocking. After two weeks, I gently grasp the aloe at the base and give it a tiny wiggle. If it resists, the roots are anchoring. If it still moves easily, I leave the stakes for another week.
For pots that sit on open deck railings or exposed tables, I use museum gel or heavy-duty hook-and-loop tape under the pot. Museum gel is clear and non-damaging. It holds the pot to the surface surprisingly well. I use it on my railing-mounted plant shelf. I also group my aloe pots close together. Wind hits the cluster instead of individual pots. That simple trick has saved me more times than I can count.
Watering Adjustments for Windy Locations
Wind dries out soil faster. That seems obvious. But the mistake I made for years was overcompensating. I saw the soil surface was bone dry, so I watered more often. The top inch was dry, but the soil around the roots was still damp. Aloe roots rotted from the bottom up. I didn’t realize until the leaves started turning translucent and soft.
90% of indoor plants die from overwatering. That stat applies to outdoor aloes too, especially in windy spots where you feel like you should water more. The wind dries the surface. It doesn’t necessarily dry the entire root ball.
My rule now: check the soil at least two inches down. Use your finger. If it’s dry at two inches, water deeply. If it’s even slightly damp, wait. In hot, windy conditions, I might water every 7 to 10 days. In calm or humid conditions, it can stretch to 14 days. The plant tells me when it’s thirsty. The leaves get slightly thinner and less rigid.
When I do water, I water slowly at the base. I avoid getting water in the leaf crown, especially at night. Wet crowns in windy weather collect dust and debris. That leads to rot or fungal spots. I water in the morning so any splashes on the leaves dry before the evening wind picks up.
Another tip: create a slight moat around the plant when you pot it. Leave about one inch of space between the soil surface and the pot rim. That catches water and lets it soak down slowly instead of running off the dry surface. In wind, a dry soil surface can become hydrophobic fast. The moat helps.
Seasonal Adjustments for Wind-Exposed Aloes
Spring is when I do any repotting and pruning. The plant is waking up from winter dormancy. New roots form quickly. I wait until nighttime temperatures are consistently above 50 degrees Fahrenheit. Then I repot into the heavier mix I described above. I don’t fertilize immediately after repotting. I wait about three to four weeks so the roots settle first.
Summer is the real test for wind and heat. I move my aloes so they get morning sun and afternoon shade, especially if the wind is hot and dry. Hot wind desiccates leaves faster than still heat. I check the soil more often in summer, but I still resist overwatering. A stressed aloe that’s too dry will recover. A rotted aloe won’t.
Fall is when I start pulling back on watering. The plant’s growth slows. In windy fall conditions, I’m more concerned with securing pots than with fertilizing. I stop feeding by early September. I also clear away any dead leaves at the base. Dead leaves catch wind and create drag. They also harbor pests.
Winter is the most dangerous season for wind-exposed aloes in colder climates. If temperatures drop below 40 degrees Fahrenheit, I bring my aloes inside or into a sheltered corner. Aloe vera can handle brief cold snaps down to about 40, but sustained cold plus wind is fatal. The wind strips warmth from the leaves. I’ve lost an aloe to a freeze that only lasted one night because it was in an exposed spot.
Indoors in winter, I water very little. Maybe once every three to four weeks. No fertilizer at all. The plant is barely growing. I also rotate the pot every week so the aloe doesn’t lean toward the window. A leaning aloe in a light pot is even more prone to tipping if I move it back outside in spring.
Common Problems and How I Diagnose Them
Yellowing lower leaves usually mean overwatering or poor drainage. If the leaves are also soft and mushy, it’s root rot. I unpot the plant, cut away any black or mushy roots, let it dry for a day, and repot in fresh coarse mix. I might lose a few leaves, but the plant often recovers.
Brown, crispy leaf tips are usually from too much sun or wind desiccation. In a windy spot, the leaf edges dry out faster than the rest of the plant. I move the pot to a spot with afternoon shade or add a windbreak. A simple bamboo screen or a row of taller plants can reduce wind speed enough to make a difference.
A leaning plant that’s still firmly rooted is a sign of phototropism. The aloe is stretching toward the light. I rotate the pot a quarter turn every few days. If the plant is loose in the soil, it’s a root anchoring problem. Stake it immediately.
Pests on wind-exposed aloes are less common than on indoor plants, but I’ve had mealybugs and scale. Mealybugs hide in the leaf joints. I remove them with a cotton swab dipped in 70 percent isopropyl alcohol. For a bad infestation, I use insecticidal soap weekly for three weeks. Scale responds to the same treatment.
My Worst Failure and What It Taught Me
I killed my third aloe by ignoring pot weight. I used a beautiful glazed ceramic pot that was tall and narrow. It looked stunning. The plant was healthy. One windy afternoon, the whole thing went off the balcony railing. The pot shattered. The aloe broke into pieces. That was the moment I stopped choosing pots for looks and started choosing them for stability.
Now every aloe pot I own is wider than it is tall. Most are terracotta or heavy ceramic. I add a top dressing. I check the base for wobble every time I water. If a pot feels light enough to tip with one hand, it’s too light.
You don’t need to baby your aloe. It’s a tough plant. But it does need the right container and soil for your specific environment. If you grow on a windy balcony, rooftop, or exposed patio, slight changes make a huge difference. Heavier pot. Heavier soil. Top dressing. Maybe a windbreak. Those four moves solved 90 percent of my wind-related aloe problems.
What About Aloe Species Differences
Aloe vera is the most common, but other species have different wind tolerance. Tree aloes like Aloe barberae are massive and wind-resistant once established, but they’re not suited to small pots. Clumping aloes like Aloe brevifolia stay low and rarely blow over. My problem child was a tall, single-stemmed Aloe striatula. It caught wind like a sail.
If you’re in a very windy area, choose lower-growing, clumping aloes for exposed spots. Save the tall, single-stemmed varieties for sheltered corners. Grouping pots also helps regardless of species. The wind hits the outside of the group, and the inner pots stay calmer.
Final Thoughts on Soil Stability for Wind-Exposed Aloe Pots
This isn’t about perfectly still plants. Aloes can flex in the wind. They evolved in windy, rocky habitats. The goal is to keep the soil in place, the roots anchored, and the pot upright. Start with the pot. Go wider and heavier. Fix the soil with coarse sand, pumice, and a top dressing. Water less than your instincts tell you. Anchor young plants until their roots grip. And watch what the plant does over two weeks. That’s enough time to see whether your changes are working.
Three Questions I Get Asked Most
Can I just add rocks to the bottom of my pot to make it heavier?
Adding rocks to the bottom of the pot adds weight, but it doesn’t improve drainage for aloes. The water can actually hang around the root zone longer if you create a perched water table. A better move is to mix heavy materials like coarse sand or crushed granite throughout the soil. That adds weight where it matters and still drains well.
How do I know if my aloe is too dry from wind exposure?
The leaves will look thinner and slightly wrinkled. They might curl inward. The plant won’t feel as firm when you gently squeeze a leaf. If the soil is dry two inches down and the leaves look like this, give it a deep, slow watering. The plant should plump back up within a day or two. If it doesn’t, check the roots for rot.
Will my aloe recover if it tips over in the wind?
Most of the time, yes, if you catch it quickly. Gently repot it in fresh, slightly moist coarse mix. Don’t water heavily right away. Broken leaves can be trimmed with clean scissors. Give it bright but indirect light for about a week, then gradually reintroduce it to its normal spot. It might look rough for a couple weeks, but aloes are resilient.
If you want to dig deeper into aloe care, the RHS has reliable guidance on growing succulents outdoors, and the AHS offers solid advice on container gardening and soil composition. I’ve leaned on both over the years when I needed to check my instincts against expert recommendations.