bluename
How to Adjust aloe vera care for Apartment Living
I used to think my aloe vera plant was indestructible. That was before I moved into my north-facing apartment. Suddenly, my once-thriving plant started to look pale, limp, and frankly, a little sad. If you're struggling to keep your aloe vera happy indoors, you're not alone. Adjusting aloe vera care for apartment living is all about replicating the bright, arid conditions it craves, within our often-limited indoor spaces. Over two weeks, I transformed my struggling aloe into a plump, vibrant centerpiece by fine-tuning just a few key elements: light, water, and soil. Here’s my hands-on journey, complete with missteps and solutions.
The Apartment Aloe Vera Challenge: Light, Airflow, and Space
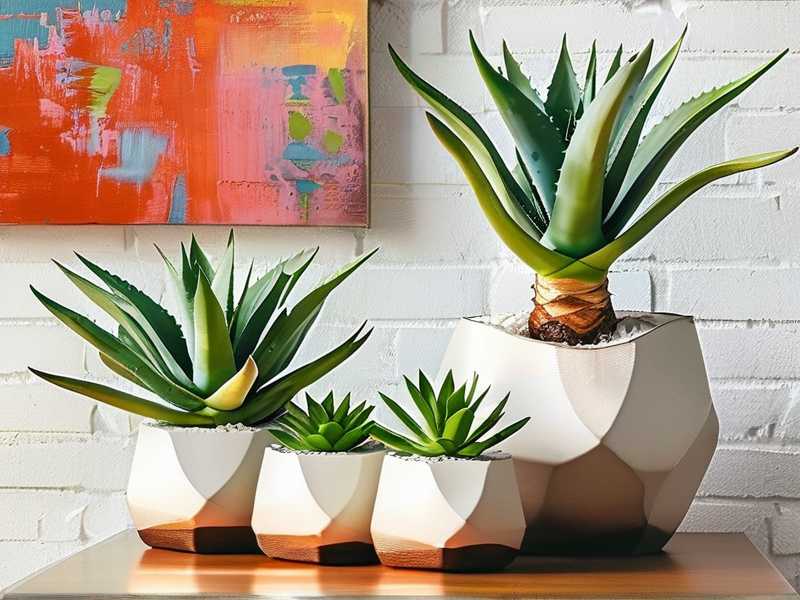
Apartments present unique hurdles. Limited direct sunlight, inconsistent humidity from HVAC systems, and poor air circulation are the main culprits. The Royal Horticultural Society (RHS) notes that aloe vera requires "plenty of bright light" and "excellent drainage," two things modern apartments often lack. My goal was to create a microclimate that worked within my constraints.
My 2-Week Apartment Aloe Vera Rescue Plan
I started with a stressed plant. Its leaves were thin and bent, losing their characteristic upright, fleshy form. I committed to a 14-day observation and adjustment period.
Week 1: Diagnosis and Initial Intervention
Finding the Light Sweet Spot My first mistake was assuming my bright room equaled bright direct light. Aloe vera needs direct sun for several hours. My north window wasn't cutting it.
- My Step: I purchased a simple, affordable full-spectrum LED grow light. I placed my aloe about 12 inches beneath it, setting a timer for 12 hours on, 12 hours off to simulate a desert day.
- The Immediate Change: Within 3 days, I noticed a change. The plant seemed to be orienting itself more upright toward the light source. The pale green color began to deepen slightly. This addressed the core issue of providing sufficient light for aloe vera in low-light apartments.
The Great Watering Experiment: Less is More I was a chronic overwaterer, guided by a weekly schedule rather than the plant's needs. The American Horticultural Society (AHS) emphasizes that "overwatering is the most common cause of failure," advising to "water deeply but infrequently."
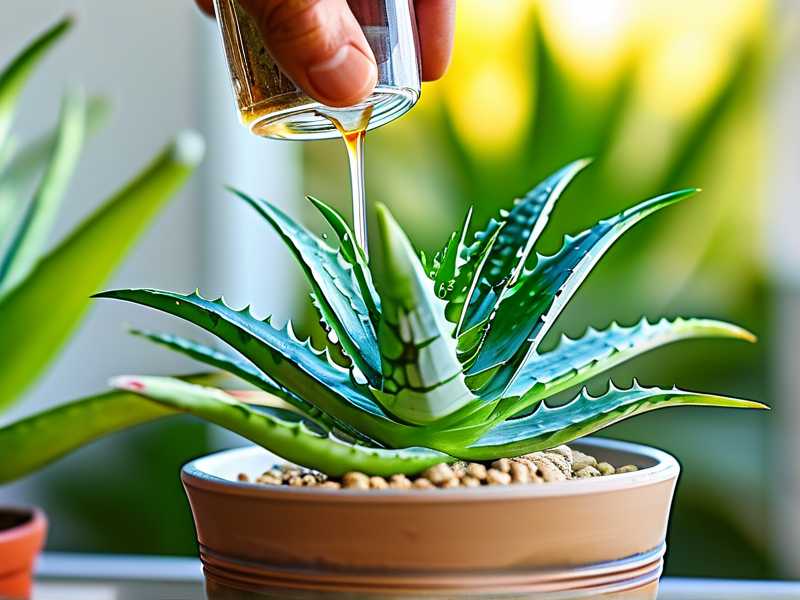
- My Step: I stopped watering on schedule. Instead, I performed the "finger test," inserting my finger two inches into the soil. If it was dry, I would water. My pot had a drainage hole, so I took it to the sink, watered thoroughly until it ran out the bottom, and let it drain completely before returning it to its saucer.
- The Observation: The soil stayed moist far longer than I expected—nearly 10 days! This proved my previous routine was drowning the roots. The base of the leaves felt slightly firmer by day 7.
Week 2: Refinement and Observing Recovery
Soil and Pot Check-Up My plant was in dense, moisture-retentive potting soil. In an apartment with less sun and airflow, this was a death sentence.
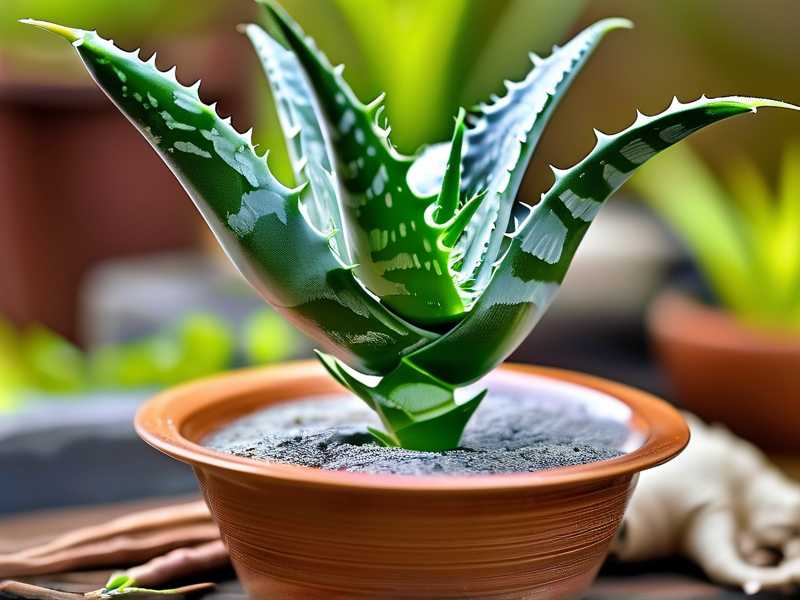
- My Step: I repotted using a pre-mixed cactus and succulent soil. To boost drainage further, I added a handful of perlite, mixing it thoroughly. I chose a terracotta pot, which is porous and helps wick away moisture, over my old glazed ceramic one.
- The Result: The difference in soil texture was immediate. It was gritty and loose. This, combined with the grow light, created the fast-draining environment crucial for aloe vera root health in containers.
Humidity and Airflow Tweaks My kitchen, where the plant lived, had steamy moments. I noticed condensation on nearby windows.
- My Step: I moved the plant to a less humid spot away from the kitchen and bathroom. I also placed a small, oscillating fan on low in the room for a few hours a day to simulate a gentle breeze, improving air circulation around the leaves and soil surface.
- The Outcome: This prevented the stale, damp air that can foster fungal growth. The plant's posture continued to improve.
The 14-Day Verdict: A Transformed Plant
By the end of two weeks, the transformation was clear. The once-floppy leaves had firmed up and were standing more proudly. The color was a healthier, deeper green. Most excitingly, the innermost central leaves—the new growth—felt thick and turgid, a sure sign the plant was finally absorbing and storing water efficiently. It was no longer just surviving; it was poised to thrive.
Pitfalls I Encountered and How I Fixed Them
- The Burned Leaf Tip: Around day 5, I made the error of placing the grow light too close (about 6 inches). One leaf tip showed a brown, dry patch. Solution: I immediately moved the light back to the recommended 12-inch distance. The burn scar remained, but it didn't spread. Lesson learned: even artificial light can be too intense.
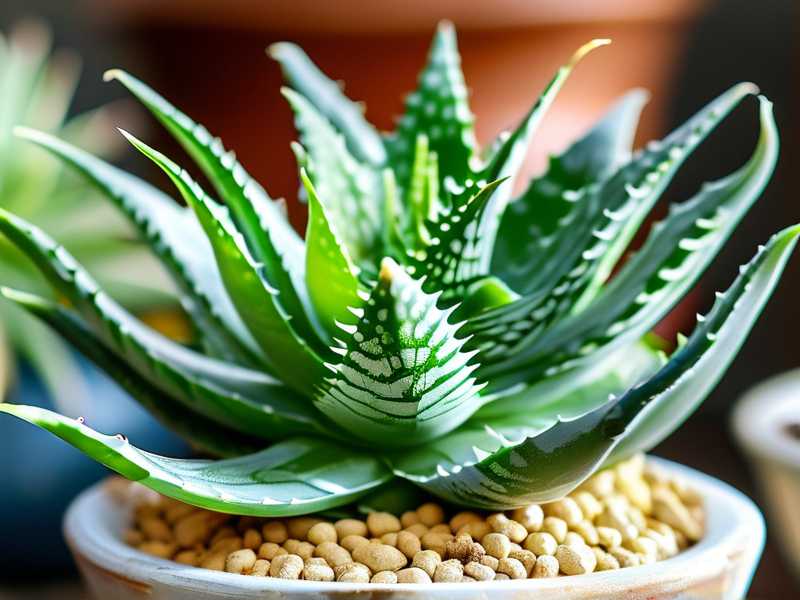
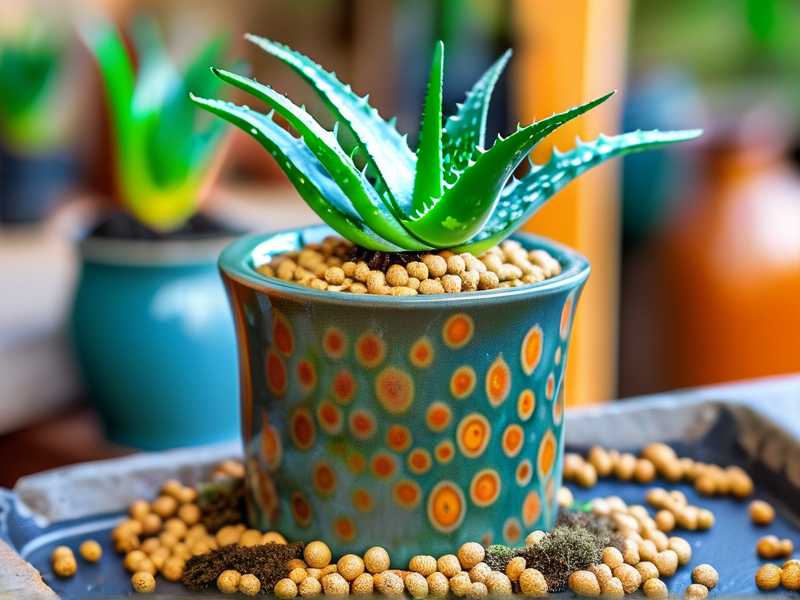
- The Wobbly Plant: After repotting, my aloe was unstable. Solution: I added a top dressing of small pebbles. This weighted the surface, provided support, and reduced soil surface evaporation, creating a more stable root zone.
- Ignoring Seasonal Changes: My experiment coincided with early spring. I realized my winter care (even less water, no fertilizer) would need to adjust as growth resumed. Solution: I marked my calendar to reassess watering frequency monthly and to consider a diluted, balanced fertilizer only in the growing season, per RHS guidelines.
Your Apartment Aloe Vera Questions, Answered
Can I use a regular LED desk lamp for my aloe? Likely not. Standard LEDs lack the full spectrum of light, particularly the red and blue wavelengths crucial for photosynthesis. A dedicated full-spectrum grow light is a worthwhile investment for consistent results, especially for caring for aloe vera plants indoors without south-facing windows.
How do I know for sure if I'm overwatering? Beyond the finger test, watch your plant. Soft, mushy, brownish leaves at the base are a classic sign of rot. If you suspect it, check the roots. Healthy roots are firm and white or tan. Soft, black, or stringy roots mean rot has set in. You'll need to cut away all affected parts, let the plant callous, and repot in fresh, dry mix.
My apartment is very dark. Is aloe vera just not for me? While not ideal, you can make it work with diligent use of a grow light for 12-14 hours daily. Consider a compact variety like Aloe aristata (Lace Aloe), which can be slightly more tolerant of lower light than Aloe vera. Ultimately, providing sufficient light is non-negotiable for long-term health.
Success with aloe vera in an apartment comes down to mindful adaptation. It's not about having perfect conditions, but about intelligently compensating for what your space lacks. By focusing on intense light (natural or supplemented), infrequent but deep watering, and gritty, well-aerated soil, you create a sustainable desert oasis on your windowsill. The resilience of the plant will do the rest, rewarding your care with vigorous growth and that satisfying, plump greenery.