bluename
Aloe Vera Leaf Texture Changes: What They Mean
I’ve been growing aloe vera for over a decade, and I can tell you, nothing sends a plant lover into a spiral of worry faster than picking up a pot and feeling a leaf that’s gone soft, thin, or strangely discolored. We rely on that firm, plump, juicy texture as the ultimate sign of health. When it changes, it’s a silent alarm. Over the years, I’ve learned that aloe vera leaf texture changes are the plant’s most direct language. Deciphering it saved many of my plants from the brink. This guide is born from my hands-on experience, mistakes and all, to help you understand exactly what your aloe is telling you.
For two weeks, I decided to document a deliberate experiment with one of my mature aloe plants to observe texture changes under controlled stress and recovery. My goal was to connect specific symptoms with their root causes, moving beyond guesswork. Here’s what I learned.
The Foundation: What Healthy Aloe Vera Texture Feels Like
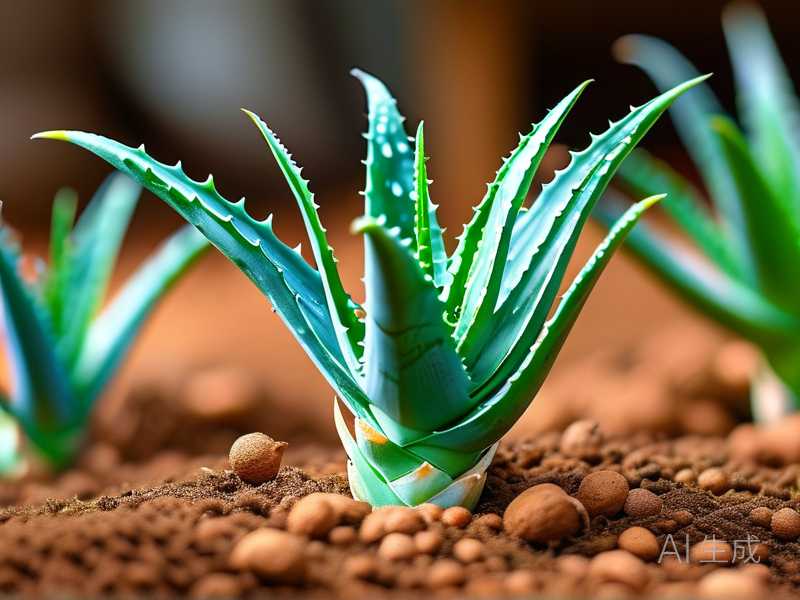
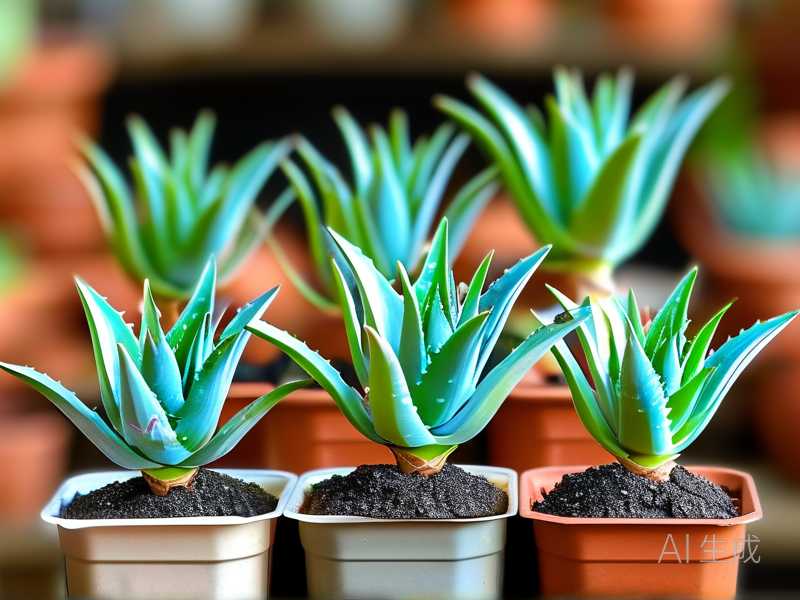
Before diagnosing problems, you need the baseline. A thriving aloe vera leaf should feel consistently firm and turgid from base to tip, like a water balloon filled just right. The skin is smooth, slightly waxy, and has a vibrant green hue. Gentle pressure should meet solid resistance. This ideal texture signifies perfect water balance, good root health, and adequate light. Any deviation from this is a clue.
Diagnosing Soft, Mushy, or Translucent Leaves
This is perhaps the most common panic-inducer. I encountered this head-on in my experiment.
Week 1 Observation: The Overwatering Test I deliberately watered my test aloe plant twice in one week, using a pot with mediocre drainage—a mistake I’ve made unintentionally before. Within 4 days, I noticed the change. The lower, older leaves first felt softer at the base. By day 7, they were outright mushy, and the green color had taken on a yellowish, translucent quality, especially near the soil line. The leaves bent easily under their own weight.
The Root of the Problem (Literally) This soft, mushy texture is almost always a sign of overwatering and the onset of root rot. The cells in the leaves are so waterlogged they burst, destroying their structural integrity. The translucency is a dead giveaway. I learned this the hard way years ago when I lost a beautiful aloe by loving it with too much water.
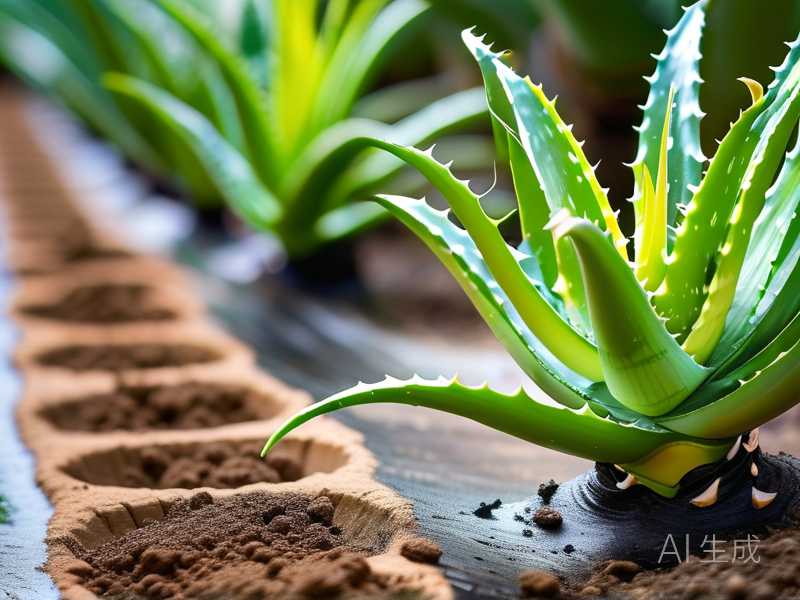
My Recovery Steps & The Two-Week Turnaround On day 8, I sprang into action. I gently removed the plant from its pot. The soil was soggy, and sure enough, several roots were brown, black, and slimy—classic root rot.
- I rinsed the roots clean and sterilized pruning shears with isopropyl alcohol.
- I carefully cut away every single soft, rotten root, leaving only firm, white or tan healthy ones.
- I let the plant, bare-root, sit in a warm, airy spot out of direct sun for 48 hours to callous over the cuts.
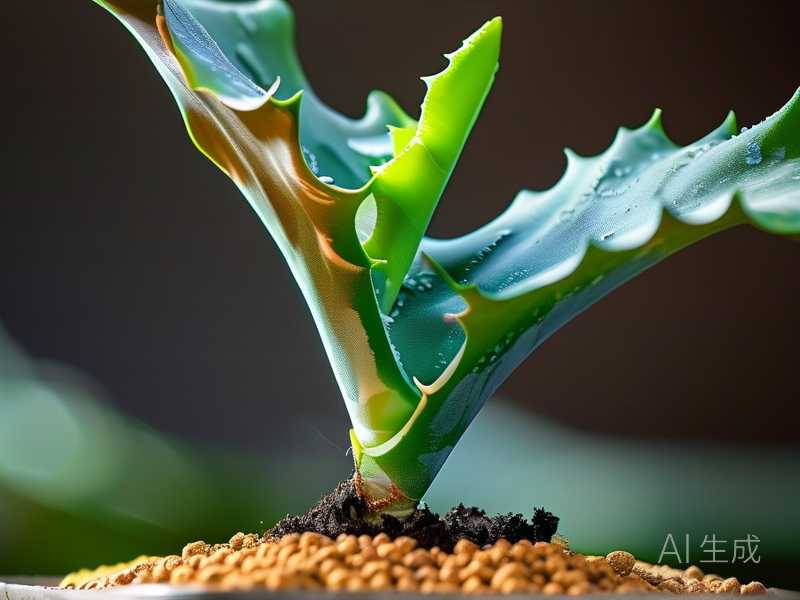
- I repotted it in a fresh, gritty cactus/succulent mix (2 parts potting soil, 1 part perlite, 1 part coarse sand) in a pot with a large drainage hole.
Week 2 Observation: The Road to Recovery For the next week, I did not water at all. The plant was in bright, indirect light. The remaining firm leaves began to slowly regain their turgor. The mushiness stopped spreading. By the end of the two weeks, while the damaged leaves would not recover (I eventually removed them), the plant’s core and new growth were stable and firm. The texture told the story of halted decay. According to the Royal Horticultural Society (RHS), this “dry period” after repotting is critical to allow roots to heal and prevent fungal pathogens from taking hold again.
Understanding Thin, Wrinkled, or Curling Leaves
The opposite texture problem is just as telling. I observed this in a separate, neglected pup I had.
The Dehydration Signal Thin, papery leaves that wrinkle or curl inward are your aloe’s dramatic cry for water. The gel inside shrinks, causing the leaf to collapse in on itself. It feels limp and flexible, not firm. However, there’s a crucial nuance I once missed: this can also happen if the roots are damaged from prior rot and can’t absorb water, even if the soil is moist.
My Troubleshooting Process I checked the soil of my wrinkled pup—it was bone dry. This was a simple case of underwatering. I gave it a thorough, deep soak, allowing water to run freely from the drainage hole. Within 24 hours, I could feel a slight improvement. After 3 days, the leaves were significantly plumper and firmer. The recovery was swift.
The Important Caveat If you see wrinkles but the soil is wet, suspect root damage. You’ll need to unpot and inspect the roots, following the same process I used for the overwatered plant. The American Horticultural Society (AHS) emphasizes that proper diagnosis requires checking both the aerial symptoms (leaves) and the subterranean conditions (roots).
When Leaves Change Color and Texture
Texture rarely changes in isolation. Color shifts provide the confirming context.
Reddish or Brownish, Firm Leaves: This is typically a sunburn response. The leaves may feel harder or leathery, not mushy. My aloes on a south-facing windowsill developed this. The fix was simple: I filtered the light with a sheer curtain for a week, and the intense coloration gradually faded. The texture remained firm, confirming it was a protective change, not disease.
Pale, Limp, and Elongated Leaves: If your aloe feels soft and is stretching out with large gaps between leaves (etiolation), it’s begging for more light. The texture suffers because growth is weak and resource-starved. I moved a leggy plant to a brighter location. New growth came in compact and firm, though the old, stretched leaves won’t revert.
Less Common Textural Clues
- Dry, Scaly, or Brown Tips: Often low humidity or a buildup of salts/minerals from tap water. I now use filtered or rainwater and snip off the dry tips for aesthetics.
- Hard, Corky Spots on Lower Leaves: These are usually just natural, callous-like “corking” as the plant matures, like the bark on a tree. No action needed. I used to mistake this for scale insects, but a close look confirmed it was part of the leaf itself.
Prevention is the Best Cure: Maintaining Perfect Texture
My two-week experiment reinforced that consistency is key.
- Water with Intent: Use the “soak and dry” method. I water only when the top 1-2 inches of soil are completely dry, then drench the pot thoroughly. In winter, this might mean watering only once a month.
- Light is Non-Negotiable: Provide bright, indirect light for at least 6 hours. A south or west-facing window is ideal (with slight filtration in peak summer).
- The Right Soil and Pot: Terracotta pots with drainage holes are my gold standard. They wick away moisture. Always use a fast-draining succulent mix.
- Seasonal Awareness: Aloe vera slows down in cooler, darker months. I reduce watering dramatically and stop fertilizing entirely from late fall to early spring.
Frequently Asked Questions
Can a mushy aloe leaf be saved? Once a leaf section turns mushy and translucent, those cells are dead and cannot recover. Your goal is to save the plant by removing the affected leaves at the base and addressing the root cause (overwatering/rot) to protect the remaining healthy growth and the central stem.
My aloe leaf broke off accidentally. Will it grow back from that spot? No, individual leaves do not regenerate. The plant will seal the wound on the stem. New growth will come from the center of the rosette. You can, however, use the broken leaf to propagate a new plant by letting the broken end callous for a few days and then planting it in soil, though success is not guaranteed as it is with pups.
How often should I feel my aloe leaves to check on them? A weekly visual and tactile check during your regular plant care routine is perfect. Gently feel a few lower and central leaves. This regular contact helps you establish the “normal” feel and catch any textural changes early, which is the key to easy intervention.
Understanding aloe vera leaf texture changes transforms you from a passive owner to an active caregiver. That shift from firm to soft, or from plump to wrinkled, is a direct dialogue. By listening with your fingers, observing with context, and responding with informed action, you can correct course long before a problem becomes fatal. My two-week journey from mushy disaster to stable recovery proved that with the right knowledge, the resilient aloe vera almost always bounces back, rewarding you with that perfect, juicy firmness we all love.