bluename
Aloe Vera Potting Mix: My 2-Week DIY vs. Store-Bought Experiment
For years, my aloe vera plants were just… surviving. They weren’t dying, but they weren’t thriving either. The leaves were thin, a bit pale, and growth was practically non-existent. I watered sparingly, gave them sunlight, but something was off. The culprit, I finally realized, was the soil. That generic, all-purpose potting mix I was using was holding too much moisture, suffocating the roots of my desert-loving plants. I knew I needed a proper aloe vera potting mix, but faced the classic gardener's dilemma: should I buy a pre-made bag or create my own DIY blend? I decided to put both to the test in a real-world, two-week experiment.
Why the Right Soil is a Matter of Life and Death for Aloe Vera
Aloe vera is a succulent, evolved for arid environments. Its roots are designed to absorb water quickly and then endure long periods of drought. A standard potting soil retains moisture for too long, creating a soggy environment that leads to the number one killer of aloe plants: root rot. According to the Royal Horticultural Society (RHS), the key for succulent health is "excellent drainage." The American Horticultural Society (AHA) echoes this, emphasizing the need for porous, gritty mediums that prevent waterlogging. This isn't just about convenience; it's about mimicking the plant's natural habitat. The right soil for aloe vera provides aeration, allows for rapid drainage, and offers just enough organic matter to support health without retaining excess water.
The Contenders: Breaking Down the Options
I selected two paths for my experiment. For the store-bought route, I chose a reputable, commercially available "Cactus & Succulent Mix." For my DIY aloe vera soil mix, I researched common recipes and settled on a classic, well-regarded formula.
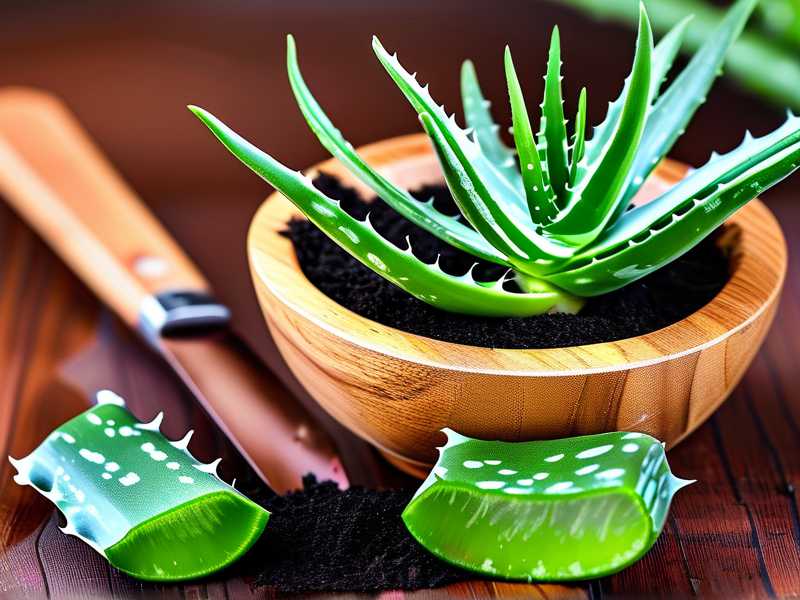
The Store-Bought Mix: The bag promised "fast drainage" and was specifically formulated for cacti and succulents. The ingredient list showed a blend of peat, sand, and perlite. It was convenient, readily available, and required no extra work.
My DIY Potting Mix Recipe: I aimed for a simple, effective blend. My recipe was:
- 2 parts coarse potting soil (as a base, but not the dense garden soil)
- 1 part coarse sand (horticultural sand, not fine play sand)
- 1 part perlite or pumice
This targeted a well-draining succulent mix with plenty of grit. The sand improves weight and drainage, while the perlite creates air pockets, preventing compaction and further enhancing drainage.
Week 1: The Repotting Process and Initial Observations
I took two similar-sized, slightly struggling aloe pups (offsets from my main plant) to ensure a fair comparison. Both were gently removed from their old, damp soil, and I carefully inspected and trimmed any weak or dark roots.
Potting with the Store-Bought Mix: The process was straightforward. I filled a pot with drainage holes, placed the aloe inside, and backfilled with the commercial mix. I gave it a thorough watering until it drained from the bottom and placed it on my bright, south-facing windowsill. Immediately, I noticed the mix was quite fine and felt a little peat-heavy. It absorbed water well but didn't feel as "gritty" as I expected.
Creating and Using My DIY Blend: This was where the fun began. I mixed the components on a large tray. Getting the ratio right was crucial. My first mistake? Using fine beach sand I had leftover from a craft project. When I mixed it, the result was dense and muddy—a total failure for drainage. This was my first major "pitfall."
The Fix: I immediately went to the garden center and bought coarse, sharp horticultural sand. The difference was night and day. The new blend felt loose, aerated, and gritty. Repotting the second aloe pup with this homemade succulent soil was satisfying. The structure felt perfect. I watered it similarly and placed it next to its store-bought sibling.
Initial State (Day 1): Both plants looked identical: slightly stressed from repotting, leaves a bit soft.
Week 2: Diverging Paths and Clear Results
The true test came with the first post-repotting watering and the subsequent days.
The Store-Bought Mix Aloe: Five days after the initial watering, I checked the soil. The surface was dry, but when I inserted my finger an inch down, it still felt cool and slightly damp. I held off on watering. The plant seemed stable, but no new growth was evident. The leaves remained somewhat limp. By day 10, the soil had finally dried adequately. After watering, I observed it took a noticeably longer time for the pot to stop draining.
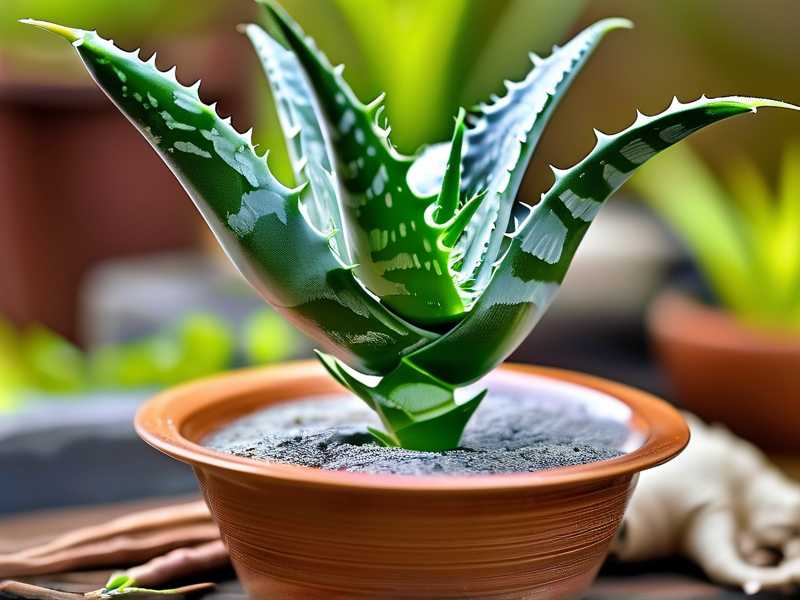
The DIY Mix Aloe: Here, the difference was dramatic. Just three days after watering, the DIY potting mix felt completely dry and crumbly to the touch. The pot was significantly lighter. The aloe plant itself showed visible signs of improvement. The previously soft leaves began to plump up and firm, taking on a healthier, deeper green hue. I watered it on day 4, and the water rushed through the mix and out the drainage hole almost instantly—a perfect sign of fast drainage. By the end of the second week, I could swear I saw the very beginnings of new leaf growth at the center.
The Pitfalls I Encountered and How I Solved Them
This experiment wasn't without its lessons. Here’s what I learned the hard way:
-
The Sand Trap: As mentioned, using the wrong sand was a disaster. Fine sand fills pores and creates a concrete-like mixture.
- Solution: Always use coarse, sharp, or horticultural sand. It’s non-negotiable for proper aloe vera soil drainage.
-
Compaction Concerns: With the store-bought mix, I noticed it had a tendency to compact slightly over the two weeks, especially after watering. This can reduce aeration over time.
- Solution: For the DIY mix, the perlite maintains its structure. For pre-bought mixes, consider adding a handful of extra perlite or pumice to fluff it up and improve long-term texture.
-
The "Part" Confusion: "Part" is a ratio, not a fixed volume. My initial batch was too small.
- Solution: Decide on your "part" measurement first (e.g., a cup, a trowel). For two average pots, I found starting with 4 cups of soil, 2 cups of sand, and 2 cups of perlite made a perfect, manageable batch.
-
Watering Instincts: My old habit was to water on a schedule. Both mixes, but especially the DIY one, dried at different rates than my old soil.
- Solution: I abandoned the calendar. The "finger test" is essential. Only water when the soil is completely dry several inches down.
The Verdict: Which Mix Won My Windowsill?
After 14 days of close observation, the results were clear for my specific environment and care style.
The store-bought succulent potting mix was convenient and certainly better than all-purpose soil. It kept the plant alive and would be a decent option for a beginner or someone repotting a single plant. However, its slower drainage and finer texture made me cautious about long-term root health, especially in a less-than-ideal humid climate or if I were prone to over-love with the watering can.
My DIY aloe vera potting mix was the undeniable winner. The visible improvement in my aloe's leaf texture and color within just two weeks was remarkable. The extreme drainage gave me confidence against overwatering, and the customizability was a huge plus. I could adjust the recipe—adding more pumice for extra aeration or a touch of compost for a nutrient boost—based on my plant's response. The initial effort paid off in plant health and personal satisfaction.
Is a commercial mix ever the right choice? Absolutely. If you're short on time, space, or just starting out, a quality pre-made mix is a vast improvement over wrong soil. But for the enthusiast seeking optimal health, control, and cost-effectiveness (mixing your own in bulk is cheaper), the DIY route is incredibly rewarding.
How often should I repot my aloe vera with this new mix? Aloe vera prefers to be slightly root-bound. Repot only every 2-3 years, or when you see roots circling the bottom of the pot or the plant becomes top-heavy. Spring is the best time for repotting.
Can I use regular garden soil in my DIY mix? I strongly advise against it. Garden soil is too dense, often contains pests or pathogens, and lacks the consistent structure needed for container drainage. Always start with a sterile, coarse potting soil as your "soil" component.
My DIY mix dries out incredibly fast. Am I underwatering? This is a common concern. Fast-drying soil is the goal for aloe vera. It prevents rot. Water thoroughly when you do water—soak the mix until it runs freely from the drainage holes—then let it dry out completely again. The plant's plump leaves are its water reservoir; it's designed for this cycle.