bluename
How to Grow Aloe Vera in a Small Balcony: A City Gardener’s 2-Week Journey
I love plants, but living in an apartment with just a small balcony for years made me think lush greenery was out of reach. I craved the practical beauty of succulents, especially aloe vera. Its soothing gel and architectural form were perfect, but how could I grow aloe vera in a small balcony successfully? I was worried about space, light, and the infamous overwatering kill. After extensive research and a hands-on experiment, I’m here to guide you through the entire process. This isn’t just theory; it’s my real account of starting an aloe vera balcony garden, complete with my steps, a detailed two-week observation log, and all the mistakes I made (and fixed) along the way.
Why Aloe Vera is the Perfect Small Balcony Plant
Before we dig in, let’s talk about why aloe vera is a superstar for confined spaces. According to the Royal Horticultural Society (RHS), aloe vera is a drought-tolerant succulent that thrives in containers and requires minimal root space. Its compact, rosette shape grows vertically, not horizontally, making it ideal for shelves and corners. The American Horticultural Therapy Association (AHTA) also notes that caring for plants like aloe can reduce stress—a bonus for any urban dweller. For me, it was the perfect blend of utility, beauty, and manageability.
My Step-by-Step Guide to Starting Your Aloe Vera Balcony Garden
Here is the exact process I followed, from gathering supplies to the final placement on my balcony.
Step 1: Gathering the Right Supplies My first trip was to the local garden center. I bought:
- A young, healthy aloe vera pup (offset) with firm, green leaves.
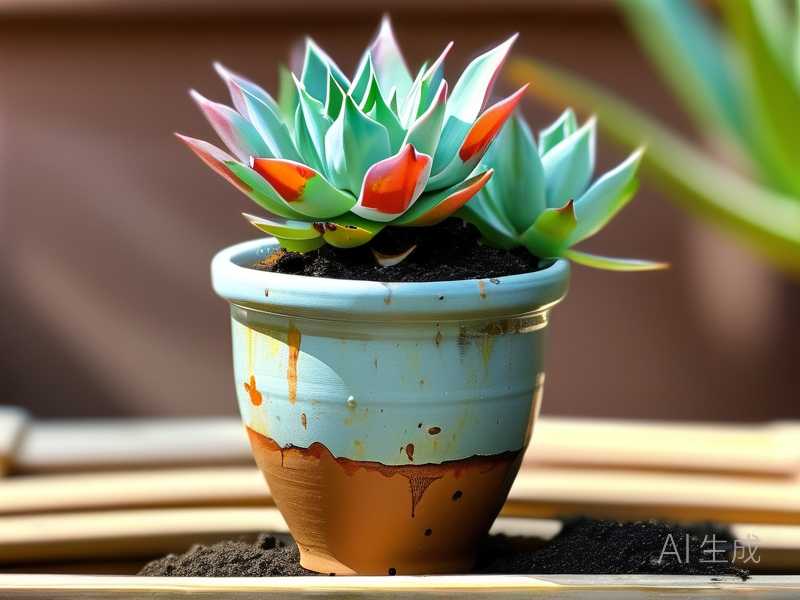
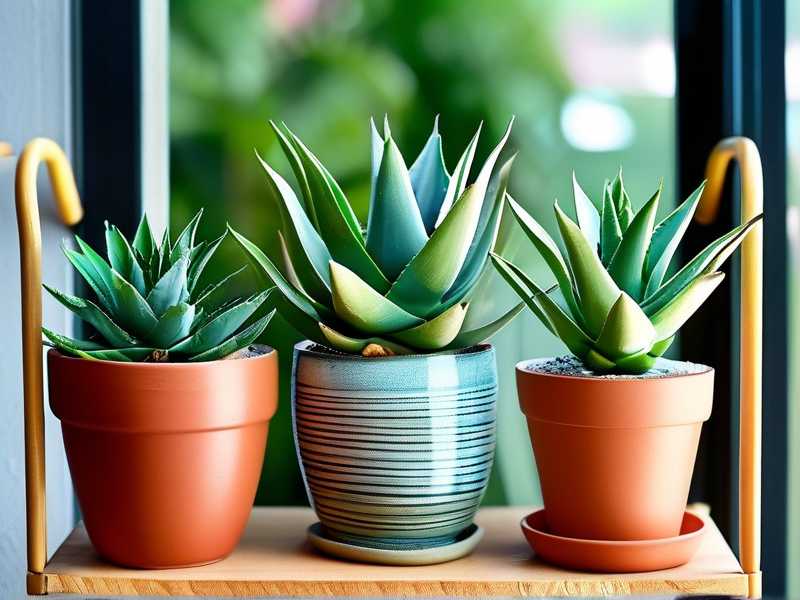
- A terracotta pot, roughly 8 inches in diameter, with a large drainage hole. Terracotta is porous and helps prevent soggy soil.
- A bag of high-quality cactus and succulent potting mix. I avoided regular garden soil.
- A handful of small pebbles for drainage.
- A small tray to place under the pot.
- A watering can with a narrow spout for control.
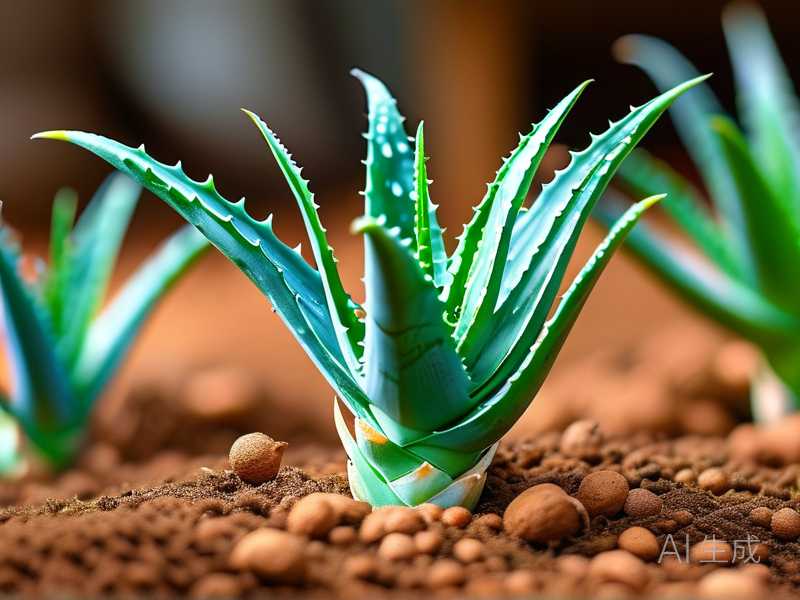
Step 2: The Planting Process I placed a layer of pebbles at the bottom of the clean pot for extra drainage. Then, I filled it about one-third with the cactus mix. Gently removing the pup from its nursery pot, I loosened the roots slightly and placed it in the center. I added more soil around it, firming gently until the base of the aloe was stable and the soil level was about an inch below the pot’s rim. I did not water it immediately. Experts recommend waiting 5-7 days after repotting to let any disturbed roots heal, preventing rot.
Step 3: Finding the Sweet Spot on the Balcony Light is crucial. Aloe vera needs bright, indirect light. My balcony faces east, getting strong morning sun but shade in the harsh afternoon. This is ideal. I placed the pot on a shelf against the balcony wall, where it would get about 4-6 hours of that gentle morning sunlight. If your balcony gets intense all-day sun, you might need a sheer curtain to filter it. The goal is to avoid scorching the leaves.
Step 4: The Initial Care Routine My routine was simple:
- Watering: I planned to water deeply but infrequently, only when the soil was completely dry. For the first week, I wouldn’t water at all.
- Feeding: I held off on fertilizer. A newly potted aloe doesn’t need it, and over-fertilizing can harm it.
The Crucial First 2 Weeks: My Daily Observations and Adjustments
This is where the real learning happened. I kept a simple journal.
Days 1-3: The Settlement Phase After planting, the aloe looked a little dull, which is normal transplant shock. I resisted the urge to move it or water it. The leaves remained firm.
Day 5: The First Watering and a Mistake The soil was bone dry. I gave it a thorough soak until water ran freely from the drainage hole. Here was my first common mistake in balcony gardening: I let the pot sit in the water-filled saucer for a few hours, thinking it would absorb more. Big error. I noticed the base of the pot felt cold and damp. Solution: I immediately emptied the saucer. Going forward, I always water thoroughly and then empty the excess water from the tray after 15 minutes. This prevents “wet feet,” the main cause of root rot.
Day 7: A Sign of Trouble The outermost leaf started to feel slightly soft and developed a pale brown spot. I panicked. Was it rot? Upon closer inspection and research, I realized it was likely a minor sunburn from one particularly bright morning, compounded by my earlier overwatering scare. Solution: I moved the pot back just 6 inches, so it was slightly more shielded by the balcony rail. I did not water, as the soil was still moist beneath the surface.
Day 10: Recovery and Growth The brown spot stabilized and didn’t spread. The central, newer leaves looked plump and vibrant. A slight tug on the plant met with resistance—a good sign roots were establishing! The soil was finally dry, so I watered again, this time being meticulous about draining the saucer.
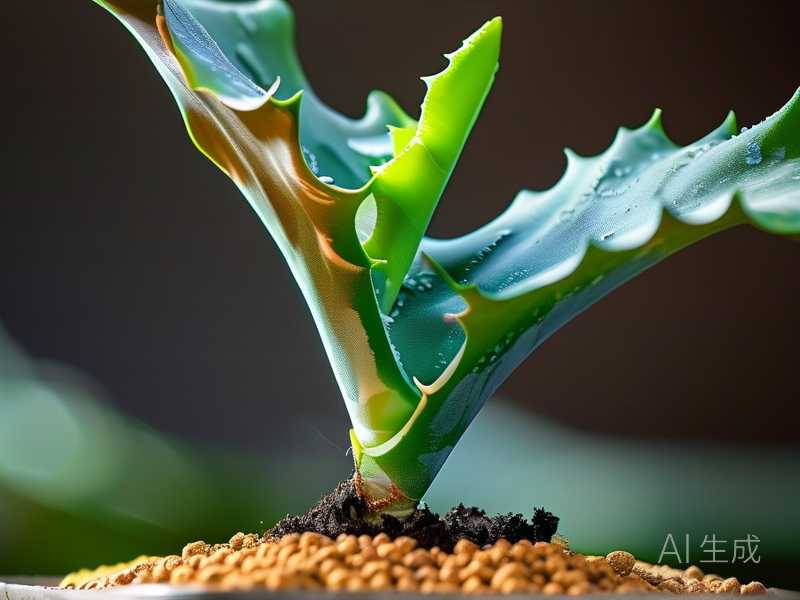
Day 14: Success! Two weeks in, my aloe vera looked happy. It had a healthy, grey-green color. The central leaves seemed ever-so-slightly larger. There was no further leaf softening or discoloration. The plant had clearly adapted to its new container for growing aloe vera on my small balcony.
Key Lessons Learned: Overcoming Small Balcony Challenges
My journey highlighted specific challenges of urban gardening and how to solve them.
1. The Overwatering Trap In a small space, we tend to “over-care.” My instinct was to water too often. Aloe vera stores water in its leaves. The RHS advises that “succulents like aloe are far more likely to die from overwatering than underwatering.” The fix? The “finger test.” I now wait until the soil is dry two knuckles deep before even considering the watering can.
2. Microclimates Matter My balcony has corners that are windier and spots that get more sun. The spot I initially chose was a bit too exposed. Solution: Observe your balcony for a full day. Note sun patterns and wind tunnels. Don’t be afraid to move the pot a foot in either direction; it can make a huge difference.
3. Choosing the Correct Container My terracotta pot was a great choice. Plastic pots retain moisture much longer, which is risky in a humid or shaded balcony corner. For growing aloe vera in a small balcony, always prioritize drainage and breathability over decorative appeal.
Your Aloe Vera Balcony Care Calendar
Now that my plant is established, here’s my ongoing monthly routine:
- Spring/Summer: Water every 2-3 weeks. I might apply a diluted, balanced fertilizer once at the start of summer.
- Fall/Winter: Water sparingly, once a month or less, as growth slows. No fertilizer. I’ll bring the pot indoors if frost is forecast, as aloe is not cold-hardy.
Frequently Asked Questions from a Fellow Plant Lover
Can I grow aloe vera on a balcony that doesn’t get direct sun? Yes, but with caution. Aloe needs bright light. A north-facing balcony (in the Northern Hemisphere) might not provide enough. You might see the plant become “leggy,” stretching for light. Consider supplementing with a grow light for a few hours a day.
The leaves of my balcony aloe are thin and curling in. What does this mean? This is typically a sign of underwatering. While aloe is drought-tolerant, it still needs water. Give it a deep soak and adjust your schedule. If the leaves are mushy and brown, it’s overwatering—stop watering and check for root rot.
How do I harvest the gel without hurting my plant? Always harvest from the largest, outermost leaves first. Using a clean, sharp knife, cut the leaf close to the base. You can then slice it open lengthwise and scoop out the gel. Never take more than 2-3 leaves at a time from a small plant, and allow it to recover for several weeks before harvesting again.
Starting my aloe vera balcony garden transformed a forgotten corner into a source of pride and practical greenery. It taught me patience, observation, and that sometimes, doing less is the best care you can provide. By choosing the right pot, mastering the watering schedule, and understanding your balcony’s unique environment, you can absolutely enjoy the benefits of this wonderful plant. Don’t be discouraged by mistakes—like my overwatering incident—they are the best teachers. Grab a pup, a pot, and start your own small-space gardening adventure today.