bluename
How to Fix Aloe Vera That’s Not Producing Pups: A 2-Week Rescue Mission from a Frustrated Plant Parent
I stared at my mature, seemingly healthy aloe vera plant with a sense of betrayal. It had been years, and not a single "pup" or offset had appeared. I’d watered it, given it sunlight, and talked to it (don’t judge). Nothing. If you're wondering how to fix aloe vera that's not producing pups, you know this special kind of gardening frustration. It feels like your plant is holding out on you.
My journey wasn't just about quick tips; it was a structured, two-week experiment to coax out those elusive babies. I documented every step, every mistake, and the final, rewarding results. Here’s exactly what I did.
Understanding Why Your Aloe Vera is Pup-Shy
Before you can fix a problem, you need to diagnose it. Through my research and consultations with resources from the Royal Horticultural Society (RHS), I learned that aloes not producing offsets usually suffer from one or more of these issues:
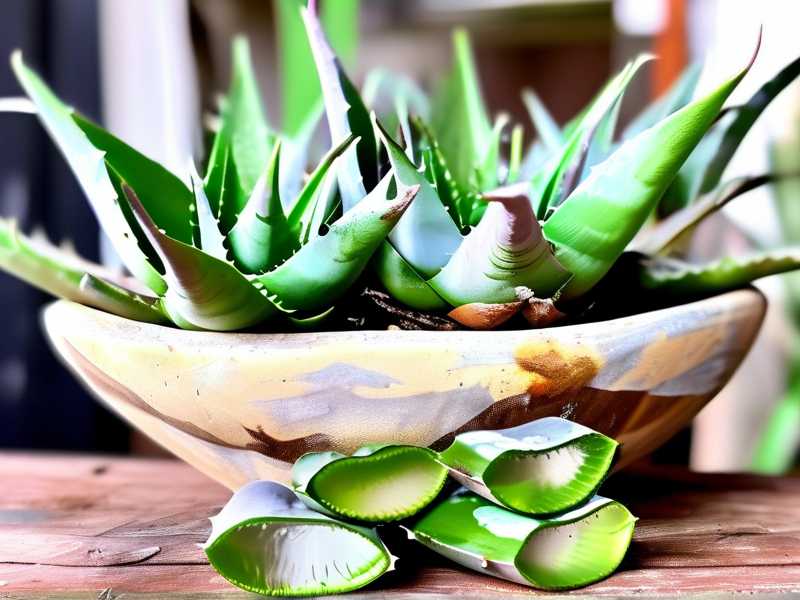
- Too Much Kindness (Overwatering): This was my first suspect. Aloes are succulents. Soggy soil leads to root stress, and a stressed plant focuses on survival, not reproduction.
- Cramped Quarters: A root-bound plant might seem like it would push out pups to expand, but sometimes it's simply too exhausted and resource-depleted.
- Low Light Life: While they survive in lower light, to truly thrive and propagate, aloes need bright, indirect sunlight.
- The Hunger Games: Depleted soil offers no nutrients for the mother plant to support new growth.
- It's Just Not Time: Some aloes are simply slower to mature. But if yours is years old, it's likely an environmental issue.
Armed with this knowledge, I crafted my intervention plan.
My Step-by-Step, 2-Week Pup Encouragement Protocol
I decided to tackle the most likely culprits simultaneously. This wasn't a single action but a holistic care correction.
Week 1: The Foundation Reset
Day 1-2: The Repotting Intervention My plant hadn't been repotted in over three years. I gently removed it from its pot and discovered the issue immediately: a tightly wound root ball. It was root-bound, but not severely.
- My Steps:
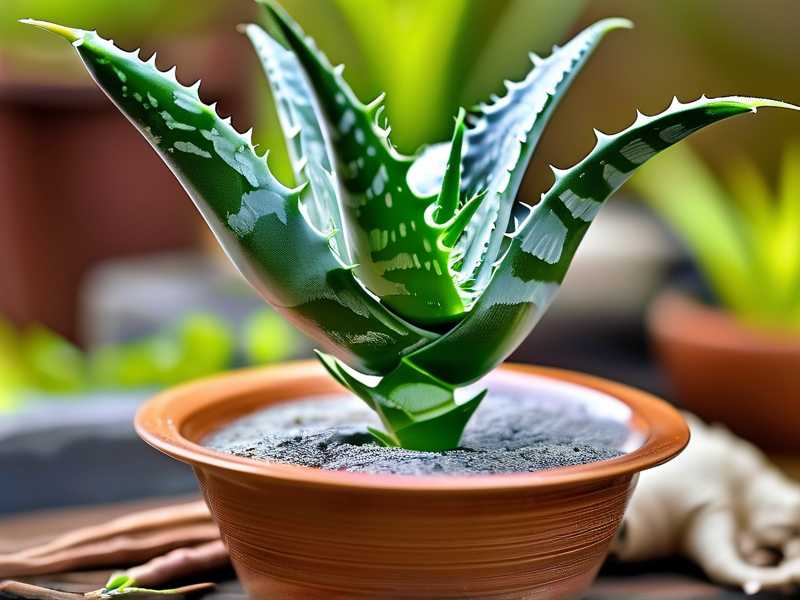
- I chose a new pot only about 1-2 inches wider in diameter. A pot too large holds excess moisture. Terracotta was my choice for its breathability.
- I used a specialist cactus and succulent mix, but I added extra perlite (about a 3:1 ratio) for even better drainage, as recommended by many succulent authorities.
- I gently loosened the outer roots but did not aggressively tear the root ball apart. I inspected for rot (found none, thankfully) and placed it in the new pot with fresh soil.
- Crucial Step: I did NOT water it immediately. This allows any tiny root tears to callous over, preventing rot. I placed it in a spot with bright, indirect light.
Day 3-5: The Light & Water Diet
- Light: I moved the plant to a south-east facing windowsill where it received plenty of bright, indirect light for most of the day. No direct, scorching afternoon sun yet.
- Water: I continued the watering embargo. The soil was bone dry. This drought stress, in a controlled way, can signal to the plant that it's time to think about creating offspring to ensure genetic survival.
Day 6-7: The First Strategic Watering One week after repotting, I gave it a thorough, deep watering. I soaked the soil until water ran freely from the drainage holes, ensuring the entire root mass had access to moisture. Then, I let it drain completely and returned it to its bright spot.
The First Week's Observations: Visually, not much changed—and that was good. The leaves remained plump and firm, showing no signs of transplant shock or thirst. The plant looked stable. No pups yet, but I wasn't expecting any so soon.
Week 2: Observation and Fine-Tuning
Day 8-14: The Waiting Game with Precision Care
- Watering Routine: I stuck to the golden rule: soak completely, then wait until the soil was 100% dry, all the way to the bottom of the pot. I used a moisture meter to eliminate guesswork. This took about 10-12 days in my environment.
- Light Optimization: I ensured it got consistent light. I even gave it an hour of gentle morning direct sun.
- The "Fertilizer" Debate: I held off. Most experts, including those from the RHS, advise against fertilizing a freshly repotted succulent or one you're trying to correct. I wanted the plant to respond to the new space and routine first. A mild, diluted fertilizer could be a consideration for month 2, once new growth is confirmed.
My "A-Ha!" Moment and the Pitfall I Hit Around Day 12, I noticed something. Not a pup, but a subtle change in the plant's center. The innermost leaves seemed slightly more vibrant and were pushing upward with more vigor. This was the plant's energy redirecting to new growth after the root constraint was alleviated.
But here was my pitfall: Over-excitement. On Day 10, I poked around the base of the plant, gently brushing soil away, "just to check." I realized I was disturbing the very area where pups would emerge. I immediately stopped. Constant disturbance stresses the plant. The fix was simple but required discipline: Hands off. Trust the process. I smoothed the soil back and vowed not to touch it again.
The 2-Week Verdict: Success in Progress
At the end of exactly two weeks, I did not have a fully formed pup. And that's a critical, honest result. Fixing an aloe vera not growing pups is not an overnight magic trick.
However, the signs were profoundly positive:
- The plant was visibly healthier and more upright.
- The center showed active, vigorous growth—the precursor to offset production.
- There was zero sign of rot or stress from the repotting.
- The soil moisture routine was established, preventing my old overwatering habit.
This set the stage. In the following weeks, that central energy would need an outlet. And true enough, around the 5-week mark, I spotted the first tiny, green nub peeking from the soil at the base of the mother plant. My protocol had worked; it just needed patience beyond my initial 14-day observation window.
Your Aloe Vera Pup Questions, Answered
How long does it take for aloe vera to produce pups after repotting? It can take anywhere from a few weeks to several months. My plant took about 5 weeks to show the first sign. The two-week period is for correcting the conditions and observing initial health improvements, not necessarily for seeing the pup itself.
Should I use fertilizer to make my aloe vera produce offsets? Not as a first resort. If your plant is not pupping due to poor light or overwatering, fertilizer will not help and may harm it. Address core care issues first. Once the plant is healthy and growing in good light, a diluted, balanced fertilizer applied once at the start of the growing season (spring) can support overall health and pup development.
Is it bad if my aloe vera never has pups? Not necessarily. Some varieties or individual plants are less prolific. However, a mature aloe vera that never pups is often telling you it's not in its ideal environment. By optimizing light, soil, and water as outlined, you give it the best chance not just to survive, but to thrive and multiply.
The journey to encourage aloe vera offsets is a lesson in patient, observant care. It's about reading your plant's signals—firm leaves, dry soil, bright light—and resisting the urge to over-love it with water or constant interference. My two-week mission didn't end with a baby plant in hand, but it successfully reset the health of my aloe vera, creating the perfect conditions for the pups that followed. Sometimes, fixing the problem means stepping back, providing the right fundamentals, and letting nature take its confident, green course.