bluename
 How to Grow Aloe Vera in a Greenhouse: My Hands-On Guide to Lush, Healthy Plants
For years, I struggled to keep my aloe vera plants thriving. Indoors, they became leggy and pale, stretching for light. Outdoors, a surprise frost or a week of heavy rain would turn them to mush. The dream of having a steady supply of plump, gel-filled leaves for minor burns and skincare seemed just out of reach. That’s when I turned my attention to how to grow aloe vera in a greenhouse. It promised the perfect middle ground: controlled protection with ample, filtered sunlight. After several seasons of trial, error, and finally, success, I’m here to share my complete, step-by-step journey.
Why a Greenhouse is the Ultimate Aloe Vera Haven
Aloe vera, or Aloe barbadensis miller, is a succulent that craves bright light, warmth, and excellent drainage. A greenhouse allows you to master these elements. You can shield your plants from temperature extremes, control moisture levels, and maximize light exposure without the risk of sunburn. For anyone serious about cultivating robust aloe vera plants, especially outside their natural hardiness zones, a greenhouse is a game-changer. It transforms aloe vera cultivation from a hopeful experiment into a predictable, rewarding process.
My Step-by-Step Greenhouse Aloe Vera Setup
Choosing and Preparing the Right Containers and Soil
My first lesson was that aloe vera’s worst enemy is wet feet. I learned this the hard way. Initially, I used standard potting soil in decorative pots with small drainage holes. It was a recipe for root rot.
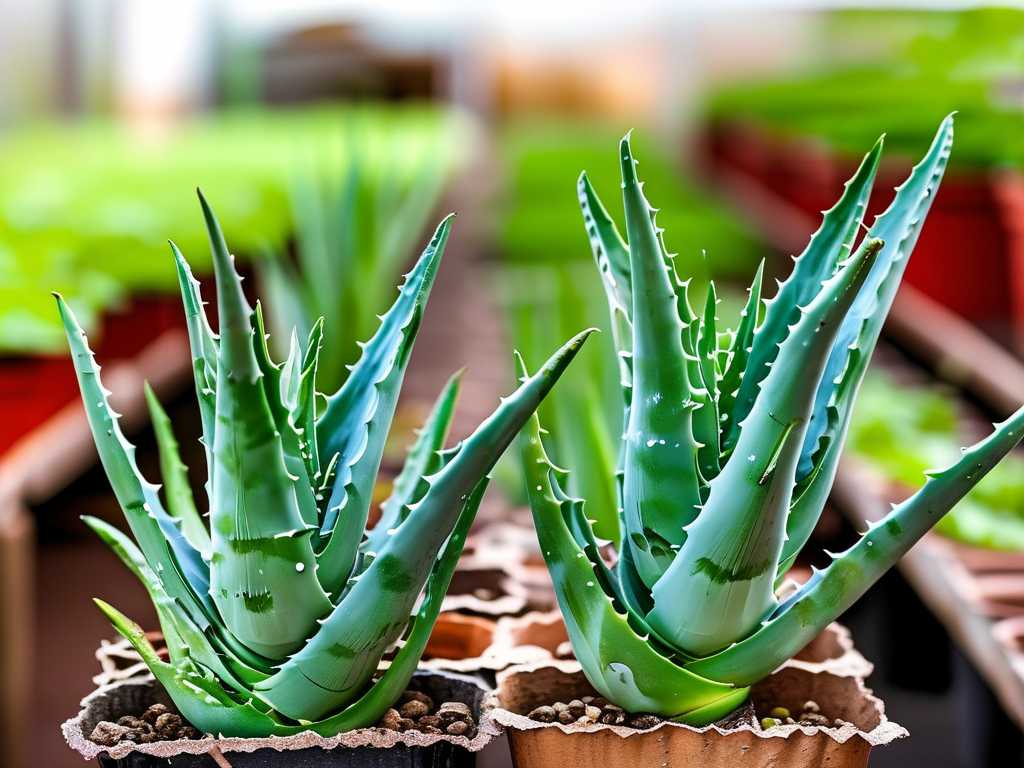
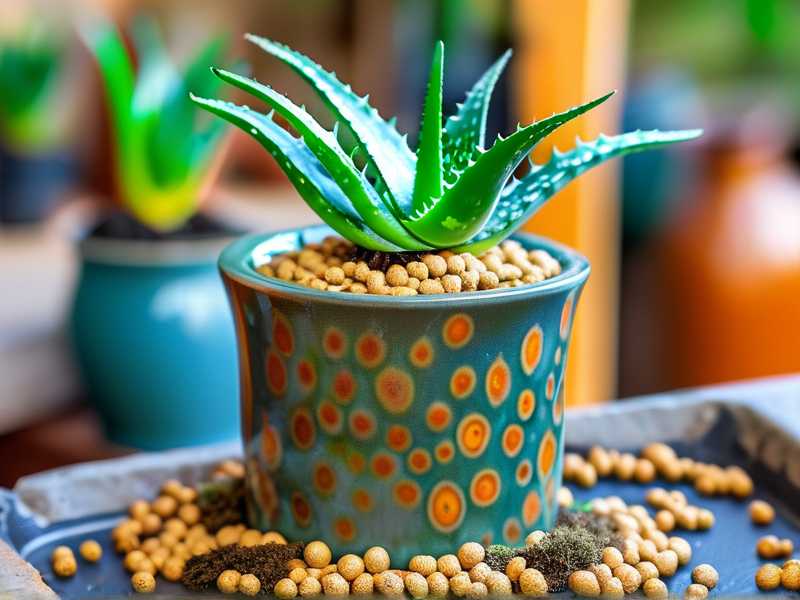
Now, I only use terracotta or clay pots. Their porous nature helps wick away excess moisture. The pot must have a substantial drainage hole. For soil, I create a mix that mimics their native, arid habitat. My recipe is one part high-quality potting soil, one part coarse sand or poultry grit, and one part perlite or pumice. This creates a fast-draining, aerated environment that aloe roots adore. I always fill the bottom inch of the pot with a layer of small pebbles or broken pottery for extra drainage insurance.
Selecting and Acclimating Your Aloe Plants
You can start from a pup (offset) or a mature plant. I prefer pups from a healthy mother plant. When I get a new plant, especially from a humid nursery, I don’t just place it in the greenhouse full sun immediately. I acclimate it over 7-10 days. I start it in a shaded corner of the greenhouse for a few days, then gradually move it to a brighter spot. This prevents shocking the plant and causing unsightly brown sunburn spots on the leaves—a mistake I made with my first batch.
Perfecting the Greenhouse Environment: Light, Temperature, and Water
This is where greenhouse aloe vera cultivation truly shines. You have control.
- Light: Aloe needs bright, indirect light. In my greenhouse, I position them on benches where they get 6-8 hours of bright, filtered light daily. During the peak summer months, I sometimes use a 30% shade cloth on the south-facing side to prevent leaf scorching. In winter, I ensure the greenhouse glazing is clean to maximize the weaker light.
- Temperature: Aloe thrives between 55°F (13°C) and 80°F (27°C). My greenhouse heater kicks on if nighttime temps dip below 50°F (10°C), and I use automatic roof vents to prevent overheating above 85°F (29°C). Consistent warmth is key for steady growth.
- Watering: This is the most critical skill. I use the “soak and dry” method. I wait until the soil is completely dry several inches down. Then, I water deeply until it runs freely out the drainage hole. I then let it dry out completely again. In my greenhouse, this might mean watering every 2-3 weeks in summer and only once a month or less in winter. I keep a simple moisture meter as a backup check.
The Two-Week Observation: From Transplant to New Growth
Two seasons ago, I documented a specific transplant of a large aloe pup into my greenhouse. Here’s my log:
- Day 1-3: Transplanted the pup into my sandy soil mix in a terracotta pot. Placed it in a partially shaded spot. The leaves felt firm.
- Day 4-7: Moved it to its permanent, brighter location. No visible change, but the plant looked stable, with no drooping.
- Day 8-10: Noticed the very center of the rosette looked slightly more vibrant, a hint of brighter green. This is often the first sign of acceptance.
- Day 11-14: Clear confirmation of success! A subtle, but definite upward growth in the central leaves. A tiny new leaf tip began to emerge from the very center. The plant was not just surviving; it was actively growing and putting down new roots.
This two-week timeline is now my standard expectation for a successful acclimation and the start of active aloe vera plant care in controlled environments.
The Pitfalls I Encountered (And How I Solved Them)
My path wasn’t always smooth. Here are the big three problems I faced:
-
The Great Root Rot Disaster: My first winter, I lost three mature plants. The greenhouse stayed humid, and I didn’t adjust my watering. The soil stayed damp for weeks.
- Solution: I invested in a digital hygrometer/thermometer. Now, I monitor humidity and water based on soil dryness, not a calendar. I also improved air circulation with a small, oscillating fan on a low setting, which made a dramatic difference in preventing fungal issues.
-
Mealybug Infestation: One summer, I noticed cottony masses in the leaf axils. Mealybugs had hitched a ride on a new plant.
- Solution: I immediately isolated the affected plant. I used a cotton swab dipped in 70% isopropyl alcohol to dab each bug. For a broader approach, I sprayed with a diluted neem oil solution (following the RHS’s recommended dilution rate) every 7 days for a month. Regular inspection of new plants is now non-negotiable.
-
Etiolation (Stretching) in Late Fall: As daylight hours shortened, some plants started stretching, becoming thin and leggy.
- Solution: According to the National Gardening Association’s advice on succulent light needs, I supplemented with a full-spectrum LED grow light for 4 hours in the early evening. This provided the necessary “day length” to keep growth compact and healthy through the darker months.
Harvesting and Using Your Greenhouse Aloe Vera
The reward comes at harvest. I only harvest mature, outer leaves that are thick and plump. Using a clean, sharp knife, I cut the leaf as close to the base as possible. The plant will seal the wound. I then fillet the leaf to scoop out the clear gel, avoiding the yellow latex (aloin) which can be a skin irritant. The gel can be used fresh or stored in the refrigerator. Having a constant, clean supply from my own greenhouse is incredibly satisfying.
How often should I fertilize my greenhouse aloe vera? Very sparingly. I feed mine once at the beginning of the growing season (spring) with a half-strength, balanced liquid fertilizer. Over-fertilizing leads to weak, soft growth.
Can I grow aloe vera in a greenhouse year-round? Absolutely. That’s one of its greatest advantages. With minimal winter heating to keep it above freezing and careful watering, your aloe can grow slowly but healthily all year.
My aloe leaves are turning brown and thin. What’s wrong? This is almost always a sign of underwatering or root damage from previous overwatering. Check the soil. If it’s bone dry and the pot is very light, give it a deep soak. If the soil is damp and the roots are mushy, you may need to unpot, trim any rot, and repot in fresh, dry mix.
Growing aloe vera in a greenhouse has transformed my relationship with this remarkable plant. It moves the process from guesswork to a manageable, enjoyable practice. By controlling the environment, respecting the plant’s need for dry roots, and staying observant, you can cultivate a stunning collection of aloe vera that is not only beautiful but also a practical, homegrown resource. The initial setup is worth every moment when you see those thick, healthy leaves thriving under your care.