bluename
 Aloe Vera Leaf Drop: Causes and Prevention
There's nothing more disheartening for a plant lover than watching a trusted, resilient aloe vera plant start to shed its plump, healthy leaves. I know the feeling all too well. One day, your aloe stands proud; the next, you notice a leaf softening at the base, then drooping sadly, and finally detaching with a gentle, worrying tug. This issue, known as aloe vera leaf drop, is a common cry for help from a plant that is famously low-maintenance. Over my years of collecting and nurturing succulents, I've turned several drooping aloes back from the brink. Let me walk you through the real causes and, more importantly, the actionable steps I took to not only stop the leaf drop but to ensure my aloe thrived again.
Understanding Why Your Aloe Vera Leaves Are Falling Off
Before you can fix the problem, you need to play plant detective. Aloe vera leaf drop is rarely a random event; it's a definitive symptom of stress. From my experience, the causes almost always boil down to a few key environmental mismatches. The Royal Horticultural Society (RHS) consistently notes that for succulents like aloe vera, "problems are most often cultural, relating to watering, light, or temperature."
The primary culprits I've encountered are:
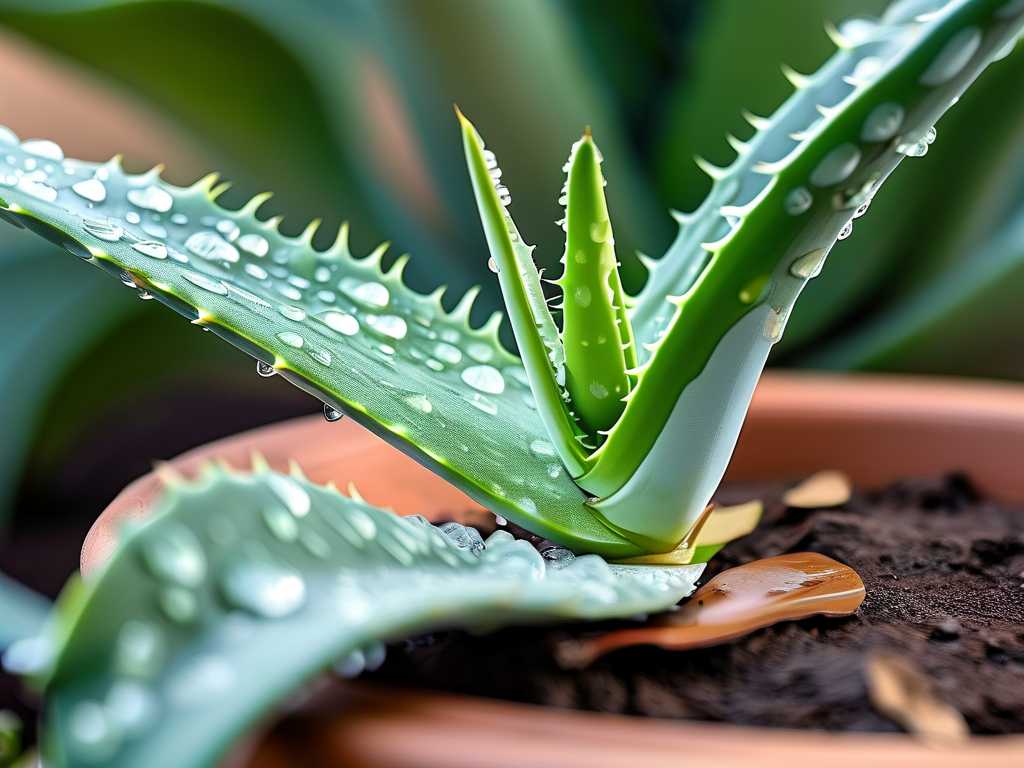
- Overwatering and Root Rot: This is public enemy number one. Aloe vera stores water in its leaves. Soggy soil suffocates the roots, turning them brown and mushy. Once the root system is compromised, it can't support the leaves, leading to soft, drooping, and falling leaves.
- Insufficient Light: While aloe can tolerate some shade, it thrives in bright, indirect light. In low light conditions, the plant becomes weak and "leggy," stretching for the sun. The lower leaves may yellow and drop as the plant reallocates energy.
- Temperature Stress and Cold Drafts: Aloe vera is a desert native. Exposure to temperatures below 50°F (10°C), especially near drafty windows in winter, can cause cell damage in the leaves, making them soft, discolored, and prone to falling.
- Physical Damage and Pest Pressure: Sometimes, the cause is simple. A bumped pot, a curious pet, or even the weight of the plant itself can cause mechanical damage. Additionally, pests like mealybugs or scale, though less common indoors, can weaken the plant at the leaf joints.
My Two-Week Rescue Mission: A Step-by-Step Recovery Plan
When I noticed my favorite Aloe barbadensis miller starting to lose its lower leaves, I knew immediate action was needed. Here was my structured, two-week plan to diagnose and treat the issue.
Week 1: Diagnosis and Immediate Intervention
Day 1-2: The Unpotting and Root Inspection My first step was the most critical. I gently tipped the plant out of its pot. The soil felt cooler and damper than it should have been a full week after watering—a classic sign. Upon examining the roots, my fears were confirmed: a section of them was dark brown, soft, and had a faint, unpleasant smell. This was early-stage root rot.
- The Fix: I cleared away all the old, wet soil. With sterilized pruning shears, I meticulously cut away every soft, rotten root, leaving only firm, white, healthy ones. I let the root ball air-dry on a paper towel for a full 24 hours to allow the cuts to callous over, preventing new infections.
Day 3: The Fresh Start with Proper Soil Using the old pot (after a good scrub) was fine, but the soil had to go. I mixed a fresh, well-draining cactus and succulent potting mix with an extra handful of perlite for aeration, as recommended by many succulent societies. This mix replicates the gritty, fast-draining environment aloe roots crave.
Day 4-7: Strategic Repotting and Placement I repotted the aloe in its new dry mix, being careful not to bury the stem too deeply. I did not water it. This is a crucial step many overlook. The plant needs time for its trimmed roots to heal before being introduced to moisture again. I placed the pot in a bright spot with plenty of indirect sunlight, away from the direct afternoon sun that could scorch it while it was vulnerable. I also moved it away from a frequently opened patio door to eliminate cold drafts.
Week 2: Observation and Adjusted Care Routine
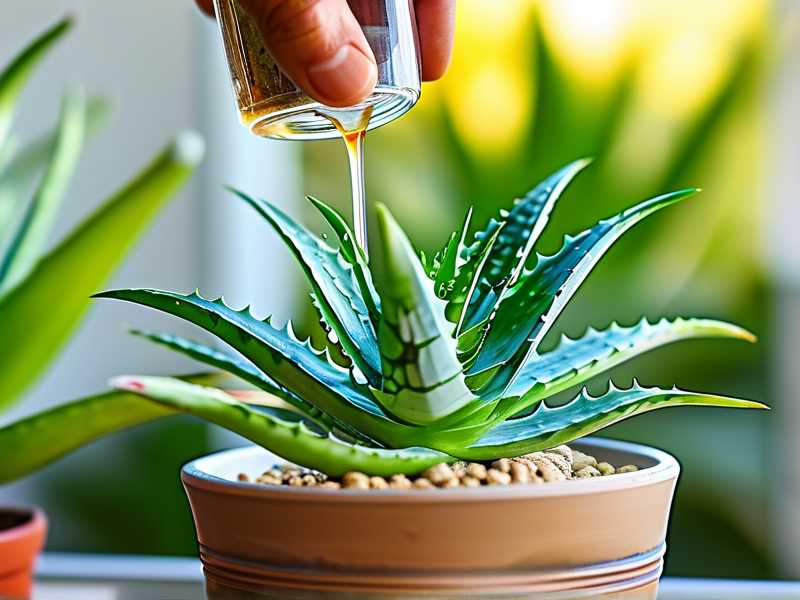
Day 8-10: The First Careful Watering After a full week in dry soil, I gave the plant its first drink. I used the "soak and dry" method: watering thoroughly until it ran out the drainage hole, then ensuring all excess water was emptied from the saucer. My goal was to mimic a desert downpour followed by a complete dry-out.
Day 11-14: Monitoring and Patience This was the observation phase. I resisted the urge to fuss. I checked the soil daily by sticking my finger two inches deep—it remained dry. I monitored the remaining leaves. The good news: no new leaves showed signs of softening or drooping. The plant's posture seemed more stable. While it didn't produce new growth (and I didn't expect it to yet), the cessation of the leaf drop was my first major victory. The existing leaves began to feel firmer, a sign they were rehydrating effectively through the now-healthy roots.
The Pitfalls I Encountered and How You Can Avoid Them
My journey wasn't without missteps. Here are the key lessons I learned the hard way:
-
The "Schedule" Trap: I used to water every Sunday. This was my biggest mistake. Plant water needs change with seasons, light, and humidity. The Fix: I abandoned the calendar. Now, I water only when the soil is completely dry, which can mean every 10 days in summer and every 3-4 weeks in winter.
-
Misdiagnosing Underwatering for Overwatering: Early on, when I saw a wrinkled leaf, I panicked and watered, worsening a hidden root rot issue. A wrinkled leaf from underwatering is usually thin and curled. A leaf suffering from overwatering/rot is typically soft, mushy, and may discolor. The Fix: Always check the soil moisture and inspect the roots if you're unsure. The touch test is your best friend.
-
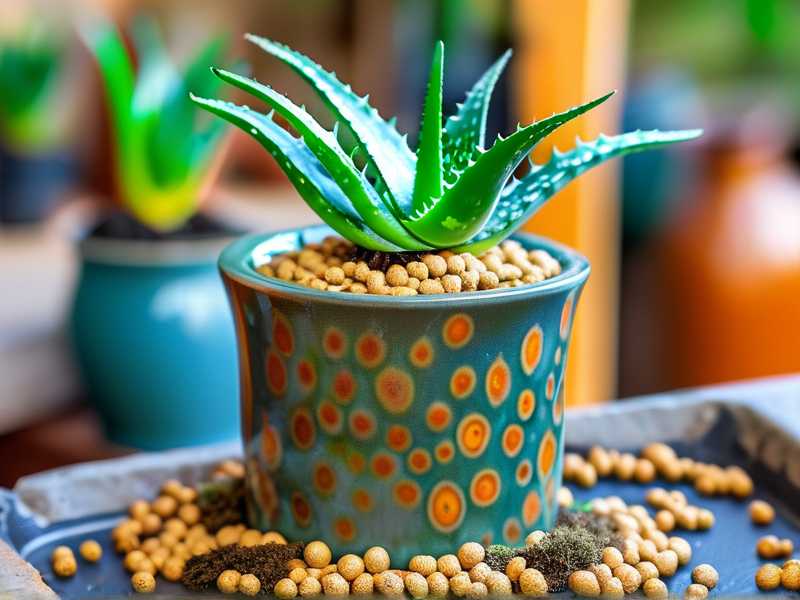
Ignoring the Pot and Drainage: I once used a gorgeous ceramic pot without a drainage hole, thinking a layer of rocks at the bottom would suffice. It doesn't. Water pooled at the bottom, creating a swamp. The Fix: I now use pots with at least one drainage hole, without exception. It's non-negotiable for aloe vera health.
-
Over-fertilizing in a Stress State: In a past attempt to "boost" a struggling aloe, I gave it a half-dose of fertilizer. This added mineral salts to the soil, further stressing the compromised roots. The Fix: Do not fertilize a plant that is showing signs of distress like leaf drop. Only fertilize healthy, actively growing aloes during the spring and summer, and very sparingly at that.
Frequently Asked Questions
Can a drooping aloe vera leaf recover? Once an aloe leaf has begun to droop significantly from the base due to overwatering or rot, it will not re-stiffen and reattach. Your goal is to save the plant and its remaining healthy leaves. The drooping leaf should be gently removed at the base to direct energy elsewhere.
How often should I really water my aloe vera to prevent leaves falling off? There is no universal schedule. The only reliable method is the "soak and dry" technique. Water deeply until it drains from the hole, then wait until the entire pot of soil is bone dry before watering again. This cycle could be 7-14 days in warm months and much longer in cooler, low-light periods.
What are the best conditions to stop aloe vera leaves from dropping? Think of its native habitat: bright, indirect light (a south or west-facing window is ideal), temperatures between 55-80°F (13-27°C), a gritty, fast-draining potting mix, and a pot with excellent drainage. Consistency is key—avoid sudden changes in its environment.
Watching your aloe vera suffer from leaf drop is a clear signal to reassess its care. It’s almost always a story of too much love in the form of water, or not quite the right spot in your home. By understanding the causes, taking brave and immediate action to inspect the roots, and committing to a cycle of thorough watering followed by complete drought, you can rescue your plant. My two-week rescue mission turned a failing plant into a lesson in resilience—for both the aloe and for me as a gardener. The firm, upright leaves that eventually grew back were a testament to the power of mimicking a plant's natural world, rather than imposing our own routines upon it.