bluename
 Aloe Vera Soil pH: The Ideal Range and How I Adjusted Mine for Thriving Plants
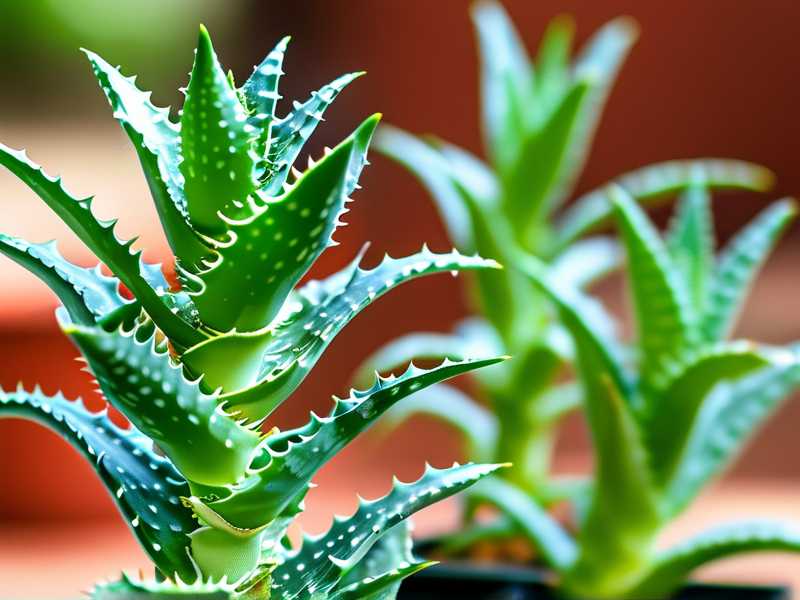
For years, I struggled with a few aloe vera plants that just wouldn’t cooperate. They weren’t dying dramatically, but they weren’t thriving either. The leaves were thin, lacked that characteristic plumpness, and had a slightly yellowish tinge instead of a vibrant green. I was meticulous about sunlight and watering, yet something was off. The breakthrough came when I finally tested my potting mix and discovered the culprit: the soil pH for aloe vera was completely wrong. My soil was too acidic. This realization sent me down a two-week journey of adjustment, observation, and learning that completely transformed my plants.
I learned that aloe vera soil pH is not just a minor detail; it’s fundamental to the plant’s health. The ideal pH for aloe vera is slightly acidic to neutral, specifically between 6.0 and 7.0. In this range, aloe can effectively access all the nutrients in the soil. If the pH is too low (acidic), nutrients like phosphorus, calcium, and magnesium become locked up. If it’s too high (alkaline), iron, manganese, and boron become unavailable. This leads to nutrient deficiencies, stunted growth, and poor overall health, exactly what I was seeing.
My Two-Week pH Correction Experiment: A Step-by-Step Log
Armed with a simple digital pH meter and a determination to fix the issue, I embarked on a plan. My goal was to gently raise the pH of my overly acidic soil (it read 5.4) into the ideal zone.
Week 1: Assessment and Initial Adjustment
First, I needed a reliable baseline. I watered my aloe plants thoroughly and let them drain. An hour later, I inserted the pH meter probe into the root zone of three different plants. The readings were consistent: 5.3, 5.4, and 5.5. Confirmed—too acidic.
My research pointed me toward garden lime (calcium carbonate) as a safe, slow-release method to raise pH. The key is gradual adjustment. Following advice from the Royal Horticultural Society (RHS), which warns against rapid pH swings that can shock plants, I decided on a minimal initial dose.
My Steps:
- I carefully removed each aloe from its pot, gently shaking off loose soil from the roots.
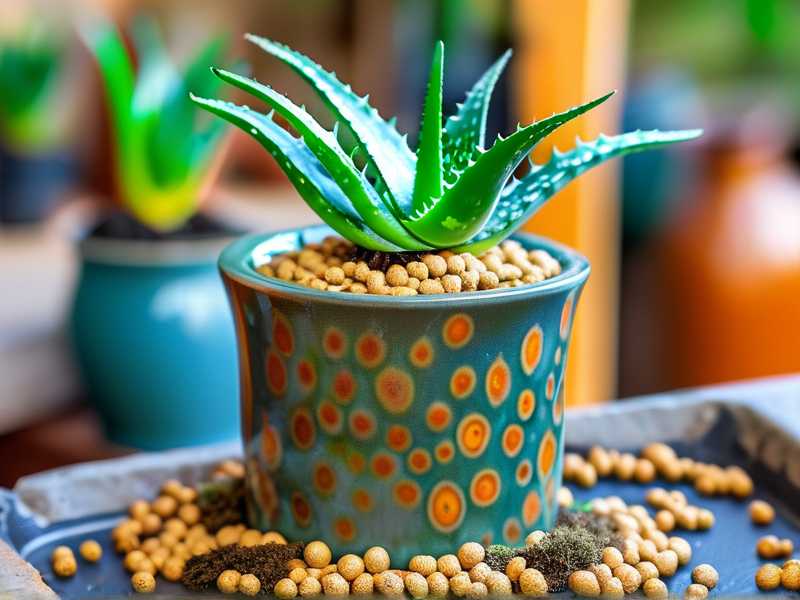
- I prepared a new, well-draining cactus/succulent mix. To this, I mixed in a tiny amount of powdered garden lime—roughly half a teaspoon per gallon of potting mix.
- I repotted each aloe into its new, pH-adjusted medium.
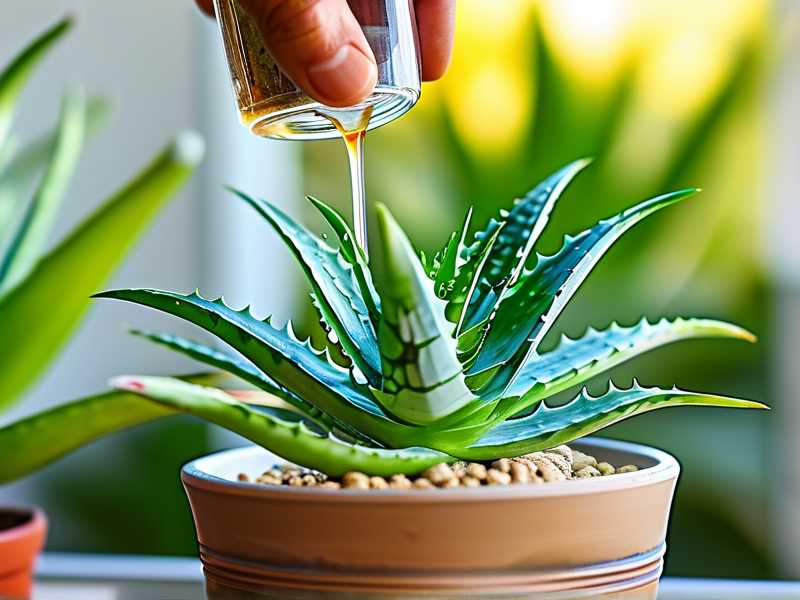
- I gave them a light watering to settle the soil and placed them back in their bright, indirect light spot.
Initial Observations (Days 1-3): No visible change, which I took as a good sign—no shock or distress. The plants looked stable.
Observations (Days 4-7): By the end of the first week, I noticed the faint yellow tinge on the older leaves seemed to have halted its spread. The plants still looked a bit lackluster, but there was no worsening. This was the “no news is good news” phase.
The Pitfall I Encountered and How I Fixed It
Here’s where I hit my first snag. Eager to check progress, I used my pH meter on the damp soil four days after repotting. The reading was erratic and still showed high acidity. I realized my mistake: I was testing too soon and on soil that was still integrating the lime. Freshly amended soil can give false readings. According to the American Horticultural Society (AHS), amendments like lime can take several weeks to fully react and stabilize. I was being impatient and almost made the error of adding more lime prematurely, which could have spiked the pH too high.
My Solution: I put the pH meter away. I committed to relying on visual plant cues for the next week and vowed to only retest the soil at the two-week mark with a proper slurry test for accuracy.
Week 2: Patience and Promising Signs
This week was about observation and resisting the urge to intervene.
Observations (Days 8-10): A subtle change began. The central, newest growth on two of the three aloes appeared a deeper, healthier green. It wasn’t dramatic, but it was noticeable when compared to the older, paler leaves. The leaves also felt firmer to the touch.
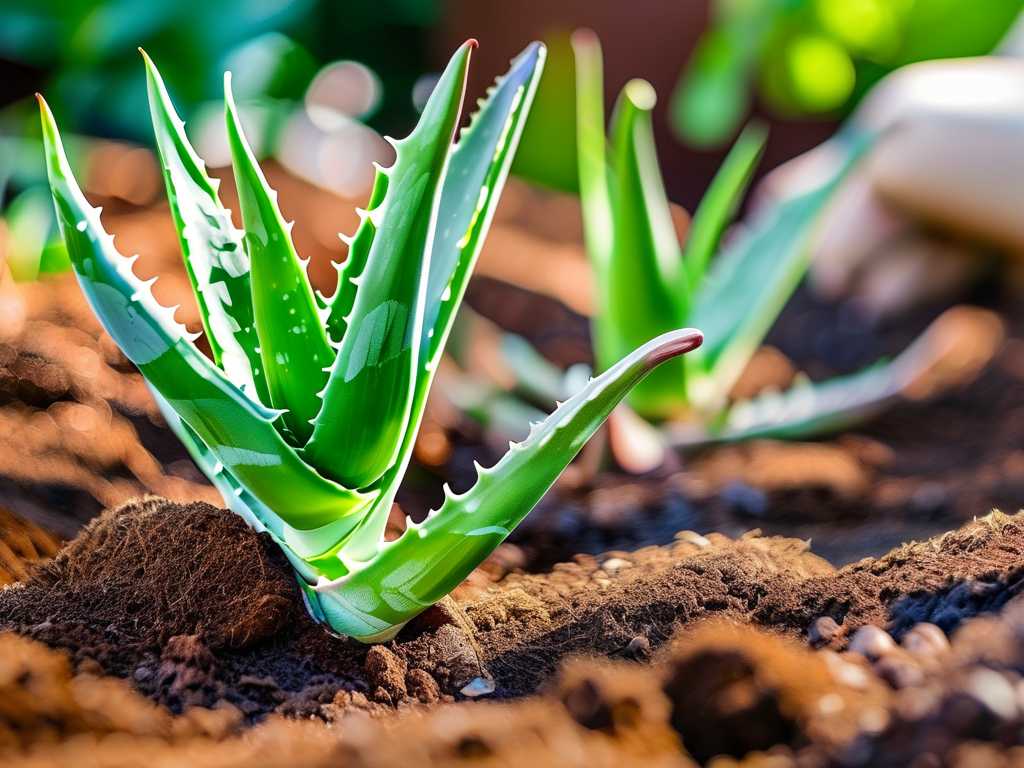
Observations (Days 11-14): The most encouraging sign appeared: new growth. Small, bright green nubs emerged from the center of each plant. This was the clearest indicator that the plants were no longer just surviving—they were actively responding to the improved soil conditions. The older, discolored leaves would not fully recover, but the new growth was perfect.
At the end of the two weeks, I performed a proper soil test. I took a sample of soil from the root ball, mixed it with distilled water to create a slurry, and let it sit before testing. The result? A pH of 6.2. Success! The slow, gentle adjustment had worked.
How to Test and Adjust Your Aloe Vera’s Soil pH
Based on my experience, here is a practical guide.
Testing Your Soil Accurately: Forget guesswork. Use a digital pH meter or a chemical test kit. For potted aloe, a meter is convenient. Ensure you test the soil from the root zone, not just the surface. Always test on moist, not soggy or bone-dry, soil for a reliable reading.
Methods to Lower Soil pH (If Too Alkaline): If your test reveals a pH above 7.5, you need to acidify the soil.
- Elemental Sulfur: This is the most effective long-term solution for potted plants. It’s slow-acting but lasting. Mix a very small amount into the top layer of soil or potting mix before use.
- Acidic Organic Matter: Incorporating peat moss or composted oak leaves into your potting mix can help lower pH gradually and improve texture.
Methods to Raise Soil pH (If Too Acidic): This was my journey.
- Garden Lime (Calcium Carbonate): My chosen method. It’s gentle and adds beneficial calcium. Integrate it uniformly into your potting mix before repotting. Remember, less is more.
- Dolomitic Lime: This contains both calcium and magnesium, which can be beneficial if a soil test also indicates a magnesium deficiency.
A critical reminder from my pitfall: always allow 2-4 weeks for any amendment to take full effect before retesting or adding more. Over-correction is more dangerous than the original problem.
Why the Correct pH is Non-Negotiable for Aloe Health
Getting the pH level for aloe vera plants right unlocks their potential. In the correct pH range:
- Roots absorb nutrients efficiently, leading to robust growth and that iconic, plump leaf structure.
- The plant’s natural disease resistance is stronger. A stressed, nutrient-deficient plant is far more susceptible to pests and rot.
- It prevents specific nutrient deficiencies. For example, iron deficiency (causing interveinal chlorosis) is common in alkaline soils, while calcium and magnesium issues plague acidic soils.
My plants are now on a path I couldn’t have imagined two weeks ago. The difference wasn’t overnight, but the steady emergence of deep green, firm new leaves proved that aligning the soil chemistry with the plant’s needs is the true secret to a thriving aloe vera, not just an surviving one.
Frequently Asked Questions
Can I use wood ash to raise the pH for my aloe vera? While wood ash is alkaline and can raise pH, I don’t recommend it for potted aloe vera. It’s very potent and can raise pH too quickly and too high. It also contains salts that can build up in container soil. Garden lime is a much safer, more controlled option for this sensitive application.
How often should I test my aloe vera’s soil pH? For established plants, testing once a year is sufficient, preferably at the start of the growing season. If you are correcting an imbalance, test once at the start, amend, and then retest after 4-6 weeks to check stability. Over-testing can lead to unnecessary tinkering.
My aloe’s leaves are brown and soft. Is this a pH problem? Not likely. Brown, soft leaves are almost always a sign of overwatering and root rot. pH issues typically manifest as discoloration (yellowing or pale leaves) and stunted, thin growth. Always check your watering habits first before investigating soil chemistry. Correct drainage is the first line of defense for any aloe vera.