bluename
 How to Fix Aloe Vera That’s Growing Lopsided
You’ve lovingly cared for your aloe vera, giving it sunlight and just the right amount of water. Yet, one day you notice it’s leaning dramatically to one side, looking unbalanced and unstable. If your aloe vera is growing lopsided, you’re not alone. It’s a common frustration for indoor gardeners, but the good news is it’s almost always fixable. I’ve faced this exact issue with several of my own plants, and through trial, error, and research, I’ve developed a reliable process to correct the lean and promote healthy, upright growth. Let me walk you through the steps I took, what happened over two weeks, and the pitfalls I encountered so you can avoid them.
Understanding Why Your Aloe Vera Goes Lopsided
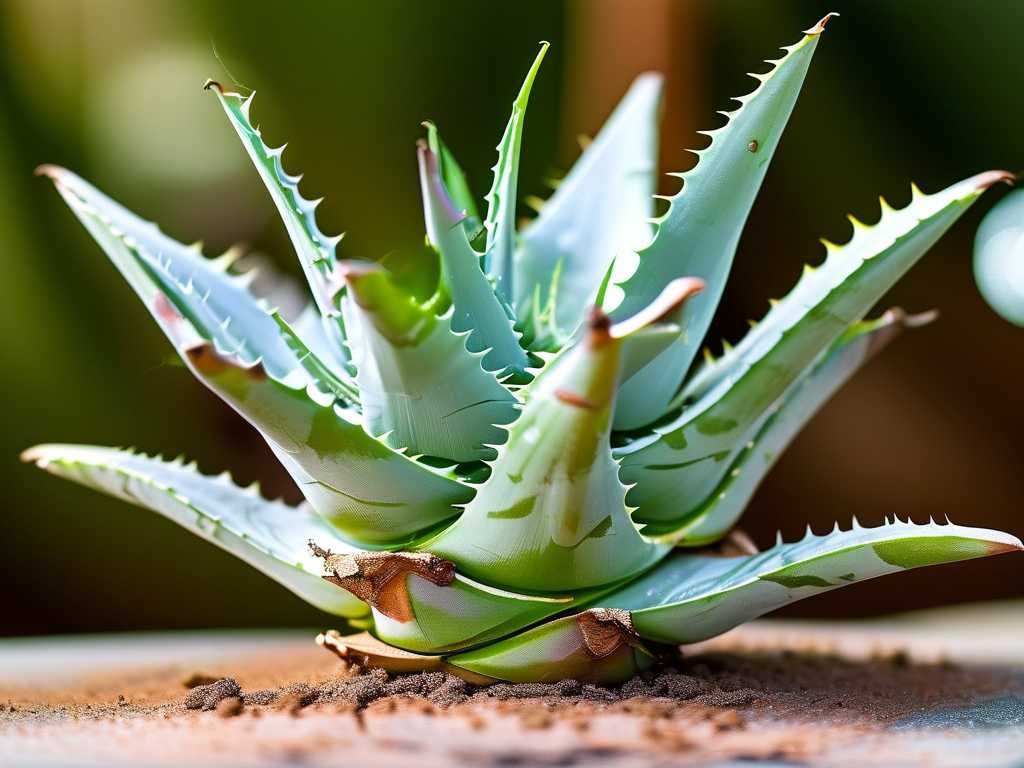
Before we jump into fixes, it’s crucial to understand the "why." A lopsided aloe vera isn’t just an aesthetic issue; it’s a symptom. The primary culprit is almost always uneven light exposure. aloe vera plants are sun-seekers. Their leaves grow directly toward the light source in a process called phototropism. If your light comes mainly from a window to one side, the plant will stretch and bend toward it, becoming lopsided.
Other factors can contribute, too. A pot that’s too small or top-heavy growth can make the plant physically unstable. Occasionally, improper watering techniques leading to root issues might cause tilting. Identifying the root cause is your first step to a lasting solution.
My Step-by-Step Process to Correct a Leaning Aloe Vera
When I noticed my favorite aloe vera plant starting to list seriously to the left, I knew immediate action was needed. Here is the exact sequence I followed.
Step 1: The Gentle Assessment and Rotation
First, I carefully examined the plant. The soil was dry, and the leaves were firm but all bending toward the window. This confirmed my suspicion: it was a classic case of phototropism. My initial fix was simple. I gave the pot a gentle quarter-turn (about 90 degrees) to present the "back" of the plant to the light. The Royal Horticultural Society (RHS) recommends regular rotation for houseplants to ensure even growth, and this is the first line of defense. I marked the pot with a small dot to track my rotations.
Step 2: Evaluating and Adjusting Light Conditions
Simple rotation helps but isn’t always enough for a severe lean. My plant’s spot received bright, but indirect, light only for half the day. To encourage more balanced growth, I needed to improve the overall light quality. I moved the plant to a south-facing windowsill where it would receive several hours of bright, indirect light more evenly throughout the day. If you don’t have a brighter spot, consider a grow light placed directly above the plant to simulate overhead sun.
Step 3: The Strategic Staking and Support Method
My aloe’s stem had a noticeable curve. To gently train it back toward center, I used a soft support system. I inserted a thin, green bamboo stake into the soil on the opposite side of the lean. Then, using flexible plant ties (never wire or string that can cut), I loosely looped around the base of the plant and the stake, providing support without constriction. The goal isn’t to force it straight overnight, but to offer guidance as new growth emerges upright.
Step 4: The Last Resort: Careful Repotting
If your plant is severely lopsided and top-heavy, or if it’s root-bound, repotting is necessary. My plant was in a slightly small pot. I prepared a new pot only 1-2 inches wider in diameter with excellent drainage. Using a cactus/succulent mix, I repotted the aloe, taking this critical opportunity to reposition the plant upright in the center of the new soil. I buried the stem slightly deeper to provide more stability, being careful not to bury the lowest leaves. I watered it lightly after a few days to let any disturbed roots heal.
The Two-Week Observation: A Diary of Recovery
I monitored my plant closely after implementing these steps. Here’s what I observed.
- Days 1-3: After repotting and staking, the plant looked a bit stressed, which is normal. The leaves were firm, a good sign. I resisted the urge to overwater.
- Days 4-7: I continued my quarter-turn rotation every 3-4 days. I noticed the newest, central leaves were beginning to grow straighter, reaching upward rather than sideways. The existing curved leaves didn’t straighten, but they stopped bending further.
- Days 8-14: The most encouraging changes! The new growth was decidedly upright. The plant looked more balanced overall. The stake was doing its job, and the base felt more secure in the new, larger pot. The lopsided appearance was being actively corrected by the plant’s own new growth.
Pitfalls I Encountered and How I Solved Them
My journey wasn’t flawless. I made mistakes that taught me valuable lessons.
Pitfall 1: Overcorrecting with the Stake. Initially, I tied the plant too tightly to the stake, trying to force the curved stem straight. This put pressure on the stem and one lower leaf started to show a stress mark. Solution: I immediately loosened the tie, allowing just enough support for guidance without force. The American Horticultural Society (AHS) advises that plant supports should "aid, not restrict" growth.
Pitfall 2: Overwatering After Repotting. Anxious to help, I watered deeply immediately after repotting. This is a risk as disturbed roots are susceptible to rot. Solution: I learned to wait 5-7 days after repotting succulents before the first watering, allowing micro-tears in the roots to callous over.
Pitfall 3: Impatient Expectations. I expected the old, curved leaves to magically straighten. They don’t. Solution: I accepted that correction is about managing new growth. The old leaves will eventually be reabsorbed or can be carefully pruned at the base once the plant is fully stable and has plenty of new, upright growth.
Ensuring Your Aloe Vera Grows Straight and Healthy
Prevention is always easier than correction. To maintain a perfectly upright aloe vera, make regular plant rotation a habit. Turn your pot a quarter turn every time you water. Ensure it gets consistent, bright indirect light. Water only when the soil is completely dry, and use a well-draining pot and soil mix. A stable foundation prevents a lot of problems.
Frequently Asked Questions
Can I just cut the bent stem off? You can, but it’s a more drastic measure. If the plant is very tall and bent, you can behead it. Allow the cut end to callous for a few days, then replant it. The original base will often produce new offsets (pups). I reserve this for extreme cases.
How often should I rotate my aloe vera? For consistent light, rotate it every 1-2 weeks. If you notice it starting to lean slightly, increase rotations to every few days until the new growth corrects itself.
Will a grow light really help prevent lopsided growth? Absolutely. A full-spectrum LED grow light placed directly above the plant mimics the sun’s natural path, encouraging perfectly vertical growth. It’s an excellent solution for rooms with poor natural light.
Correcting a lopsided aloe vera requires patience and a slight adjustment to your care routine. By understanding the cause—typically uneven light—and taking proactive steps like consistent rotation, strategic support, and sometimes repotting, you can guide your plant back to a balanced, healthy form. The key is to work with the plant’s natural growth, supporting new upright development while accepting the old. In just a few weeks, with consistent care, you’ll see your aloe vera standing tall and proud once again, a testament to your attentive gardening skills.