bluename
How to Adjust Soil Looseness for Summer Aloe Maintenance
If your aloe has been sitting in the same dense potting mix since you brought it home, summer is when that laziness catches up with you. I learned this the hard way after watching a healthy aloe turn mushy in less than two weeks. The fix is simpler than you think: loosen the soil, improve drainage, and stop treating aloe like a tropical plant. In this guide, I'll walk you through exactly how to adjust soil looseness for summer aloe maintenance, using steps I've tested myself and results I watched unfold over a 14-day window.
Aloe vera is one of those plants that looks effortless on a windowsill but quietly struggles when its roots can't breathe. The leaves store water, so the plant forgives missed waterings far more easily than soggy roots. That's the key tension in summer care. Heat makes us water more often. Aloe roots hate staying wet. Getting the soil texture right solves most of that conflict before it starts.
I'm writing this from the perspective of someone who has killed more aloes than I'd like to admit. The first one drowned in a decorative ceramic pot with no drainage hole. The second baked on a south-facing balcony with compacted nursery soil that turned rock-hard by July. The third finally thrived after I rebuilt the mix from scratch and watched it for two weeks. That third plant taught me what actually matters.
Why Soil Looseness Matters More in Summer
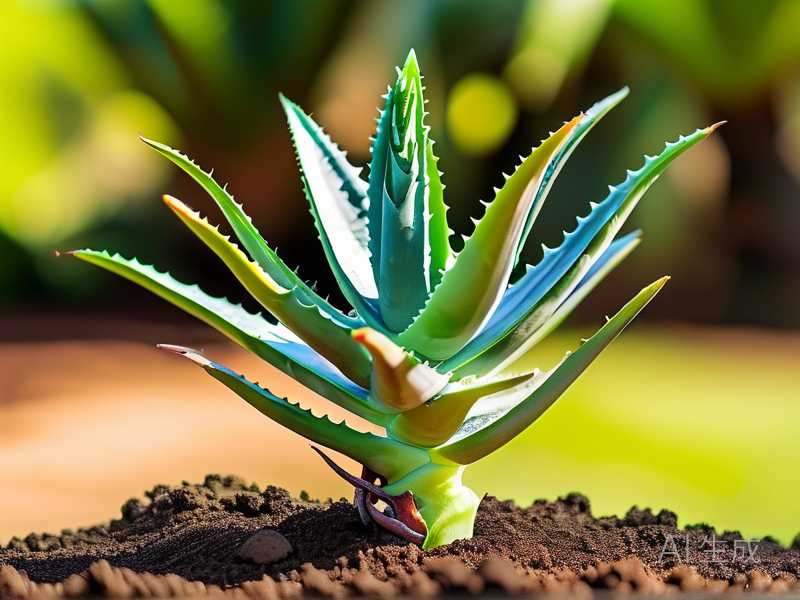
Summer raises the stakes for aloe roots. Daytime heat speeds up evaporation from the leaf surface, but the soil inside a pot can stay damp for days if it's dense. That mismatch is what causes rot. According to the RHS, aloes and similar succulents demand free-draining compost and will collapse quickly in waterlogged conditions. I've seen this firsthand.
Loose soil does three things at once. It lets water pass through fast. It lets air reach the roots. And it dries out evenly instead of forming a wet core at the bottom of the pot. When I switched my aloe from a peat-heavy mix to a gritty blend, the difference showed up within days. The leaves firmed up. The soil surface dried by the second morning after watering instead of staying damp for five days.
Many people assume aloe needs rich soil because it grows fast in summer. That's backwards. Aloe grows best in lean, airy mix. Rich soil holds moisture too long and encourages soft, weak growth that rots easily. I wish someone had told me this before I repotted my first plant into standard potting compost.
The 14-Day Soil Adjustment I Actually Did
Here's the exact sequence I followed, and what I observed over two weeks. This isn't theory. It's what happened on my kitchen windowsill in early July.
Day 1: I removed the aloe from its pot and shook off as much old soil as I could. The root ball was tighter than expected, with a sour smell near the base. That smell is a warning sign of early rot.
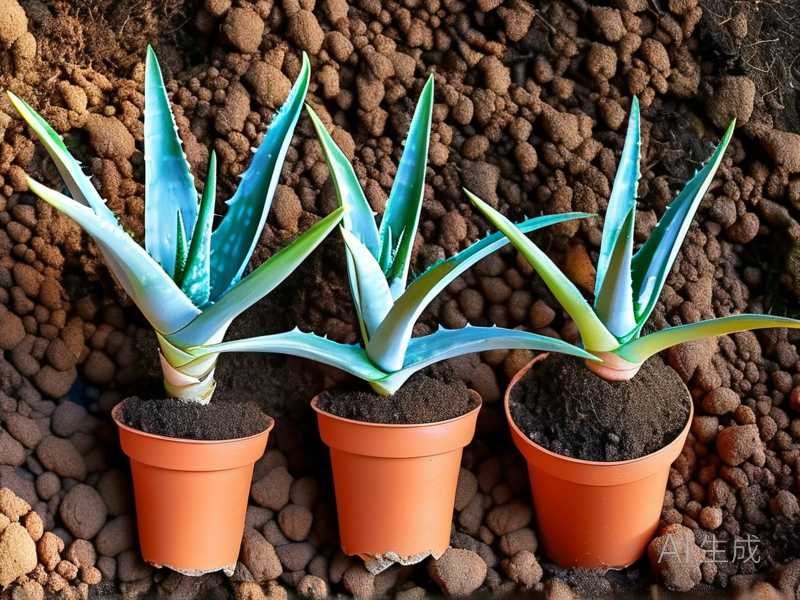
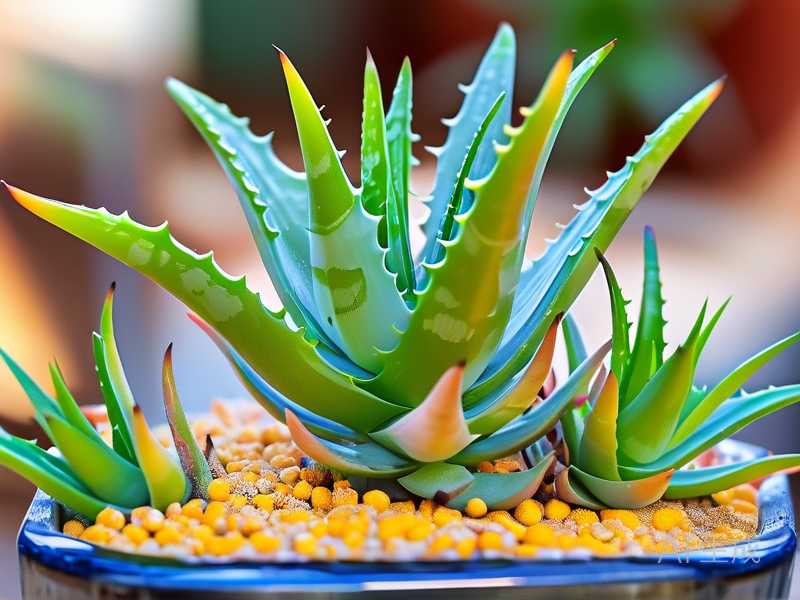
Day 2: I mixed a new batch: roughly 50% succulent or cactus compost, 30% perlite, and 20% coarse horticultural sand. I added a small handful of small pumice stones I had left over from a previous project. The mix felt light and crumbly in my hand, not clumpy.
Day 3: I repotted into a terracotta pot one size up from the original, with a drainage hole I checked twice. I watered lightly and placed the plant in bright indirect light.
Days 4–7: I left it alone. No watering. The soil surface was dry by day two, which told me the mix was draining properly. The leaves looked slightly stressed but stable.
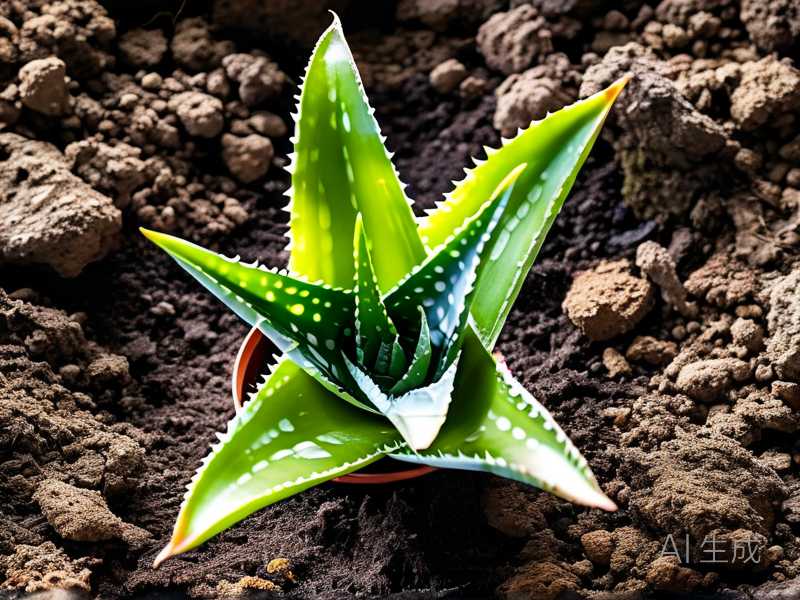
Days 8–14: I watered once on day 10, deeply but slowly, letting water run out the bottom. By day 14, the leaves had plumped back up and the center was showing fresh green growth. No soft spots. No yellowing. The soil was dry again within two days.
That two-week window confirmed what I suspected: the problem was never the watering schedule. It was the soil texture.
What "Loose" Soil Actually Looks Like
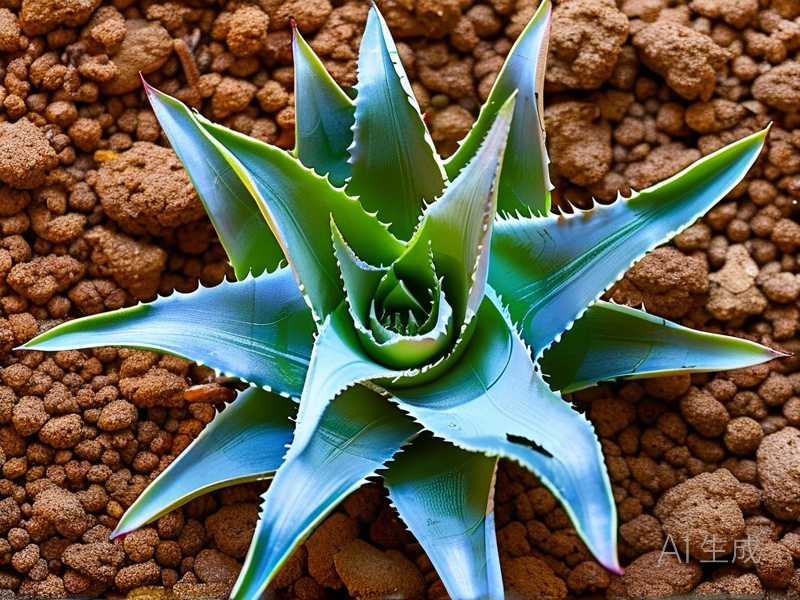
Loose soil isn't just "not compacted." It has visible structure. When I squeeze a handful of my current mix, it falls apart instead of holding a ball. That's the test I use now. If the mix clumps, it's too dense for aloe.
A good summer aloe mix should feel gritty, with visible white perlite or pumice flecks throughout. The particles should be irregular in size. Fine sand alone won't work because it packs down. You need chunky material to create air pockets.
I also pay attention to weight. A pot filled with loose aloe mix feels surprisingly light compared to one filled with regular compost. That lightness is a good sign. Heavy pots usually mean dense, water-retaining soil.
The AHS notes that succulents benefit from amended soils that prioritize drainage over fertility, especially in containers. That matches what I've seen. My aloe doesn't need rich soil. It needs air.
Step-by-Step: Adjusting Soil Looseness Without Repotting Everything
Sometimes you don't want to disturb the whole root system, especially in midsummer heat. I've tried a lighter approach on a second aloe, and it worked reasonably well.
First, I used a chopstick or wooden skewer to gently poke holes around the edge of the pot, going down about halfway. This creates channels for air and water without ripping up roots. I did this every few days for the first week.
Second, I top-dressed with a thin layer of perlite and coarse sand, working it into the top inch of soil with my fingers. This improves surface drainage and prevents the top layer from crusting over.
Third, I watered more slowly and less often, letting the pot drain completely each time. The combination of aeration holes and a gritty top layer made a noticeable difference within about ten days. The soil dried faster, and the plant stopped looking sulky.
Honestly, though, this is a stopgap. If your aloe has been in the same soil for more than a year, a full repot with a fresh loose mix is the better move. I've tried to avoid repotting before, and the plant always paid for my procrastination.
Choosing the Right Pot to Keep Soil Loose
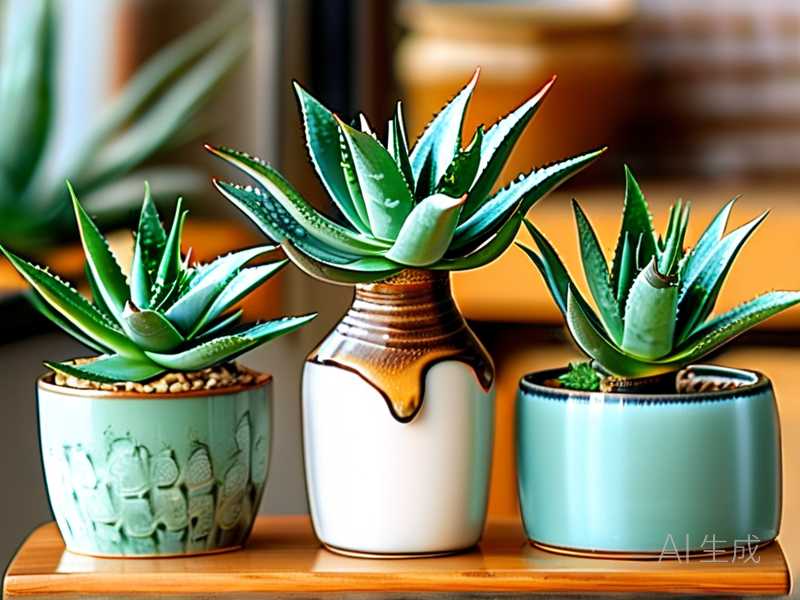
Pot material matters as much as the mix. I've used plastic, glazed ceramic, and unglazed terracotta. Terracotta wins for aloe in summer because it breathes. Moisture moves through the walls, which helps the soil dry evenly. Plastic pots hold moisture longer, which can be fine in winter but risky in summer.
Size matters too. A pot that's too large holds a huge volume of wet soil around a small root system. That's a recipe for rot. I size up only when roots are visibly filling the current pot, and even then, I go up just one size. Aloe likes being slightly snug.
Drainage holes are non-negotiable. I've made the mistake of using a beautiful pot without proper drainage, and I paid for it. Now I check every pot before planting, and I sometimes drill extra holes if the existing ones are small.
Watering in Summer: The Loose-Soil Advantage
Once the soil is loose, watering becomes more forgiving. Water moves through quickly instead of pooling. That means you can water thoroughly without worrying that the bottom half of the pot will stay wet for a week.
I water my aloe when the top two inches of soil feel dry, which in summer is roughly every 10 to 14 days indoors, or every 7 to 10 days outdoors in heat. I water until it runs out the drainage hole, then I don't water again until the soil is dry. Simple.
The big mistake is watering on a fixed schedule. Aloe doesn't care what day it is. It cares whether the soil is dry. If you're unsure, wait another day. I've never lost an aloe to underwatering, but I've lost several to overwatering. So have most people. In fact, 90% of indoor plants die from overwatering, and aloe is no exception.
Recognizing Soil Problems Before They Spread
Your aloe will tell you when the soil is wrong. The signs show up in the leaves first. Soft, translucent patches near the base mean too much moisture. Brown, crispy tips can mean the soil is so dense that water runs off the surface without reaching the roots. That happened to me once. I'd water, and the water would channel down the inside edge of the pot and out the bottom without actually soaking the root ball.
If the soil surface develops a green tinge or white crust, that's algae or mineral buildup from poor drainage and airflow. I scrape it off and loosen the top layer, but if it keeps coming back, I repot.
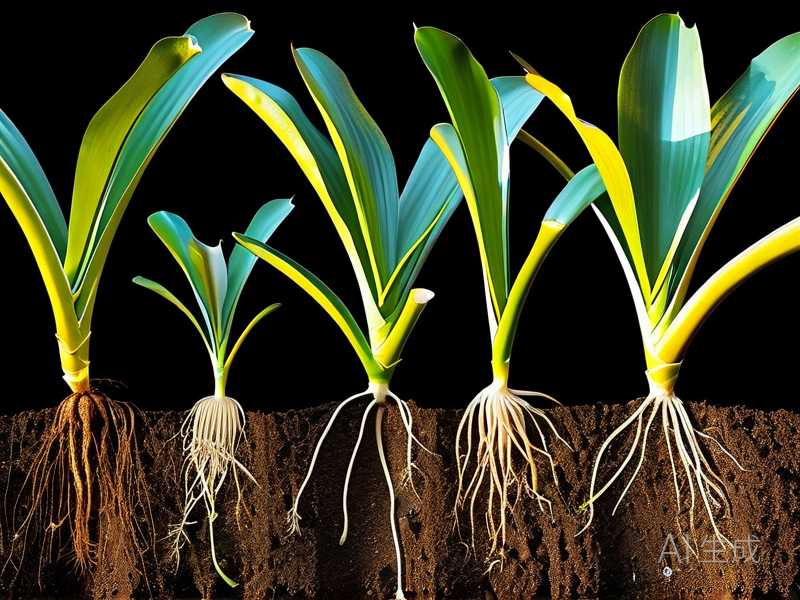
Root smell is the clearest signal. Healthy aloe roots smell earthy and clean. Rotting roots smell sour or swampy. I check this any time I repot, and I've caught early rot twice this way before it spread to the stem.
Three Beginner Mistakes That Wreck Aloe in Summer
I've made all three of these, so I'm not judging.
Mistake one: overwatering. It's the classic. Aloe looks a little sad, so we water it. Then we water it again. The soil stays wet, the roots suffocate, and the plant collapses. The fix is to let the soil dry completely between waterings and to trust the leaves. A slightly wrinkled aloe is thirsty. A mushy aloe is drowning.
Mistake two: wrong light. Aloe wants bright light, but harsh afternoon sun in summer can scorch the leaves, especially if the plant hasn't been gradually acclimated. I burned a plant this way by moving it from a shaded porch to full sun in one day. The leaves turned reddish-brown and crispy. Now I introduce more light gradually over a week or two. Indoors, a south or west window works well, but I use a sheer curtain during the hottest part of the day.
Mistake three: wrong pot. Oversized pots, pots without drainage, and pots made of non-breathing material all contribute to soggy soil. I used to think a bigger pot meant a happier plant. It doesn't. It means a bigger reservoir of wet soil.
Summer Care Beyond Soil: Light, Air, and Heat
Loose soil is the foundation, but summer aloe care doesn't stop there. Airflow matters. I keep a small fan running near my indoor aloes on hot days, just to keep air moving. Stagnant humid air around the leaves encourages fungal problems.
Heat stress is real too. Aloe tolerates warmth well, but prolonged temperatures above 90°F (32°C) can slow growth and cause leaf tips to dry. I move pots slightly away from hot glass or metal surfaces that radiate heat. Outdoors, dappled shade during the hottest hours is ideal.
I also rotate my pots every week or so. Aloe grows toward the light, and without rotation, it leans and stretches. A quarter turn each week keeps growth even.
Fertilizing in Summer: Less Is More
I feed my aloe sparingly, if at all. Loose, gritty soil doesn't hold nutrients well, which is actually fine for aloe. It's not a heavy feeder. I use a diluted succulent fertilizer at half strength, maybe once in early summer and once in midsummer. That's it.
I never fertilize a plant that's been recently repotted, stressed, or sitting in wet soil. Fertilizer on damaged roots does more harm than good. I also skip feeding during heat waves, when the plant is semi-dormant and not actively growing.
If you're using a rich compost-based mix, you probably don't need fertilizer at all in the first season. The plant will get what it needs from the soil.
FAQ
How often should I loosen aloe soil in summer?
You don't need to loosen it regularly if the mix is already gritty and well-draining. I check the soil texture every few weeks by squeezing a small handful. If it clumps, I aerate with a skewer and top-dress with perlite. A full repot is only needed if the soil has broken down or the plant has outgrown its pot.
Can I use regular potting soil for aloe if I add sand?
You can, but be careful. Fine sand can actually make soil denser. I use coarse sand or perlite instead, and I mix it at roughly 30–40% of the total volume. Regular potting soil alone stays too wet for aloe, especially in summer.
Why did my aloe leaves turn soft after I loosened the soil?
Soft leaves right after repotting are usually transplant stress, not rot, as long as the soil is drying properly. I give the plant a week of bright indirect light and no water, then check the soil. If it's still wet after a week, the mix isn't draining enough and I adjust it. If the soil is dry and the leaves are still soft, I water lightly and wait another few days.
Final Thoughts
Adjusting soil looseness for summer aloe maintenance isn't complicated, but it does require paying attention to texture, drainage, and how fast the soil dries after watering. My two-week test convinced me that the right mix solves most summer problems before they start. Loose soil, a breathable pot, and a watering routine based on dryness rather than schedule will keep your aloe steady through the hottest months. I wish I'd learned this before killing three plants, but the fourth one is thriving, and yours can too.