bluename
How to Fix Shallow Soil Problems for Tall Aloe Plants
I still remember the day I watched my favorite tall aloe plant tip over sideways in its pot. It had been looking pale and wobbly for weeks, and when I pulled it out, the roots were barely an inch deep in a sea of loose potting mix. That was my wake-up call: shallow soil problems for tall aloe plants are real, and they are way more common than most people think. The fix is simpler than you might expect. You need a deep, heavy pot, a gritty free-draining mix, and a watering rhythm that lets roots chase moisture downward. In this guide I'll walk you through exactly what I did over two weeks to rescue my floppy aloe, plus the mistakes I made so you can skip them.
Why Tall Aloe Plants Suffer in Shallow Soil
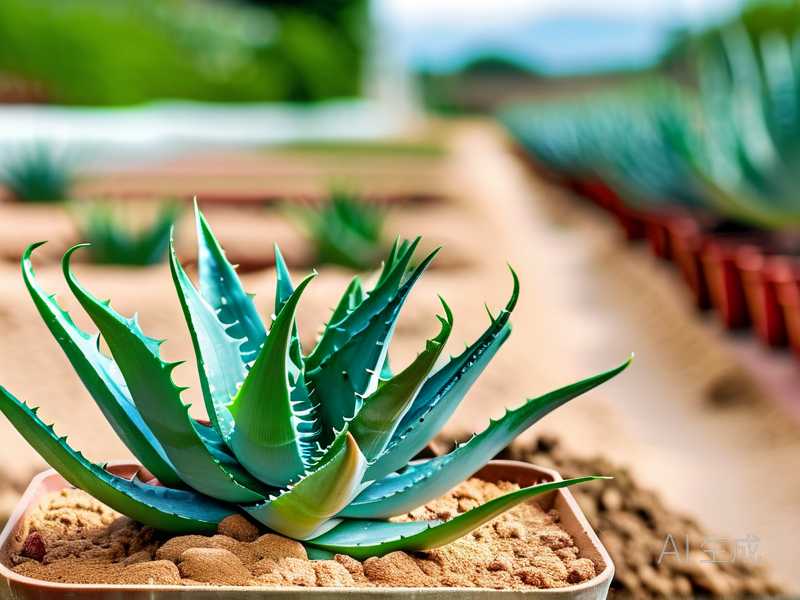
Aloes are succulents, but tall varieties like Aloe vera, Aloe arborescens, and Aloe ferox are not built like tiny rosettes. Their root systems want to anchor deep. When you plant them in a shallow layer of soil, you get a top-heavy plant with nothing holding it steady.
Honestly, the first time I grew a tall aloe, I used a decorative bowl that was only four inches deep. It looked cute for about three months. Then the lower leaves started to wrinkle, the stem leaned, and watering became a guessing game.

The Royal Horticultural Society is clear that aloes need free-draining compost and pots with generous depth for stability. I learned that lesson the hard way.
What Actually Counts as "Shallow Soil"
Shallow soil means less than six inches of usable root depth for a plant that's already a foot or more tall. It also means the soil sits in a wide, flat layer that dries unevenly. You end up with wet patches near the drainage holes and bone-dry zones up top.
If your aloe wobbles when you nudge the stem, that's your sign. A stable tall aloe shouldn't move much at all.
The Three Beginner Mistakes That Kill Tall Aloes
I've made all three of these. If you're new to aloes, please read this section twice.
Mistake 1: Overwatering
90% of indoor plants die from overwatering, and aloes are right at the top of that list. People see a wrinkled leaf and reach for the watering can. But wrinkled leaves on a tall aloe often mean root damage from too much water, not too little.
I killed my second aloe this way. I watered it every Sunday like clockwork, and by week five the stem base was mushy. The American Horticultural Society recommends letting succulent soil dry completely between waterings. That advice changed everything for me.
Mistake 2: Wrong Light
Aloes want bright light, but "bright" doesn't mean blazing afternoon sun through glass. I once put a tall aloe on a south-facing windowsill in July. The leaves turned reddish-brown and crispy within days.
Now I use a sheer curtain in summer and pull the plant back about two feet. In winter I move it closer. Simple adjustments, big difference.
Mistake 3: The Wrong Pot
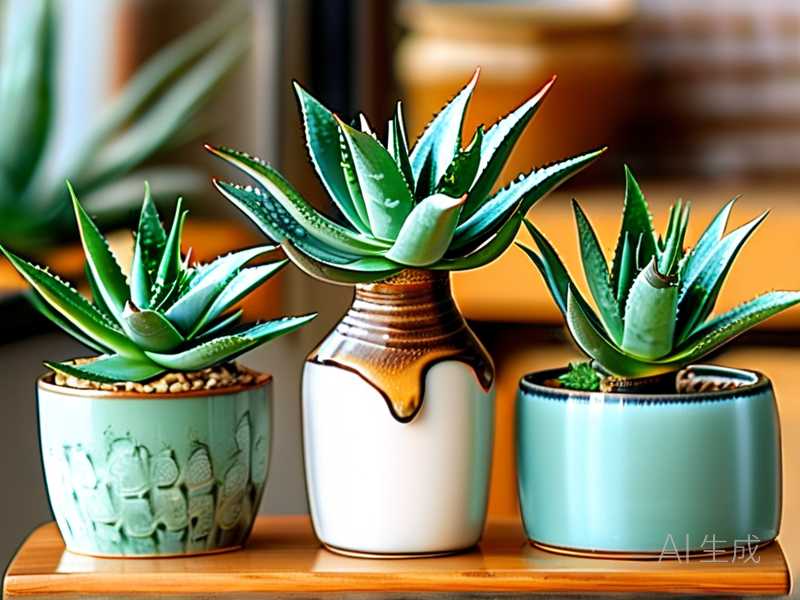
A shallow, wide pot is the classic trap. Tall aloes need weight at the base. I switched to a deep ceramic pot that was almost as tall as the plant's stem, and the tipping stopped immediately.
Terracotta is my favorite because it breathes and adds weight. Plastic works if it's deep and you add a heavy layer of gravel at the bottom for ballast.
My Two-Week Rescue Plan (Step by Step)
Here's exactly what I did when I fixed my floppy aloe. I tracked it for fourteen days, and the changes were obvious by day ten.
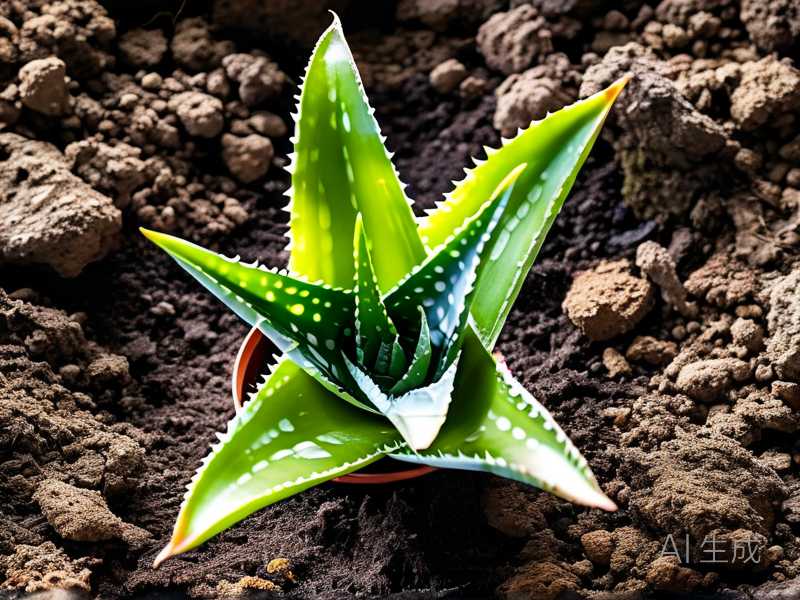
Day 1: I unpotting the aloe and shook off every bit of old mix. The roots were shallow and some were brown and soft. I trimmed the mushy ones with clean scissors.
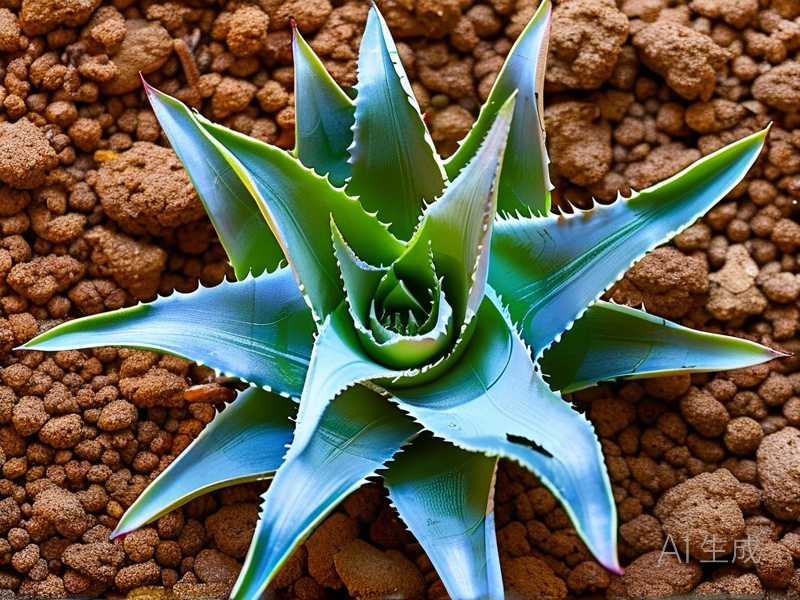
Day 2: I mixed a new batch of soil: three parts gritty cactus mix, one part perlite, and one part coarse sand. Nothing peat-heavy. Peat holds water too long for tall aloes.
Day 3: I chose a pot that was at least ten inches deep and only slightly wider than the root ball. I added a two-inch layer of gravel at the bottom for weight.
Days 4–7: I did not water. I let the repotted aloe settle and let any broken roots callus over. This step feels wrong, but it prevents rot.
Day 8: First watering after repotting. I watered thoroughly until it drained out the bottom, then I dumped the saucer.
Days 9–14: I watched for signs of stress. By day ten, the leaves were firmer. By day fourteen, the stem felt anchored when I gave it a gentle push. No wobble.
That two-week window taught me more than a year of reading ever did.
Getting the Soil Mix Right
The single biggest fix for shallow soil problems is depth plus drainage. You can't cheat this with a fancy fertilizer or a bigger watering can.
My go-to mix for tall aloes:
- 3 parts commercial cactus or succulent mix
- 1 part perlite
- 1 part coarse builder's sand
- A handful of small pumice if you have it
This mix drains fast but still holds enough moisture for roots to drink. I've also tried adding a scoop of worm castings, and honestly, the aloe responded well without any burning.
Avoid garden soil straight from the ground. It compacts, holds water, and brings pests. I tried it once on a cheap aloe and ended up with fungus gnats for a month.
Pot Depth and Drainage
Aim for a pot that's at least one-third as deep as your aloe is tall. So a two-foot aloe wants a pot that's eight inches deep minimum. More is better.
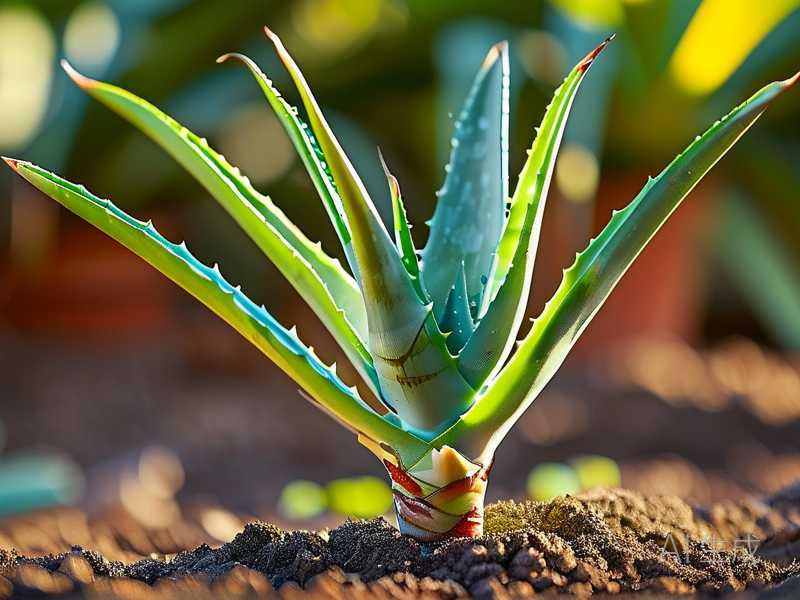
Drainage holes are non-negotiable. I drill extra holes in plastic pots if they only have one. Standing water is the enemy.
Watering Tall Aloes Without Drowning Them
Here's my rule: stick a wooden skewer into the soil down to the bottom. If it comes out clean and dry, water. If it comes out cool or damp, wait.
In summer, my tall aloe in a bright room needs water about every ten to fourteen days. In winter, once a month is plenty.
Always water until it runs out the drainage holes. Then empty the saucer. Never let the pot sit in water.
If the leaves feel soft and pliable, that's usually thirst. If they feel mushy or the stem base is dark, that's rot. Stop watering and let it dry out completely.
Light and Placement for Tall Aloes
Tall aloes stretch toward light, and that stretching makes them top-heavy. A leggy aloe is a tipping aloe.
Give them four to six hours of bright, indirect light. A east or west window works well. South is fine if you diffuse it with a curtain.
If the leaves turn red or brown, the light is too intense. If the plant leans hard toward the window and the new growth is pale, it needs more light.
Rotate the pot a quarter turn every couple of weeks. This keeps growth even and prevents leaning.
Fertilizing: Less Is More
I feed my tall aloe once in spring and once in midsummer. That's it.
Use a balanced liquid succulent fertilizer at half strength. Full-strength feeding pushes soft growth that flops over.
Never fertilize in winter. The plant is resting, and salts build up in the soil.
Never fertilize a dry plant. Water first, then feed, or you'll burn the roots.
I learned that one after giving a thirsty aloe a full dose of fertilizer. The leaf tips turned brown and crispy within a week.
Seasonal Care That Actually Matters
Spring: Wake-Up Time
This is when I repot if needed, refresh the top layer of soil, and start watering a bit more often. I also check for any damaged lower leaves and remove them with a clean cut.
Spring is the best time to fix shallow soil problems because the plant is actively growing and recovers fast.
Summer: Heat and Light Management
I move my aloe back from the window and water a little more frequently. Good airflow matters too, so I crack a window or run a small fan nearby.
Watch for mealybugs in the leaf joints. I wipe them off with a cotton swab dipped in rubbing alcohol.
Autumn: Slow Down
I cut back on watering and stop fertilizing by mid-autumn. I clean up any dead leaves around the base. This is also when I check the pot for stability before the plant goes into its slower season.
Winter: Protect and Rest
Tall aloes hate cold. Keep them above 50°F if you can. I move mine away from drafty windows and water maybe once every three to four weeks.
No fertilizer. No repotting. Just let it rest.
Common Problems and How I Fix Them
Yellow leaves: Usually overwatering. Let the soil dry completely and check for root rot.
Brown crispy tips: Low humidity or too much direct sun. Move the plant back and consider a pebble tray.
Mushy stem base: Rot. Unpot, cut away the damaged parts, let it callus, and repot in fresh dry mix.
Fungus gnats: Wet soil. Let it dry out and top-dress with sand or grit.
Mealybugs: Wipe with alcohol and repeat weekly until gone.
Leaning: Repot deeper, rotate the pot, or stake it temporarily while roots establish.
FAQ
Can I fix shallow soil without repotting? Not really, no. You can top-dress and water more carefully, but the root system still needs depth. Repotting is the real fix.
How deep should a pot be for a three-foot aloe? At least twelve inches deep, and wider than the root ball by an inch or two on each side.
Will my aloe recover if the roots were already shallow and damaged? Yes, usually. Trim the bad roots, repot in gritty mix, wait a week before watering, and give it bright indirect light. Most aloes bounce back within a month.
Fixing shallow soil problems for tall aloe plants comes down to three things: depth, drainage, and restraint. Give the roots room to go down, use a mix that dries out, and don't drown the plant with kindness. I've killed more aloes than I'd like to admit, but every one taught me something. Start with the right pot and mix, wait a week after repotting, and watch the plant firm up. You'll see the difference faster than you think.