bluename
How to Optimize Pot Placement for Aloe Soil Ventilation
If your aloe is sitting in a soggy pot and you're wondering why the leaves keep going soft and yellow, the fix usually isn't more water or more sun. It's airflow. Optimizing pot placement for aloe soil ventilation is the single most overlooked step in keeping these plants alive indoors, and I learned that the hard way after killing three aloes in a row.
Here's the short answer up front: raise the pot so air can move under it, keep it out of sealed decorative cachepots, leave 1–2 inches of clearance on every side, and never tuck it into a humid corner with no air movement. That's it. That one habit change is what finally turned my aloe collection around.
I'm writing this as someone who has killed more aloes than I'd like to admit. Not because I didn't love them. Because I didn't understand that aloe roots need to breathe as much as they need water. And 90% of indoor plants die from overwatering—often because the soil never dries out, and the soil never dries out because the pot has nowhere to vent.
So let's talk about the placement stuff nobody tells you when you buy that cute little aloe at the grocery store.
Why Soil Ventilation Matters More Than You Think
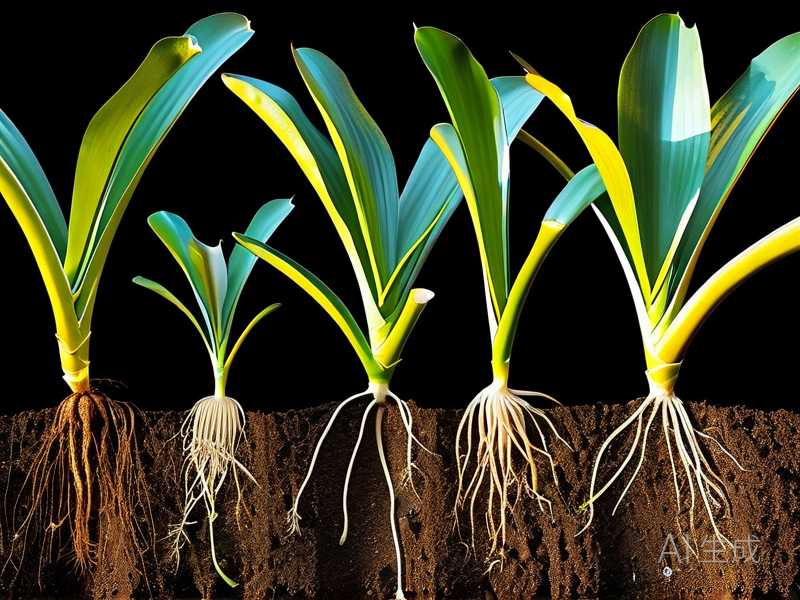
Aloe is a succulent, which means it stores water in its leaves and expects its roots to dry out between drinks. In the wild, aloe grows in gritty, fast-draining ground with constant air movement. Indoors, we hand it a plastic pot, a saucer, and a stuffy living room corner. Then we're shocked when the roots rot.
The RHS is pretty blunt about this: succulents need free-draining compost and good airflow, or they collapse fast. The AHS says much the same—poor drainage and stale air are the top killers of container succulents. Basically, if air can't move through and around the soil surface, the soil stays wet, and wet soil means rot.
I used to think ventilation meant "put it near a window." It doesn't. It means the pot itself needs to breathe, and the air around the pot needs to move.
The Real Problem With Most Aloe Setups
Here's what most of us do: buy a nice ceramic pot, drop the plastic nursery pot inside, pop it on a shelf, and water on a schedule. That setup is a moisture trap. The decorative pot blocks airflow. The plastic pot sits flush against the bottom. The saucer holds standing water. And the soil—usually a dense peat mix—stays damp for a week.
I did exactly this with my first aloe. It looked fine for about two weeks. Then the lower leaves went mushy at the base. I pulled it out and the roots were brown and smelled off. Classic root rot, all because the pot had zero ventilation.
3 Beginner Mistakes That Kill Aloe Fast
Let me save you some time. These are the three that got me, and they get almost everyone.
Mistake 1: Overwatering
This is the big one. People water aloe like it's a fern. It's not. Aloe wants a thorough soak and then a long dry spell—think two to three weeks in winter, maybe weekly in peak summer. If the soil is still damp when you go to water again, don't.
I used to water every Sunday "to be consistent." That consistency drowned two plants. Now I check the soil with a finger or a chopstick first, every single time.
Mistake 2: Light Misplacement
Aloe wants bright light—several hours of direct sun is ideal. But a plant that's been in a dim hallway will scorch if you shove it straight into full afternoon sun. And a plant that never gets enough light goes pale, leggy, and floppy. Placement is a balance: bright, but not punishing, and with airflow to match.
Mistake 3: The Wrong Pot
A glazed ceramic pot with one tiny drainage hole is a slow death sentence. So is a pot with no drainage at all, or one that's way too big for the root ball. Big pots hold more soil, and more soil holds more water. Aloe likes to be slightly snug.
How I Optimize Pot Placement for Airflow
This is the routine I actually use now. I tested it over a two-week window on a struggling aloe that had been sitting in a soggy cachepot, and the difference was obvious by day ten.
Step 1: Get the Pot Off the Surface
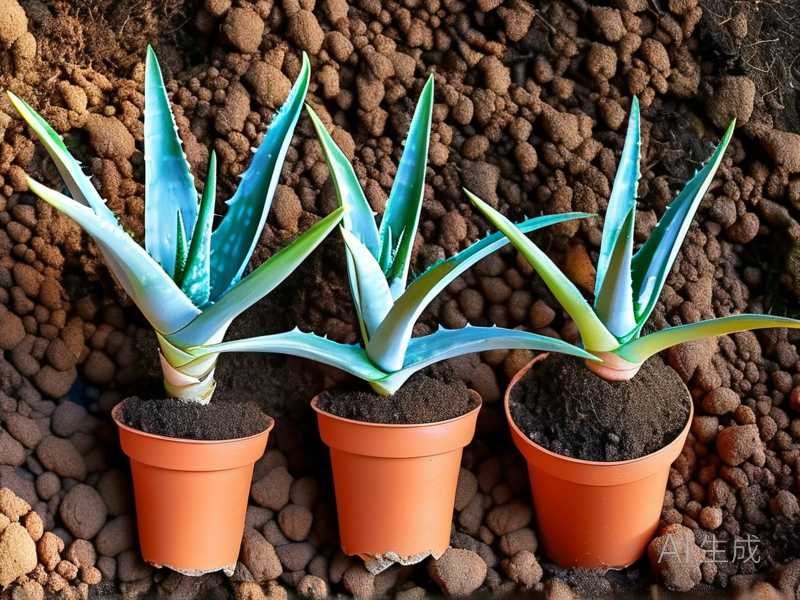
I raise every aloe pot on small feet, pebbles, or a wire plant stand so air can move underneath. The drainage hole can actually vent instead of sitting flat on a shelf. Within two weeks, the soil surface was drying noticeably faster—in a good way.
Step 2: Ditch the Sealed Cachepot
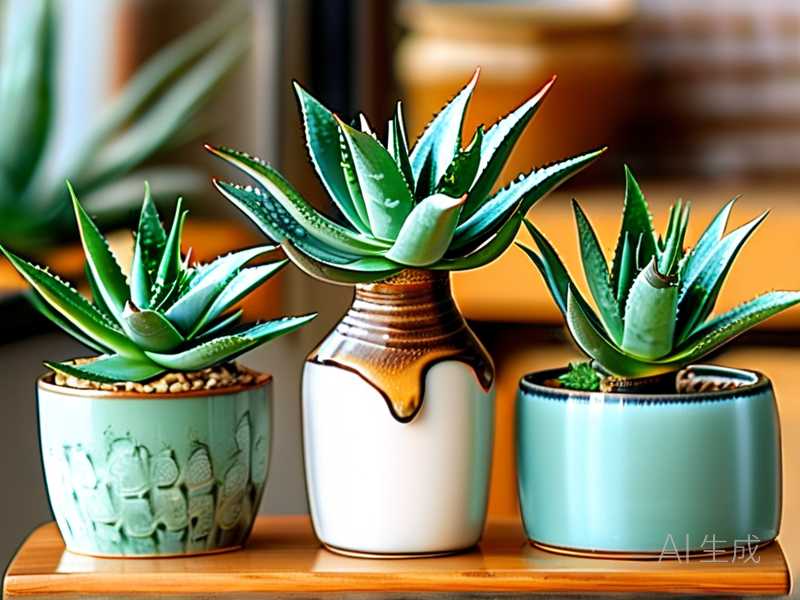
If you love a decorative outer pot, fine, but don't let the inner pot sit flush inside it. I leave at least an inch of gap all around, and I never let water collect in the bottom. Honestly, I've mostly stopped using cachepots for aloe. It's just not worth the risk.
Step 3: Leave Breathing Room
I keep aloes at least a couple of inches from walls, other pots, and dense foliage. Crowding blocks air movement. On a windowsill, I stagger the pots so none of them are touching. It looks a little sparse, but the plants are healthier for it.
Step 4: Pair Placement With the Right Soil
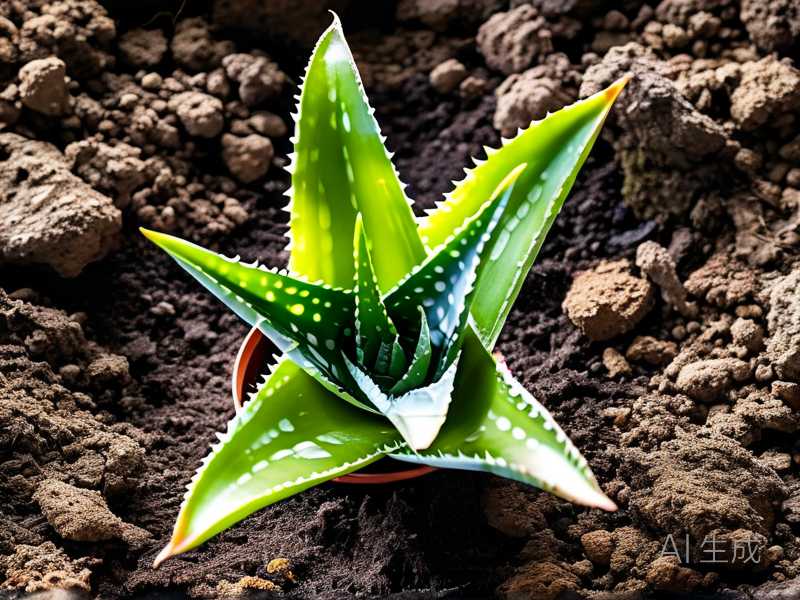
No placement trick saves you if the soil is wrong. I use a gritty mix—roughly two parts potting soil, one part coarse perlite, one part coarse sand or pumice. Simple rule: if it clumps when wet, it's too heavy for aloe.
Step 5: Match Placement to the Season
In summer, I move aloes closer to an open window or even outside in a shaded spot with airflow. In winter, they come inside but stay away from cold glass and stuffy corners. Alongside that, I always check the saucer after watering—if there's runoff, I empty it within the hour.
Placement and Light: Getting Both Right
Light and ventilation work together. A bright, airy spot dries soil faster and keeps the plant compact. A dim, stuffy spot does the opposite.
Best Light for Aloe
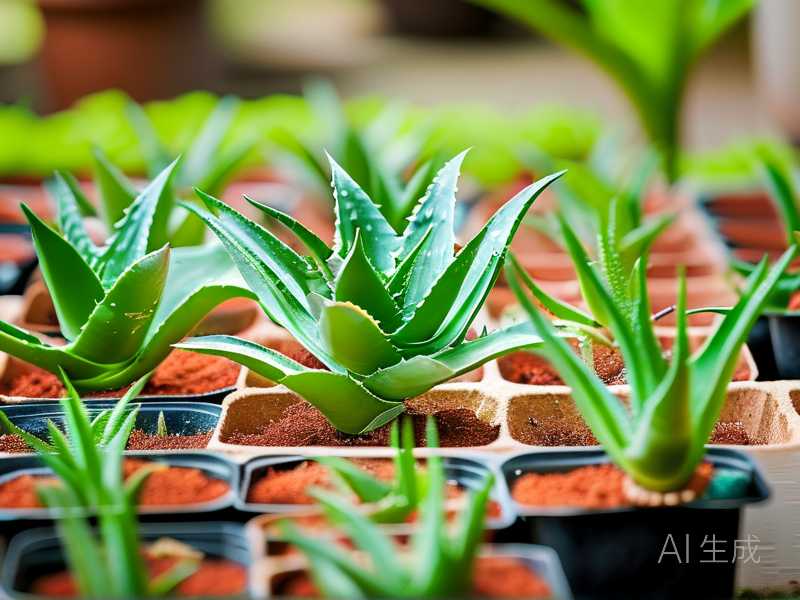
Aim for bright, indirect-to-direct light—think a south or west window in most homes, with a sheer curtain if summer sun gets brutal. Four to six hours of good light is a solid target.
Too Little Light
The plant stretches, goes pale, and the leaves flop outward. Soil also stays wet longer because the plant isn't drinking much. Bad combo.
Too Much Light, Too Fast
Sudden full sun on a shade-grown aloe causes scorch—whitish or brown patches that don't heal. I move plants into brighter spots gradually over a week or two.
A Simple Watering Guide That Works With Your Placement
Once your pot vents properly, watering gets easier. The core rule: soak thoroughly, then let it dry almost completely.
- Summer: water when the top inch or two is dry, often every 7–10 days.
- Winter: water sparingly, maybe every 3–4 weeks, and only if the soil is fully dry.
- Always: water the soil, not the leaves, and empty the saucer.
Preventing rot is mostly about placement and timing—good airflow plus a dry-out period does more than any gadget.
Soil, Pots, and Repotting
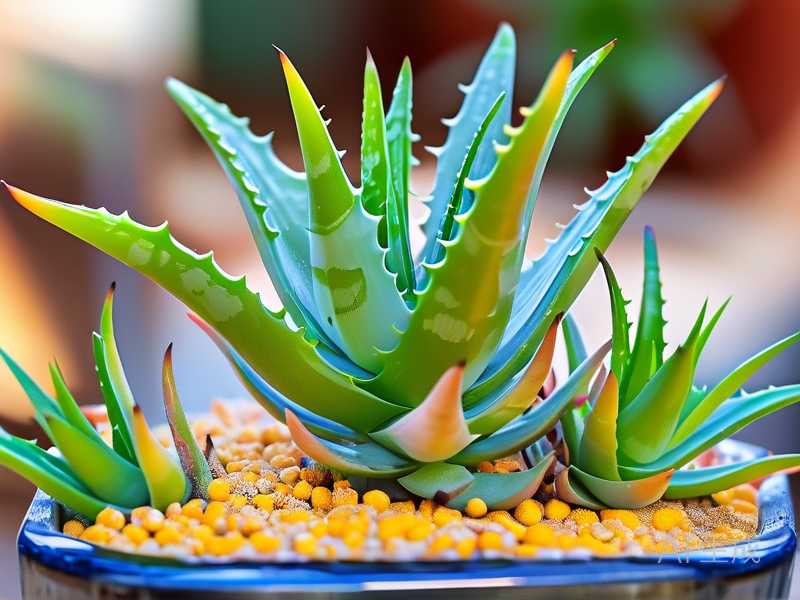
Use a gritty, fast-draining mix. Choose a pot with a real drainage hole, sized only slightly larger than the root ball. Terra cotta is great because it breathes. Repot every couple of years in spring, and never water right after repotting—give roots a few days to settle.
Feeding Without Overdoing It
Aloe isn't hungry. I feed a diluted succulent fertilizer once in spring and maybe once in midsummer. Never feed a dry, stressed, or recently repotted plant. If in doubt, skip it.
Seasonal Care, Placement-First
Spring: resume watering, repot if needed, move toward brighter light gradually, start light feeding.
Summer: the growth season—good airflow matters most now. Protect from harsh afternoon sun, water more, watch for pests in still air.
Autumn: ease off feeding and watering, bring pots in before cold nights, clear dead leaves.
Winter: the danger zone. Keep aloe warm, dry, and in bright light. No fertilizer. Water rarely. A cool, stuffy corner in winter is how most aloes rot.
Common Problems and Fixes
Yellow, soft leaves usually mean too much water and too little airflow—check placement first. Brown crispy tips often mean underwatering or sun scorch. Mushy base is rot; unpot, trim, and repot in dry gritty mix. Mealybugs and scale love still air, so improve ventilation and wipe them off with alcohol.
FAQ
Can aloe sit in a decorative pot? Yes, but leave a gap and never let water pool inside it.
How often should I water? Only when the soil is dry—timing depends on your placement and season.
Does a saucer hurt ventilation? It can trap water, so empty it and consider raising the pot.
Final Thoughts
The fix for most struggling aloes isn't complicated. Raise the pot, give it air, don't drown it. I wish I'd known that before I lost three plants to soggy soil. Start with placement, and the rest gets easier.