 bluename
 How to Grow Aloe Vera in a Hanging Garden: My 2-Week Journey from Bare Roots to Thriving Greens
I love houseplants, but my apartment has more air than floor space. For years, I admired the sculptural beauty and practical benefits of aloe vera but thought I couldn't grow it. Traditional pots cluttered my limited surfaces, and my cats saw them as personal salad bars. Then, I discovered the magic of a hanging garden. Suspending plants opened up a new vertical world. Specifically, learning how to grow aloe vera in a hanging garden solved my space and pet problems beautifully. This guide isn't just theory; it's the documented story of my own successful, two-week experiment to cultivate a healthy hanging aloe. I’ll walk you through my exact steps, what I observed day by day, the mistakes I made, and how I fixed them.
Why Hanging Aloe Vera is a Game-Changer
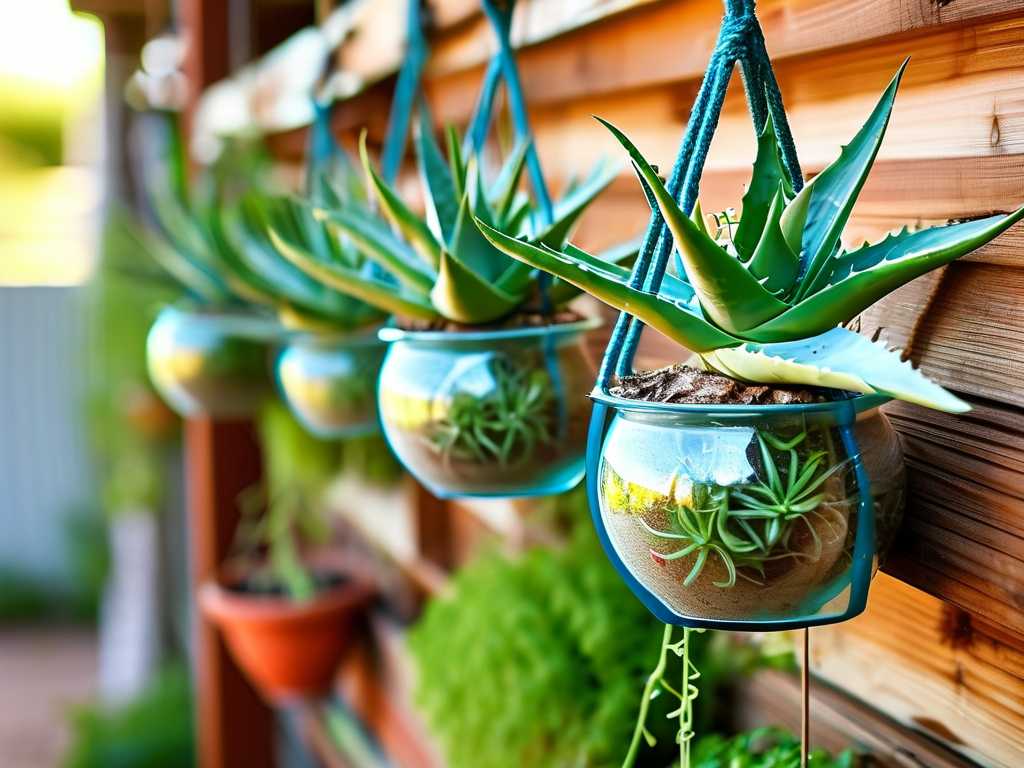
If you're short on space, have curious pets, or simply want to showcase your aloe's elegant form, going vertical is the answer. Aloe vera is a succulent, meaning it stores water in its leaves. This makes it naturally adaptable to containers and, with the right setup, perfect for hanging baskets. The key is replicating its preferred dry, well-aerated conditions off the ground. According to the Royal Horticultural Society (RHS), succulents like aloe vera require excellent drainage above all else, a principle that becomes even more critical in a hanging planter where water can linger.
My Step-by-Step Process for Creating a Hanging Aloe Garden
I started with a clear goal: establish a healthy, root-bound aloe in a hanging planter within 14 days. Here’s my actionable plan.
Selecting and Preparing the Perfect Aloe Plant
I visited my local nursery and chose a young, vibrant aloe vera pup (a baby plant from the base of a mother). I looked for firm, plump green leaves with no brown spots or squishiness—signs of health. The American Horticultural Society (AHA) notes that starting with a disease-free plant is the first step to long-term success. I gently removed it from its nursery pot, carefully brushing away the old, peaty soil to expose the roots.
Choosing the Right Hanging Planter and Soil Mix
This is where I made my first critical choice. I selected a 10-inch wide, coir-lined wire basket. The coir lining helps hold soil but is more porous than plastic, promoting air flow to the roots. Most importantly, I ensured it had a wide, stable hook attachment. For soil, I bypassed standard potting mix. I created my own fast-draining succulent soil mix by combining two parts regular potting soil, one part coarse perlite, and one part horticultural sand. This mix is non-negotiable for preventing root rot, especially in a hanging environment.
The Planting Procedure: A Delicate Operation
I laid out newspaper on my kitchen table—things get messy. First, I moistened my soil mix lightly until it was just damp, not wet. I placed a layer of soil in the bottom of the basket, then centered my aloe plant so the base of its leaves would sit just below the basket's rim. Holding it steady with one hand, I gently filled in around the roots with more soil mix, tamping it down lightly to remove large air pockets. I left about an inch of space at the top for watering. I did not water it immediately after planting. This allows any minor root disturbances to callous over, preventing rot.
Finding the Ideal Hanging Location
Light is everything. Aloe vera thrives in bright, indirect sunlight. I chose a spot near a south-east facing window where it would receive plenty of morning light but be shielded from the harsh, scorching afternoon rays. Direct, hot sun through glass can actually scorch the leaves, turning them brown. I used a sturdy ceiling hook rated for weight well above my planted basket's. Safety first!
My 2-Week Observation Log and Key Learnings
This wasn't a "set it and forget it" project. I monitored my aloe closely, and here's what happened.
Days 1-3: The Adjustment Period After planting, I left the aloe completely alone for three full days in its new spot. Visually, it looked stable and maintained its green color. The soil surface dried out quickly due to the airy mix and indoor airflow, which was a good sign. No watering yet.
Days 4-7: First Watering and Early Signs On day 4, I performed the first deep watering for hanging succulents. I took the entire basket to the sink and slowly poured water onto the soil until it ran freely out of the bottom and sides of the coir liner. I let it drain completely for 15 minutes before re-hanging. This mimics a natural, infrequent desert rain. By day 7, I noticed the outermost, older leaves felt slightly less firm, but the central, new growth remained tight and vibrant. This is normal as the plant establishes its roots in the new medium.
Days 8-10: A Problem Emerges (The "Pit") Here’s where I hit a snag. On day 8, I noticed one lower leaf developing a small, soft, brown spot. I panicked—was it root rot already? Upon investigation, I realized my mistake. When watering, I had splashed water onto the leaf, and it had pooled in the rosette. In the humid, still air of my apartment, it hadn't evaporated quickly enough, causing a localized rot. This is a common mistake when caring for hanging aloe plants.
My Fix: I immediately stopped all watering. Using a clean, sharp knife, I carefully excised the damaged portion of the leaf, cutting back into healthy, firm tissue. I then used a dry paper towel to gently blot any moisture from the center of the plant. I moved the basket to a spot with slightly better air circulation (but same light levels) to help the wound dry and callous. I resolved from then on to water only the soil, never the plant itself.
Days 11-14: Recovery and Growth My intervention worked. The cut leaf calloused over, and the rot did not spread. By day 14, the plant looked settled. The central leaves seemed slightly plumper, indicating the roots were now actively absorbing water and nutrients. Most excitingly, I spotted the very beginning of a new, tiny leaf emerging from the very center—the ultimate sign of a happy, growing aloe vera. The vertical growth habit was already becoming apparent, with the leaves elegantly arching slightly downward over the basket's edge.
Essential Care Tips for Your Hanging Aloe Vera
Based on my trial, here are the non-negotiable rules.
Watering Wisdom: Less is Always More The golden rule: soak thoroughly, then let dry completely. I stick my finger about 2 inches into the soil. If it's dry, it's time to water. In my environment, this meant watering only once during that entire two-week period after the initial soak. Overwatering is the fastest way to kill a hanging aloe.
Feeding and Maintenance for Vertical Growth Aloe vera is not a heavy feeder. I will apply a diluted, balanced succulent fertilizer only once at the start of the growing season (late spring). To maintain its shape, I will gently remove any dead or damaged lower leaves by pulling them sideways away from the stem. The hanging display naturally encourages a beautiful, cascading form.
Troubleshooting Common Hanging Aloe Issues
- Soft, Mushy Leaves: Almost always overwatering. Stop watering immediately. Check if the planter drains freely. You may need to repot into drier soil.
- Thin, Curling Leaves: This is underwatering. Give the plant a thorough soak.
- Brown, Scorched Leaves: Too much direct sun. Move to a location with bright, indirect light.
- Leggy, Stretched Growth: Not enough light. Move closer to a bright window.
Frequently Asked Questions
How often should I water my hanging aloe vera? There's no weekly schedule. Water only when the soil is completely dry, which could be every 2-4 weeks depending on your home's humidity, light, and temperature. When in doubt, wait a few more days.
What type of hanging basket is best? Choose a basket made of breathable material like wire, macrame, or coir. Ensure it has ample drainage or is lined with a material that allows water to escape. Plastic liners can trap moisture, so if you use one, add extra drainage holes.
Can I use regular potting soil? I strongly advise against it. Regular soil retains too much moisture. A fast-draining mix specifically for cacti and succulents, or a homemade blend like mine, is essential for healthy roots in a confined hanging space.
Growing aloe vera in a hanging garden has been incredibly rewarding. It transformed a plant I thought I couldn't keep into a stunning, space-saving feature. The key takeaways are simple: use the right well-draining soil, choose a breathable planter, water deeply but infrequently, and provide bright, indirect light. By learning from my mistake with leaf watering, you can avoid the main pitfall. In just two weeks, I witnessed my aloe not just surviving, but actively beginning to thrive in its new vertical home. With a little patience and these hands-on tips, you can enjoy the beauty and benefits of aloe vera, no matter how small your space.





