how to clean aloe vera leavesProperly: A Step-by-Step Guide to Unlocking Nature's Gel Safely
You've just harvested a plump, freshAloe Veraleaf, eager to tap into its soothing, hydrating properties. But as you hold it, questions arise: Is that yellowish liquid safe? How do I remove the bitter outer layer without wasting the precious gel inside? Improper cleaning can lead to skin irritation, a bitter taste in your DIY recipes, or even contamination that spoils your natural remedy. Knowinghow to clean aloe vera leavesproperlyis the essential first step that transforms a raw leaf into a versatile, safe, and potent ingredient for skin care, health, and home use. This guide will walk you through every detail, ensuring you handle yourAloe Verawith confidence and expertise.
Why Proper Cleaning ofAloe Verais Non-Negotiable
Aloe vera is more than just a clear gel. The leaf consists of three main layers: the tough green rind, a layer of bitter yellow sap (latex) just beneath it, and the inner filet of mucilaginous gel. The latex contains aloin, a compound with strong laxative properties that can cause stomach cramps, skin irritation, or allergic reactions in many individuals. Thorough cleaning removes this latex completely, safeguarding your health.
Furthermore, dirt, pesticides (from store-bought plants), and natural debris can cling to the spiky edges and surface. A meticulouscleaning process for fresh aloe veraensures you're working with a pure, contaminant-free product, whether you're applying it to a sunburn, blending it into a smoothie, or creating a homemade moisturizer. Experts from the International Aloe Science Council emphasize that proper leaf processing is critical to preserving the gel's bioactive compounds and ensuring consumer safety.

Essential Tools and Preparation You'll Need
Gathering the right tools before you start makes the process seamless and hygienic.
- A Sharp Knife:A chef's knife or paring knife works well. Sharpness is crucial for clean cuts and safety.
- A Cutting Board:Preferably one dedicated to fruits and vegetables.
- A Vegetable Peeler or Spoon:A peeler helps slice off the rind thinly, while a spoon is perfect for scooping gel.
- A Clean Bowl:For holding the cleaned gel.
- Clean Water and a Colander:For rinsing.
- Paper Towels or a Clean Cloth:For drying the leaf initially.
- Optional:A blender for processing gel into a uniform consistency.
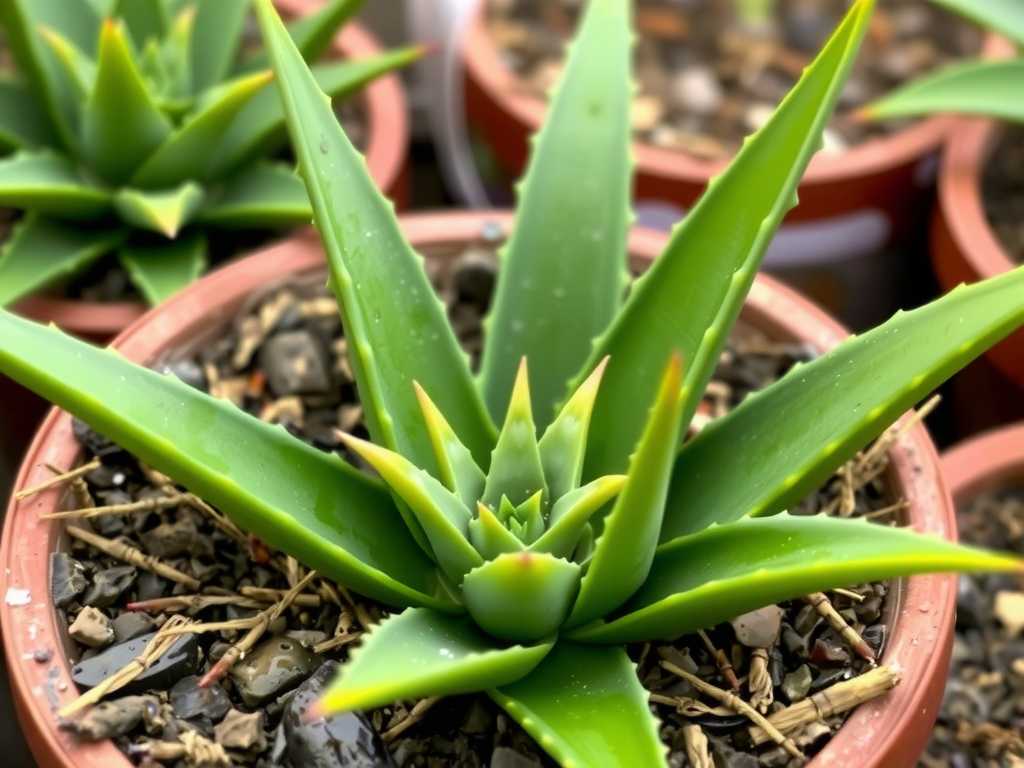
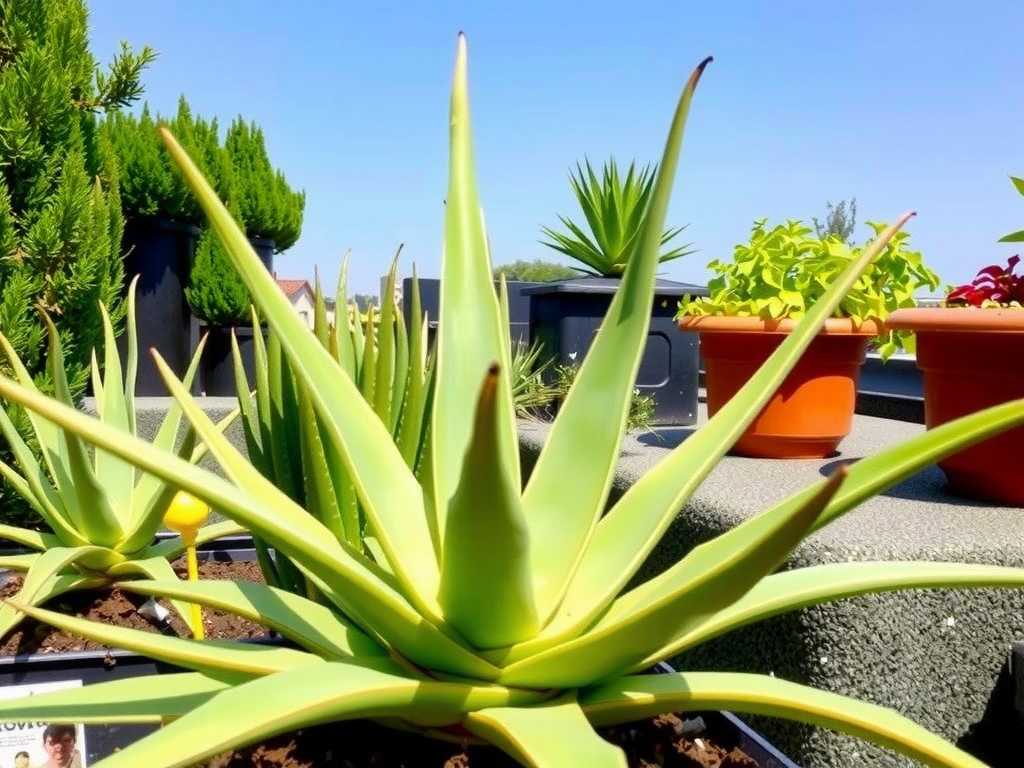
Start by selecting a mature, healthy leaf from your plant. Look for thick, outer leaves that are plump and slightly tilted outward. Using your sharp knife, cut the leaf as close to the base as possible at a slight angle. Allow the yellowish latex (aloin) to drain from the cut end for 10-15 minutes—this initial step reduces the bitter sap inside.
Step-by-Step: The Correct Method to Clean an Aloe Vera Leaf
Follow this detailed procedure to masteraloe vera leaf preparation and cleaning.
Step 1: Rinse and Dry the ExteriorHold the leaf under cool, running water. Use your fingers to gently rub the surface, washing away any soil, dust, or residues. Pay special attention to the spiky edges. Pat the leaf completely dry with a paper towel. This prevents slipping during cutting.
Step 2: Trim the Spiky Edges and EndsPlace the leaf flat on your cutting board. Carefully slice off the serrated, spiky edges along both long sides. Then, cut off about an inch from the broader top end and the pointed bottom end. You now have a rectangular slab of aloe.
Step 3: Separate the Rind from the GelThis is the core of the process. There are two effective techniques:
- The Fillet Method (Knife):Stand the leaf slab on one of its flat, just-trimmed sides. Using your knife, make a shallow cut through the top green rind, just deep enough to get under it. Slowly and steadily guide the knife between the rind and the clear gel, working down the length of the leaf, similar to filleting a fish. Repeat on the other side.
- The Peel Method (Vegetable Peeler):Lay the slab flat. Use a vegetable peeler to shave off the green rind from the top and bottom surfaces, just as you would peel a potato. This method can be easier for beginners.
Step 4: Remove the Latex and Rinse the GelOnce the gel fillet is free, you'll see a thin layer of yellowish-green substance on its surface—this is the residual latex. Hold the gel under slow-running cold water and use your fingers to gently rub this layer away. The gel is slippery, so be careful. Continue until the gel is completely clear and translucent.
Step 5: Cube or Scoop the Pure GelPlace the cleaned fillet on a clean board. Cut it into small cubes for storage or immediate use. Alternatively, for a completely smooth product, you can scoop the gel out with a spoon and transfer it directly to a blender. Blend for 15-20 seconds to create a uniform, liquid aloe vera gel.
Best Practices for Storing Your Cleaned Aloe Vera Gel
Your perfectly cleaned gel is precious. Proper storage maximizes its shelf life and potency.
- Refrigerator:Store fresh gel cubes or blended gel in an airtight glass container in the refrigerator. It will typically last for 7-10 days.
- Freezer:For long-term storage, pour blended gel into ice cube trays and freeze. Once frozen, transfer the cubes to a freezer bag. Frozen aloe vera gel can last up to 6 months. This is perfect for adding a cooling cube to smoothies or for post-sun skin care.
Creative Uses for Your Freshly Cleaned Aloe Vera
With your safely processed gel, the possibilities are vast:
- Skin Soother:Apply directly to sunburns, minor cuts, or dry patches.
- DIY Beauty:Incorporate it into face masks, hair conditioners, or after-shave balms.
- Health Boost:Add a tablespoon of blended gel to juices or smoothies (ensure all latex is removed!).
- Home First Aid:Keep a container in the fridge for quick access to a natural burn remedy.
How do I know if I've removed all the bitter latex?The gel should be completely clear, translucent, and have a very mild, almost neutral smell. If it has a strong yellowish tint or a bitter odor, rinse it again under cold water, gently rubbing the surface until the color and smell are gone.
Can I clean aloe vera with soap or vinegar?It is not recommended. Clean, cool running water is sufficient and ideal. Using soap or vinegar can introduce chemicals that may degrade the gel's natural compounds or irritate the skin when applied later. The goal is to purify, not chemically alter, the gel.
Is it safe to use the green rind of the aloe leaf?The tough green rind is generally not consumed or applied topically. It is difficult to digest and does not contain the same beneficial mucilaginous gel. It is best composted after you have successfully extracted and cleaned the inner gel fillet.
Mastering the technique of cleaning aloe vera transforms it from a garden plant into a reliable household staple. By taking the time to properly drain, trim, fillet, and rinse each leaf, you eliminate risks and unlock the full, gentle potential of the gel. This careful process ensures that every application—whether on your skin or in your wellness routine—is as safe, effective, and beneficial as nature intended. Keep your tools clean, your steps methodical, and enjoy the pure, versatile rewards of your own well-processed aloe vera.

发表评论