How to GrowAloe Verain a Rooftop Garden: My Hands-On Journey to Success
I love the idea of a green oasis in the sky, but my early attempts at rooftop gardening were a lesson in harsh reality. The intense sun, whipping winds, and limited soil depth defeated most of my plants. That’s when I turned togrowingAloe Verain a rooftop garden. It seemed like the perfect resilient candidate. Over the years, I’ve perfected a system that works, transforming my sun-baked roof into a thriving aloe haven. This guide is my personal account, detailing every step, the two-week critical observation period, and the valuable mistakes I made along the way.
WhyAloe Verais a Rooftop Champion
Before we get our hands dirty, let’s talk about why this plant is a match made in heaven for high-altitude gardening. Aloe vera is a succulent, meaning it stores water in its thick, fleshy leaves. This natural adaptation makes it incredibly drought-tolerant—a non-negotiable trait for a rooftop exposed to full sun all day.

According to the Royal Horticultural Society (RHS), aloe vera thrives in conditions that mimic its native arid habitats: plenty of light, excellent drainage, and minimal winter moisture. The American Horticultural Society (AHS) also notes its preference for gritty, well-aerated soil. My rooftop, with its relentless sun and fast-drying environment, accidentally provided exactly that. The challenge wasn’t keeping it alive; it was helping it thrive.
My Step-by-Step Rooftop Aloe Setup
Here is the exact process I followed, born from trial and error.
Choosing the Right Container and Location
My first mistake was using a standard, deep plastic pot. It retained too much moisture at the bottom, leading to soggy roots during an unexpected rainy spell. I learned my lesson.
Now, I always use wide, shallow terracotta pots. Terracotta is porous, allowing the soil to breathe and dry out more evenly. The wide base provides stability against strong winds, which is crucial forrooftop container gardening. I place my pots in the spot that receives the most consistent, direct sunlight—at least 6 to 8 hours daily. A south-facing edge is ideal.
Crafting the Perfect Soil Mix
This is perhaps the most critical step. Bagged potting soil alone is a death sentence for rooftop aloe. It compacts and holds water.
My fail-proof recipe, endorsed by succulent experts, is:
- 50% high-quality potting mix
- 30% coarse sand or poultry grit
- 20% perlite or pumice
I mix these thoroughly to create a sharply draining, gritty medium. This mix ensures water flows through quickly, preventing the root rot that plagues many container plants.
The Planting Process
I always start with a healthy "pup" (a baby plant) from a mature aloe or a reputable nursery plant. I gently loosen the root ball and inspect the roots—they should be firm and light-colored. I fill my terracotta pot one-third with the soil mix, place the aloe in the center, and backfill, ensuring the base of the plant sits just above the soil line. I don’t water it immediately. This is key. I let the plant settle in its new home for 5-7 days to allow any disturbed roots to callous over, minimizing rot risk.
The Crucial First Two Weeks: Observation and Adjustment
This initial period is all about watching and responding, not actively doing.
Days 1-3:The aloe looks settled but a little dull. This is normal transplant shock. I keep it in its sunny spot but resist the urge to water. The forecast predicts clear skies, which is perfect.
Days 4-7:The color starts to deepen. The leaves feel firm. On the morning of day 7, I give it its first thorough watering. I use the "soak and dry" method: I pour water slowly until it runs freely out of the drainage holes. This encourages deep root growth. I immediately empty the saucer underneath—never let the pot sit in water.
Days 8-10:Here was my second big mistake in early tries: over-observation. I used to poke the soil daily. Now, I simply lift the pot. A pot that feels light indicates dry soil. The top inch of my gritty mix is already dry, but I wait. The plant looks perfectly plump and happy.
Days 11-14:The aloe shows clear signs of establishment. I notice the very center of the rosette has a brighter, greener hue—new growth! The outer leaves remain firm. The soil is completely dry throughout. On day 14, I water it thoroughly again. The cycle is established.
Common Pitfalls and My Hard-Earned Solutions
The Sunburn Scandal:One summer, I moved a new aloe directly to the rooftop’s hottest corner. Within days, its leaves turned a sad, brownish-red.Rooftop gardening for beginnersoften overlooks acclimatization.Solution:I moved the plant to a spot with afternoon shade for a week, then gradually reintroduced it to full sun over another week. The new growth emerged healthy.
The Overwatering Trap:Early on, I watered on a schedule. A cool, cloudy week led to slow evaporation, and I watered anyway. The base of the plant turned soft and mushy.Solution:I unlearned scheduling. Now, I water only when the soil is completely dry, and I skip watering altogether during prolonged cloudy or humid spells. In winter, I might only water once a month.
The Wind Wilt:High winds can physically damage leaves and dry out the plant faster than expected. I once had a plant look dehydrated despite recent watering.Solution:I created a simple windbreak by grouping my aloe pots with other sturdy succulents. I also ensured my pots were heavy (terracotta helps) and not top-heavy.
Nurturing Your Rooftop Aloe for the Long Term
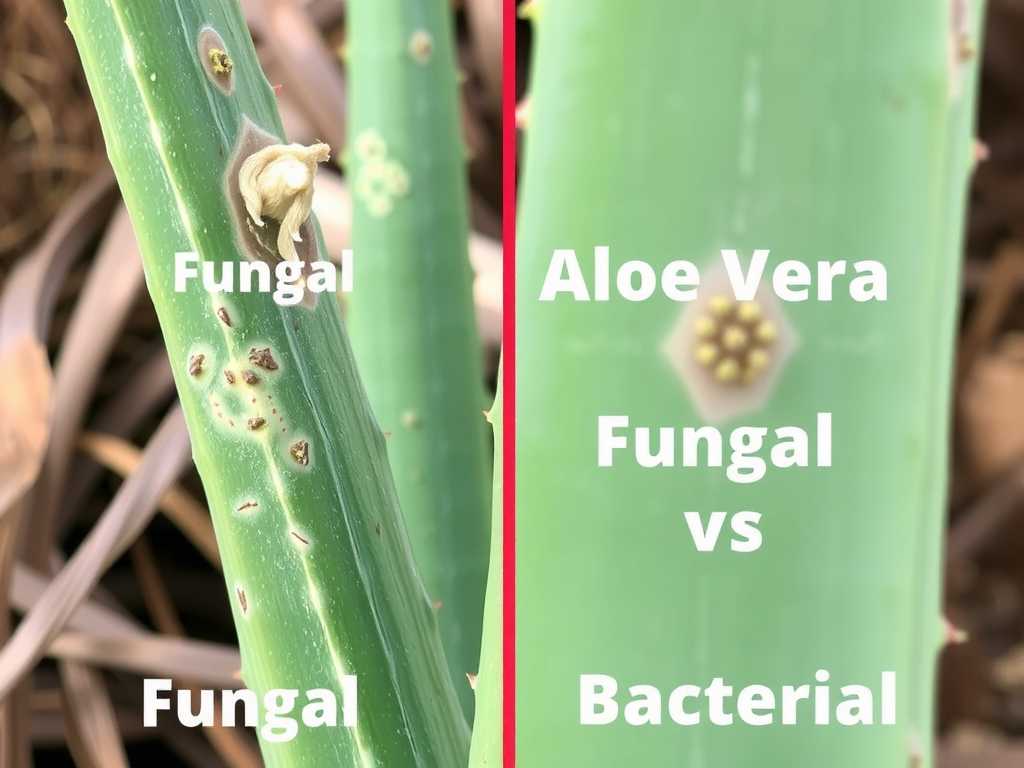
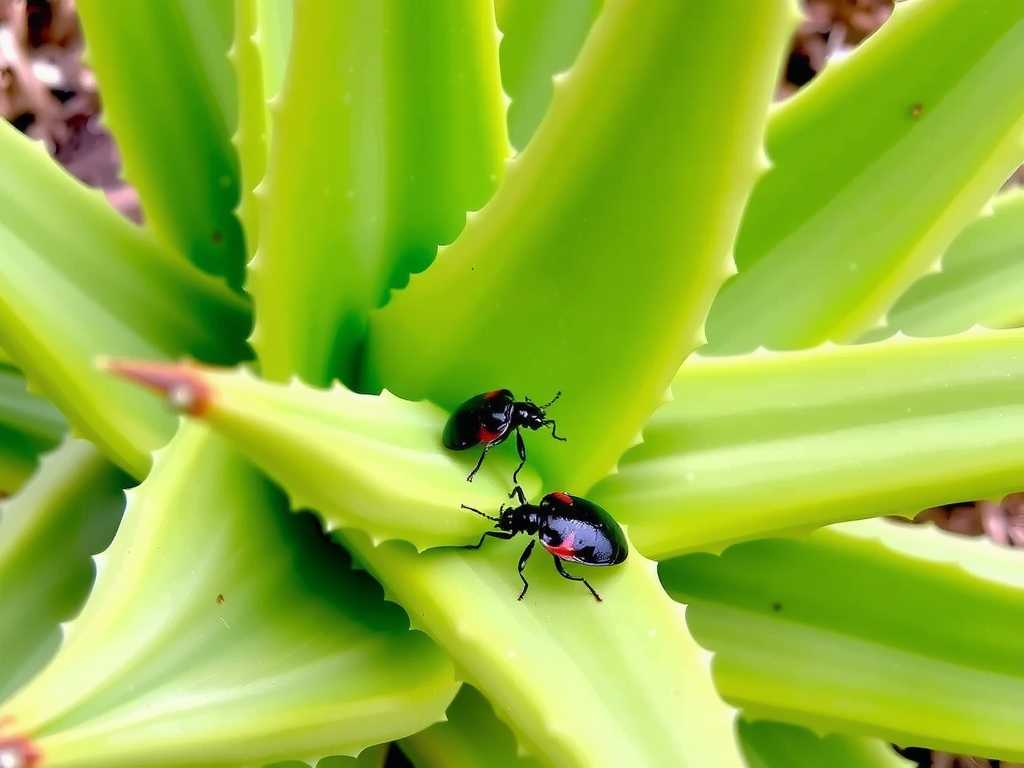
Once established, care is minimal. I feed my aloe once in early spring with a half-strength, balanced liquid fertilizer. I repot only when it becomes root-bound or produces a large cluster of pups. The biggest ongoing task is monitoring for pests like mealybugs, which I treat with a dab of isopropyl alcohol on a cotton swab.
Harvesting is a joy. I select a thick, outer leaf and cut it cleanly at the base with a sharp knife. I then let the yellow sap (aloin) drain out for a few minutes before rinsing and filleting the leaf to access the clear gel inside.
Your Questions, Answered from My Experience
Can aloe vera survive winter on a rooftop?It depends on your climate. Aloe is frost-tender. My plants thrive outdoors from spring to fall. When temperatures consistently drop near freezing, I bring my pots indoors to a bright, cool windowsill. The RHS recommends a minimum winter temperature of 5°C (41°F) for aloe vera.
How often should I really water my rooftop aloe?There is no single answer. In the peak summer heat on my roof, it might be every 10-14 days. In spring and fall, it stretches to 3-4 weeks. Let the plant’s weight and soil dryness be your guide, not the calendar.
My aloe is growing tall and leggy, not compact. What’s wrong?This is etiolation—a sign it’s not getting enough direct sunlight. While aloe is sun-loving, a dim rooftop corner or shading from a wall can cause this. Gradually move it to a sunnier location to encourage more compact, sturdy growth.
Growing aloe vera in a rooftop gardenhas been one of my most rewarding horticultural experiments. It taught me the principles of resilient gardening: perfect your drainage, respect the plant’s natural rhythms, and always observe more than you interfere. Starting with a tough, forgiving plant like aloe vera builds confidence for tackling more complexurban gardening projects. With the right setup and a little patience, you can turn your challenging rooftop into a productive and beautiful sanctuary, one succulent at a time.


发表评论