How to ReviveAloe VeraAfter Overwatering in Winter: A Step-by-Step Rescue Guide
That sinking feeling is all too familiar. You reach out to touch yourAloe Vera’s plump leaf, expecting its usual firm resilience, only to find it soft, mushy, and discolored. Winter’s low light and cool temperatures silently turned your occasional care into overwatering. I’ve been there, staring at a beloved plant that seemed beyond saving. But through trial, error, and a lot of patience, I’ve perfected a method toreviveAloe Veraafter overwatering in winter. This guide isn’t just theory; it’s my documented, two-week journey from diagnosis to recovery.
Understanding the Winter Watering Crisis
Aloe vera is a desert succulent, built to store water and thrive on neglect. In winter, its growth slows dramatically or even enters dormancy. This means its water needs plummet. According to the Royal Horticultural Society (RHS), the most common cause of succulent death in temperate climates is “overwatering during the cool, dull winter months.” The roots, sitting in cold, wet soil, suffocate and begin to rot—a process that can quickly travel up into the plant’s core. Recognizing this is the first step to saving it.

Step 1: The Immediate Triage – Unpot and Assess
Don’t wait. The moment you suspect overwatering, action is critical.
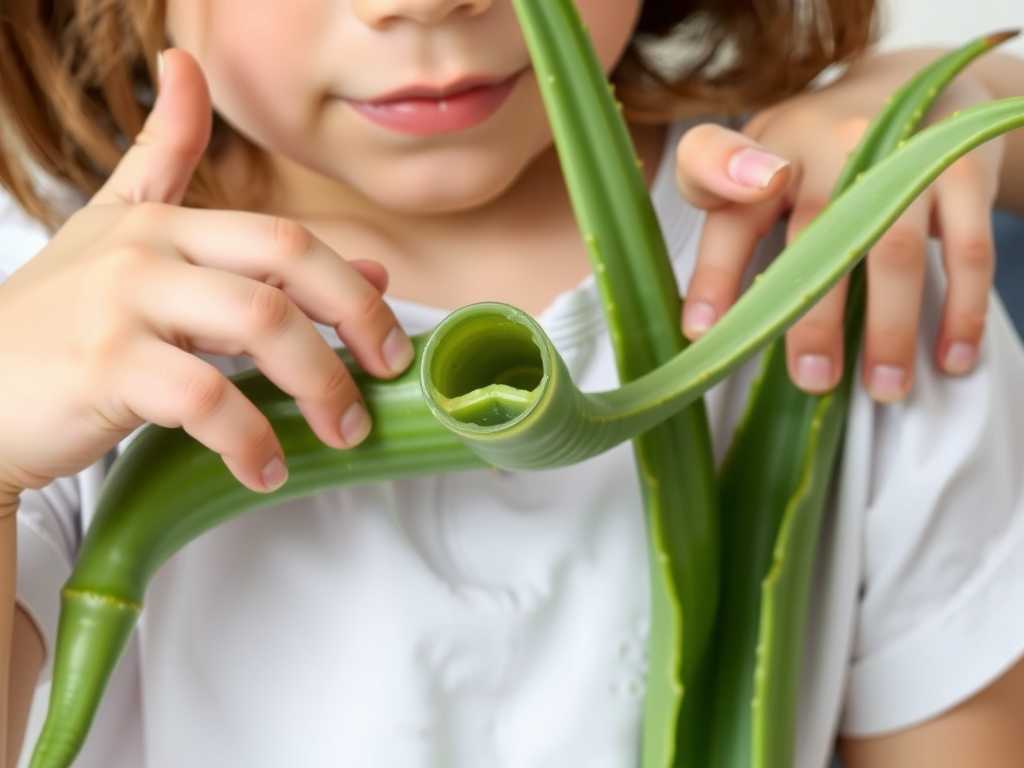
I gently lifted my aloe from its pot, cradling the base. The soil was cold and clung unpleasantly to the roots. I carefully brushed it all away under a soft stream of lukewarm water. This revealed the damage: several roots were brown, slimy, and fell apart at a touch—classic signs of root rot. The base of the plant, where the leaves emerge, felt slightly softer than I liked.
The Fix:Using sterilized scissors or pruning shears (I wiped mine with rubbing alcohol), I cut away every single rotten root. Be ruthless. Only healthy, firm, white or tan roots should remain. If the base of the stem is mushy, you must cut into healthy, firm tissue. It’s scary, but it’s the only way.
Step 2: The Crucial Dry-Out Period
This step is where I made a crucial mistake the first time. I repotted immediately.
After surgery, the plant needs to heal. I laid my aloe on a sheet of newspaper in a warm, dry, airy spot out of direct sunlight. I left it there for a full 48 hours. This allows the cut wounds to callous over, forming a protective seal that prevents new soil moisture from causing reinfection. The American Horticultural Society (AHS) emphasizes this “callousing” period for all succulent cuttings before planting.
Step 3: Repotting with a Winter-Proof Setup
Choosing the right new home is non-negotiable forsaving a waterlogged aloe plant.
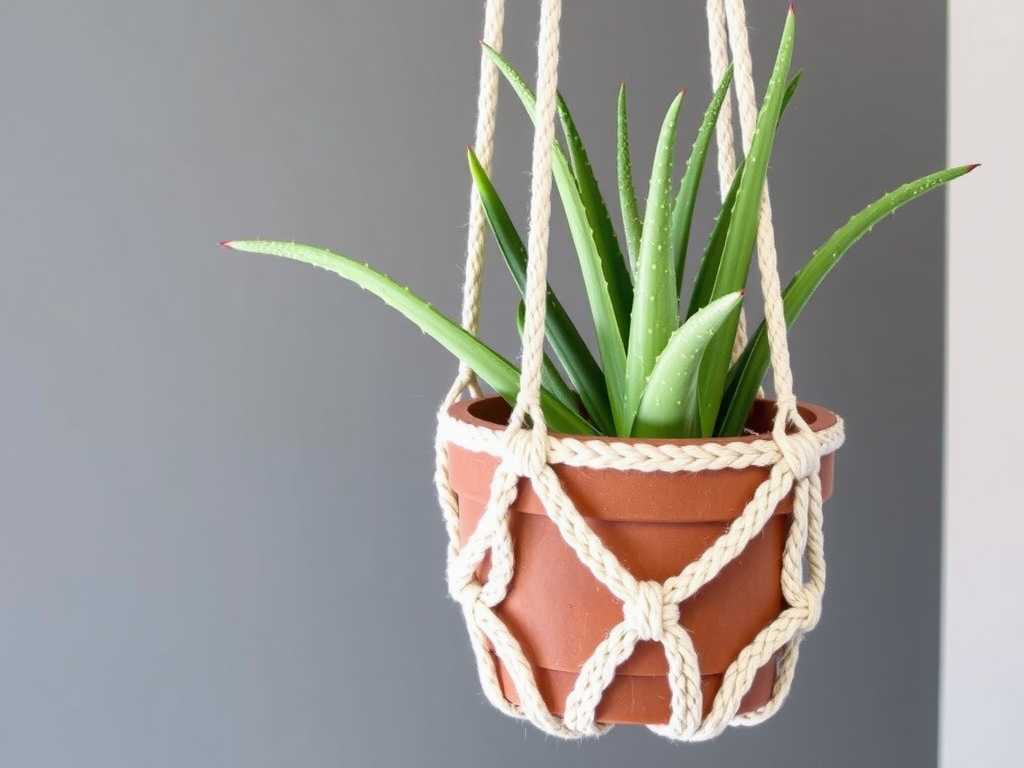
- The Pot:I selected a terracotta pot with a large drainage hole. Terracotta is porous, allowing soil to dry from the sides as well as the bottom. The new pot was only slightly larger than the remaining root ball.
- The Soil:I used a specialist cactus and succulent mix. For extra drainage, I mixed in a handful of perlite (about a 2:1 ratio of soil to perlite). This creates the fast-draining, gritty environment aloe roots crave, especially in winter.
- The Process:I placed a piece of broken pot over the drainage hole, added a layer of soil, and set the aloe in. I filled around the roots, gently firming the soil. Crucially, I did not water it. Not a drop.
Step 4: The Two-Week Observation and Care Protocol
This is the test of patience. Your job is to provide ideal conditions for root regrowth.
Days 1-7:I placed the repotted aloe in a location with bright, indirect light. A south or east-facing windowsill is ideal. I resisted all watering urges. The plant needs to focus on pushing out new roots in search of moisture. I monitored the leaves; they wrinkled slightly, a normal sign of thirst, but the previously mushy areas stabilized.
Day 8 – The First Watering:After one full week, I gave it its first drink. I used the “soak and dry” method: I placed the pot in a shallow sink and watered the soil thoroughly until water ran freely from the drainage hole, ensuring the entire root ball was moistened. I then let it drain completely before returning it to its spot.
Days 9-14:Back to waiting. I let the soil dry out completely again. I checked by sticking my finger deep into the soil. Winter’s low evaporation rate meant this took nearly another full week. During this period, I noticed a change: the plant stopped looking worse. The remaining leaves felt firmer. There was no further discoloration. The most promising sign? The plant felt anchored in the pot, a hint of new root growth.
The Pitfalls I Encountered and How You Can Avoid Them
- Pitfall 1: Watering on a Schedule.My biggest error was watering every two weeks, summer and winter.Solution:Water only when the soil is 100% dry, and in winter, that could mean a month or more between waterings. Use a moisture meter or the trusty finger test.
- Pitfall 2: Using a Pot That’s Too Big.A large pot holds more wet soil, which the small root system can’t absorb, prolonging dampness.Solution:Always size the pot to the root ball, not the plant’s top.
- Pitfall 3: Insufficient Light.In winter’s weak light, water evaporates even slower.Solution:Maximize light exposure. A grow light can be a game-changer forrehabilitating overwatered succulentsin dark seasons.
- Pitfall 4: Skipping the Callousing Period.Repotting a freshly cut aloe into damp soil is an invitation for rot to return.Solution:Never skip the 2-3 day dry-out period after root pruning.
Signs of Success and Next Steps
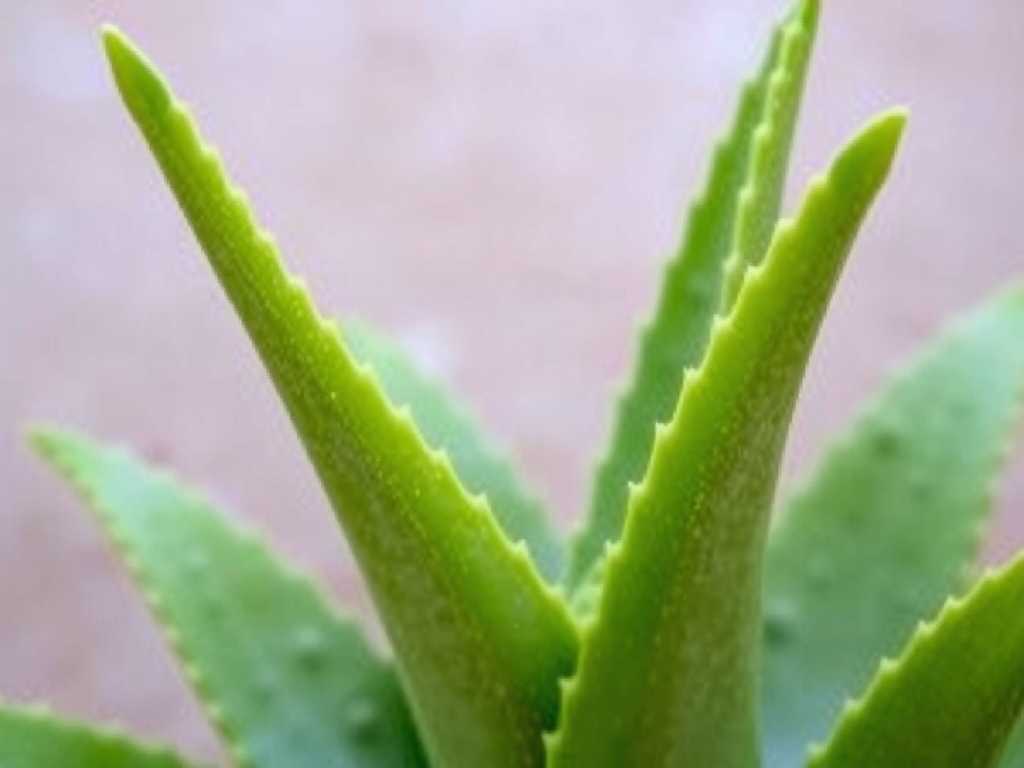
After two weeks, my aloe vera wasn’t lush, but it was stable. The crisis was over. New growth wasn’t visible yet—that would come in the following weeks as the root system re-established. The key victory was the halt of decay. You’ve successfullybrought an overwatered aloe back to lifewhen the plant stands firm, the leaves regain some turgor (without being mushy), and you see no spreading soft spots.
Continue the careful watering regimen—only when bone dry—through the rest of winter. Hold off on fertilizer until active growth resumes in spring.
My aloe’s leaves are still bent or wrinkled after saving it. Is it dying?No, this is normal. Leaves that were damaged may not fully recover their perfect shape. The plant will prioritize new root and leaf growth. As it recovers, older, damaged leaves may eventually be reabsorbed or can be carefully removed once new growth is established.
Can I propagate the healthy leaves I had to cut off?Unlike some succulents, aloe vera leaves are very difficult to propagate from leaf cuttings alone. They usually rot before forming roots. The most reliable method is to propagate from the healthy offsets (pups) that a mature plant produces. Focus on saving the main plant first.
How do I prevent this from happening again next winter?The single most effective change is to switch to a “water by condition, not by calendar” approach. Use a well-draining pot and soil mix, and significantly reduce watering frequency as daylight hours shorten and temperatures drop. When in doubt, it’s always safer to underwater your aloe vera.
Watching an overwatered aloe vera recover is a lesson in plant resilience and our role as caregivers. It teaches us to observe, not just act. By understanding its natural cycle and respecting its winter dormancy, you can ensure your aloe not only survives but thrives for years to come. The journey from a mushy, distressed plant to a stable, recovering one is deeply rewarding, proving that with the right knowledge, most plant mistakes are reversible.
发表评论