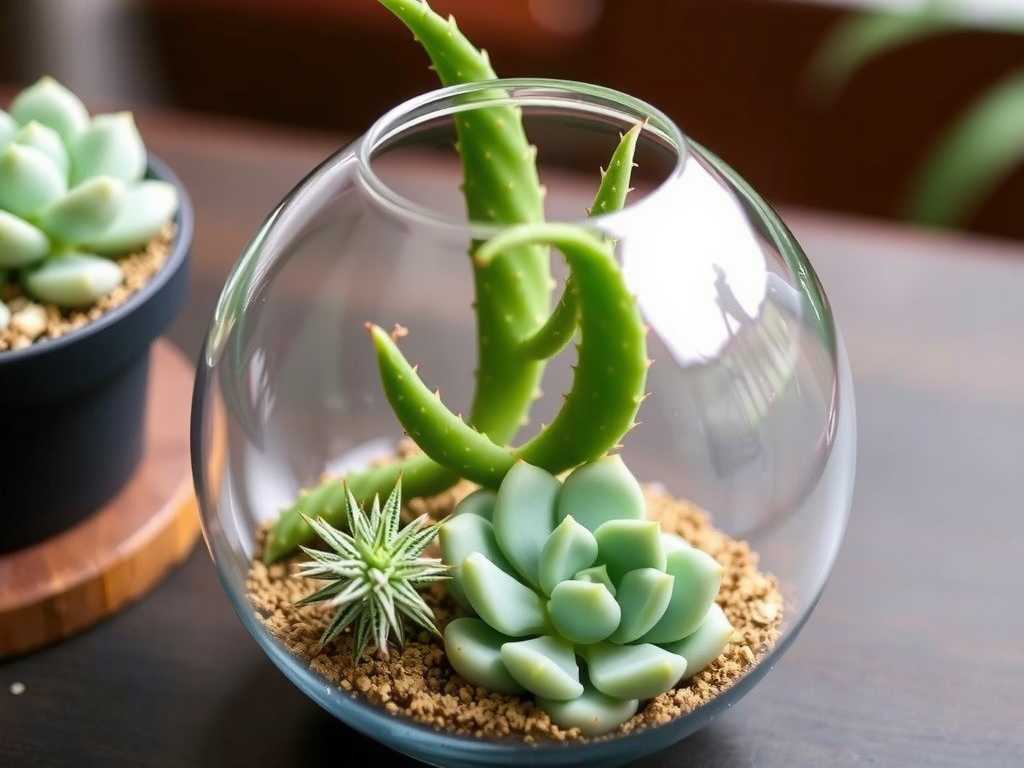
Aloe VeraLeaf Spots: Fungal vs. Bacterial – My 2-Week Battle Plan to Save My Plants
There’s nothing more disheartening than seeing those once-plump, vibrant greenAloe Veraleaves develop unsightly spots. I’ve been there, staring at a beloved plant, wondering if it’s a death sentence. The confusion betweenAloe Veraleaf spotscaused by fungi versus bacteria is real, and treating them wrong can make things worse. After losing a plant to misdiagnosis years ago, I made it my mission to learn the difference. This guide is born from that hands-on experience, detailing my precise steps, a two-week observation journal, and the hard lessons learned along the way.
The Critical First Step: Diagnosing the Spots
You can’t fight an enemy you haven’t identified. Rushing to treat without a proper diagnosis was my first and biggest mistake. Here’s how I learned to tell them apart.
Fungal Leaf Spots on Aloe VeraIn my collection, fungal issues often start subtly. The spots are typically dry, papery, and can be brown, tan, or even have a yellowish halo. They might start small and circular, sometimes spreading in concentric rings. I’ve noticed they thrive in conditions I inadvertently created: poor air circulation, overly moist soil, and water sitting on the leaves. The Royal Horticultural Society (RHS) notes that fungal pathogens likeAlternariaorAnthracnoseare common culprits in damp, stagnant environments.

Bacterial Leaf Spots on Aloe VeraBacterial spots felt more aggressive. The key identifier for me was the texture. These spots often appear water-soaked or slimy. They might look like the leaf tissue is melting, turning a dark brown or black. When I gently pressed a spot, it felt soft and mushy, unlike the dry fungal lesions. According to the American Horticultural Science Association (AHSA), bacterial soft rot, often fromPectobacterium, can cause rapid decay, especially when overwatering is combined with warm temperatures.
My Diagnostic Checklist:
- Touch:Dry/crumbly = Likely Fungal. Wet/mushy = Likely Bacterial.
- Look:Yellow halo/dry rings = Fungal. Oozy, water-soaked lesion = Bacterial.
- Smell:A foul, rotting smell is a strong indicator of advanced bacterial infection.
- Context:Did I just overwater? Is the plant in a humid bathroom? Context clues are vital.
My 2-Week Treatment Protocol: A Day-by-Day Account
Once I was confident I was dealing with a primary fungal issue on one plant and a suspected bacterial issue on another, I began.Important:I isolated both plants immediately to prevent spread.
Week 1: The Initial Triage and Application
Days 1-3: Isolation and Surgical RemovalFor both plants, I started with sterile tools. I wiped my pruning shears with isopropyl alcohol after every single cut.
- For Fungal Spots:I carefully cut away the entire affected leaf at the base, as the fungus can be inside the tissue. I made sure to remove all visibly spotted material.
- For Bacterial Spots:I cut well into the healthy green tissue, about an inch beyond the visible mushy spot, to ensure I removed all infected cells.
I then repotted both plants into fresh, dry, well-draining succulent mix and clean pots. This is non-negotiable—old soil harbors pathogens.
Days 4-7: Targeted Treatment Begins
- Fungal Treatment Plan:I applied a copper fungicide, following the label’s dilution instructions precisely. I sprayed every part of the plant, focusing on the soil line and remaining leaves. I placed it in a spot with bright, indirect light and fantastic airflow (I used a small fan nearby for a few hours a day).
- Bacterial Treatment Plan:For this, I used a different approach. Since bactericides are less common for home use, I relied on environmental control. After removal of infected parts, I did not water the plant at all. I placed it in the sunniest, warmest, and airiest location I had to dry out the soil and plant completely. The goal was to make the environment inhospitable for the bacteria.
Week 2: Observation, Adjustment, and Recovery
Days 8-10: The Critical Watch PeriodThis is where patience is key. I examined the plants daily without touching them.
- The Fungal Patient:No new spots appeared. The cut base where I removed the leaf was callousing over nicely, dry and clean. This was a great sign.
- The Bacterial Patient:The remaining leaves were firming up. The soil was bone dry. However, I noticed one small lower leaf starting to show a faint water-soaked area. The infection was still present.
Days 11-14: Course Correction and SuccessThe fungal plant was clearly recovering. I resumed a normal, careful watering schedule (soaking only when soil was completely dry). For the bacterial plant, the new spot meant my surgery wasn’t deep enough. I had to perform a second, more aggressive removal, cutting back further into the stem to find clean tissue. This was disheartening but necessary. After this second cut, I dusted the wound with cinnamon (a natural desiccant and mild antifungal) and continued the “dry-out” protocol. By day 14, all progression had halted.
The Pitfalls I Encountered and How I Solved Them
Pitfall 1: The “One-Spray-Fixes-All” FantasyI once used a general “plant disease” spray on a bacterial issue. It did nothing.Solution:Accurate diagnosis first. Fungicides won’t cure bacterial rot, and vice-versa.
Pitfall 2: Overwatering in DisguiseEven after repotting, I was so anxious I’d give a tiny “comfort drink.” This kept the soil slightly damp and stalled recovery.Solution:I used a moisture meter to eliminate guesswork. I didn’t water until it read “dry” at the root level.
Pitfall 3: Ignoring the EnvironmentTreating the plant but not the surroundings is futile. Stagnant air in my plant corner was a breeding ground.Solution:I installed a small, oscillating fan for a few hours daily to dramatically improve air circulation around all my succulents.
Pitfall 4: Impatience with RecoveryAloe vera heals slowly. Poking at callouses or watering early to “boost” growth can reintroduce pathogens.Solution:I set a calendar reminder to check only every 3 days, resisting the urge to fiddle.
Frequently Asked Questions
Can I use neem oil for aloe leaf spots?Neem oil is a good preventative and mild fungicide. I use it as part of my regular maintenance. However, for an active, severe fungal or bacterial infection, it was not strong enough in my experience. I needed the targeted action of a copper fungicide for fungi and environmental desiccation for bacteria.
Should I cut off aloe leaves with brown spots?Yes, but with strategy. For isolated dry (fungal) spots, you can sometimes cut out just the spot. For soft, spreading (bacterial) spots, you must cut the entire leaf off well into healthy tissue. Always use sterile tools.
How do I prevent leaf spots from coming back?Prevention is everything. My routine now is: 1) Water only when the soil is 100% dry, and never wet the leaves. 2) Ensure at least 4-6 hours of bright, indirect light. 3) Provide excellent airflow around the plant. 4) Quarantine new plants for two weeks before introducing them to my collection. This simple regimen has kept my aloes spot-free for years.
Winning the battle against aloe vera leaf spots requires becoming a plant detective. It’s not just about treatment; it’s about understanding thewhybehind the problem. By learning to distinguish between fungal and bacterial causes, acting swiftly with sterile removal, adjusting the environment, and having the patience to let the plant heal, you can save your aloe. My two-week journey was a lesson in observation and restraint. Today, those once-sick plants are thriving, and their resilience is a daily reminder that sometimes, the best care is knowing when to intervene and when to simply provide the right conditions and step back.


发表评论