How to GrowAloe Verain a Small Planter Box: A Real-World Guide from a Plant Lover
I used to thinkAloe Verawas the ultimate un-killable plant. That was until I tried growing it in a cramped apartment with only a tiny windowsill to offer. My first attempt ended in a sad, mushy stump. The problem wasn't the plant; it was my approach to small-space gardening. If you're struggling with limited room and want to enjoy the benefits of this succulent, you're in the right place. This guide is my personal, step-by-step journey onhow to growAloe Verain a small planter boxsuccessfully. I'll walk you through exactly what I did, what went wrong, and how a simple, mindful process over just two weeks can set you up for long-term success.
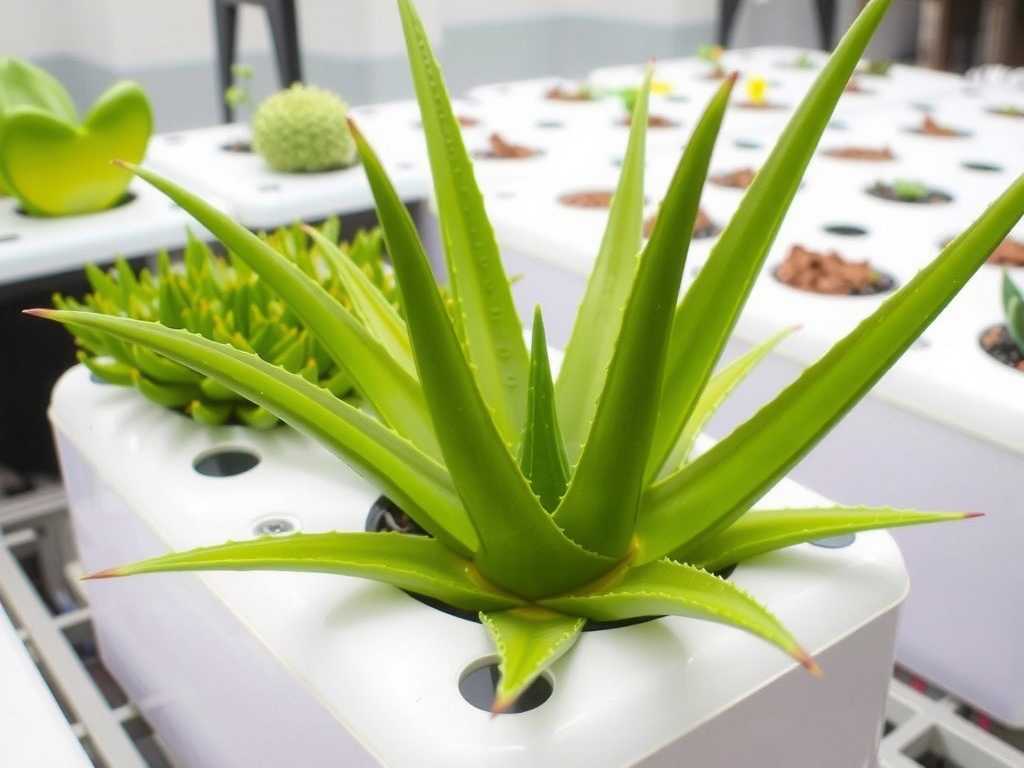
Why a Small Planter Box is Actually Perfect for Aloe
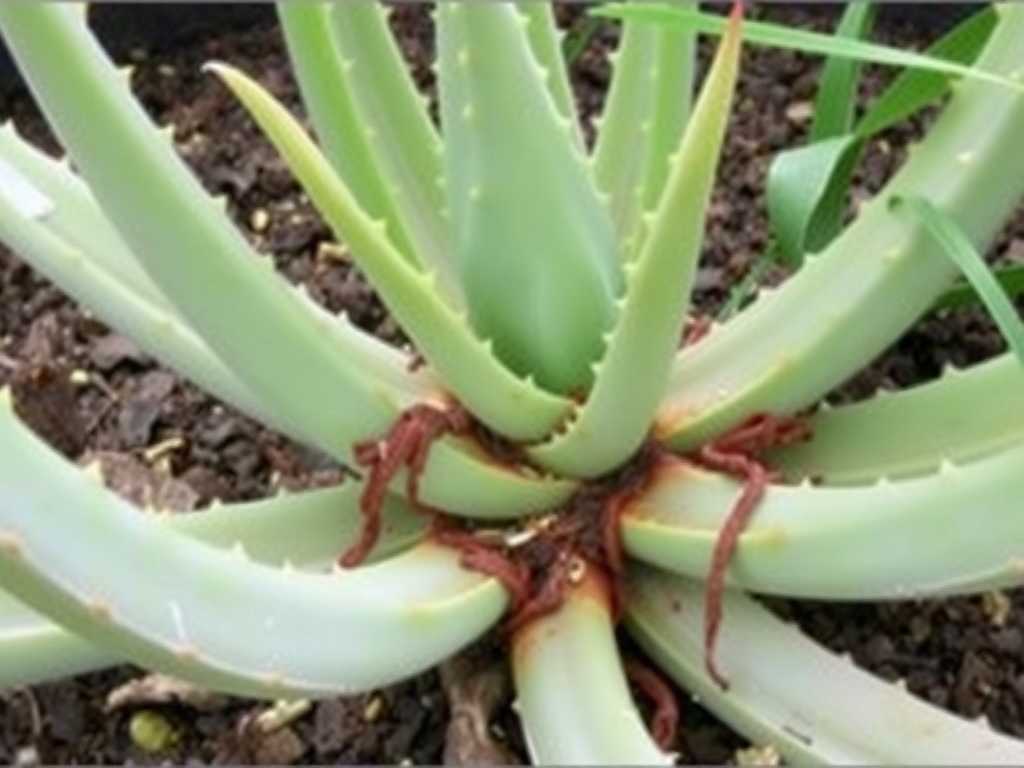
You might wonder if confining aloe vera is a good idea. From my experience and according to the Royal Horticultural Society (RHS), aloe vera has a shallow, spreading root system. It doesn't need a deep pot but appreciates some width. A small planter box, especially a shallow, rectangular one, mimics its natural growing conditions better than a deep, narrow pot. It provides room for the "pups" or offsets to emerge without encouraging excessive moisture retention at the bottom, which is the number one killer of potted aloe.

My Essential Toolkit for the Project
Before we start, here’s what I gathered. Using the right tools from the start prevents headaches later.
- The Planter Box:I chose a 14-inch long, 6-inch wide, and 5-inch deep ceramic box with adrainage hole. This is non-negotiable. Terracotta is ideal for breathability, but glazed ceramic works if you're careful with watering.
- Potting Mix:I used a pre-mixed "cactus and succulent" soil. The American Horticultural Society (AHS) emphasizes the need for excellent drainage. You can make your own with 2 parts potting soil, 1 part perlite, and 1 part coarse sand.
- The Plant:I selected a healthy, mature aloe vera plant with firm, plump leaves and no brown spots. It already had two small offsets at its base.
- Extras:A handful of small stones or broken pottery for the drainage layer, a small trowel, and a watering can with a narrow spout.
Step-by-Step: Planting My Aloe Vera for Success
This is where the real work begins. Following a careful process is crucial forgrowing aloe in confined spaces.
1. Preparing the Planter BoxFirst, I placed a layer of small stones over the drainage hole. This prevents soil from washing out while maintaining airflow. I then filled the box about one-third full with my dry potting mix.
2. Transplanting the AloeI gently removed the mother plant from its nursery pot, teasing apart the roots slightly. I placed it in the center of the box, ensuring the base of the plant sat just below the rim. Then, I nestled the two smaller pups around it, leaving a couple of inches of space for growth. Holding the plants in place, I backfilled with more soil, firming it gently around the bases. I left about an inch of space between the soil surface and the rim for watering.
3. The Critical First WateringHere was my first major pitfall in the past. I used to water immediately. This time, I did not. I placed the newly planted box in bright, indirect light and waited. I let the plants and any disturbed roots settle for a full week before introducing any water. This prevents rot in fresh root abrasions.
The Two-Week Observation Diary: What Actually Happened
This is the heart of my experiment. I monitored mysmall planter box aloe veraclosely.
Days 1-3:The plants looked stable. No drooping. The soil was completely dry. I resisted the urge to water, remembering my past overwatering mistakes.
Day 7: The First Watering.After a full week, I performed the "soak and dry" method. I took the planter box to the sink and watered thoroughly until water freely ran out of the drainage hole. I let it drain completely before returning it to its sunny spot. This deep watering encourages strong root growth downward.
Days 8-10:I noticed a subtle change! The previously slightly wrinkled leaves on the pups plumped up noticeably. The mother plant's color deepened to a robust green. This was a clear sign the roots had absorbed the water effectively.
Day 14:The plants showed visible signs of establishment. The pups looked more upright and integrated. There was zero yellowing or mushiness. Most importantly, when I gently wiggled a leaf, the plant felt firmly anchored in the soil—a sign of new root growth.
The Pitfalls I Encountered (And How I Fixed Them)
My journey wasn't without hiccups. Here’s what almost went wrong during myaloe vera container gardeningproject.
Pitfall 1: The "Sunburn" ScareAround Day 5, I moved the box to a south-facing window for "more sun." Within two days, the tips of a few leaves started turning a reddish-brown. I panicked. I learned that while aloe loves light, newly transplanted or young plants need gradual acclimation to direct, harsh sun. I moved it back to bright, indirect light for the remainder of the two weeks, and the discoloration stopped spreading. The fix is always to introduce direct sun slowly, an hour more each day.
Pitfall 2: The Overwatering TemptationThe biggest challenge was psychological. The dry soil looked "thirsty." My old habit was to give it a splash every few days. This time, I used a wooden skewer. I stuck it deep into the soil; if it came out clean and dry, I waited. This simple tool saved my plant from the root rot that claimed my first one. Forsmall planter care, discipline with water is everything.
Pitfall 3: Ignoring the Drainage CheckOne afternoon, I noticed the saucer underneath was still wet from the Day 7 watering. The box itself wasn't elevated, limiting air circulation. I immediately placed small pebbles in the saucer and set the planter box on top, ensuring it was never sitting in stagnant water.
Long-Term Care Tips for Your Thriving Aloe Box
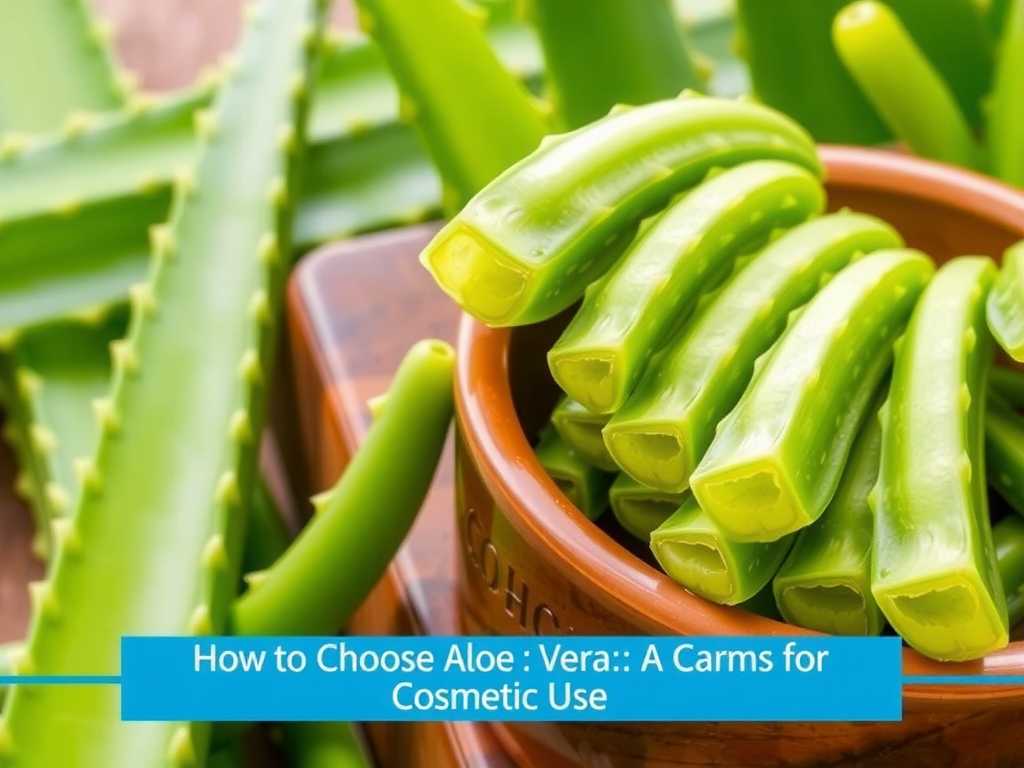
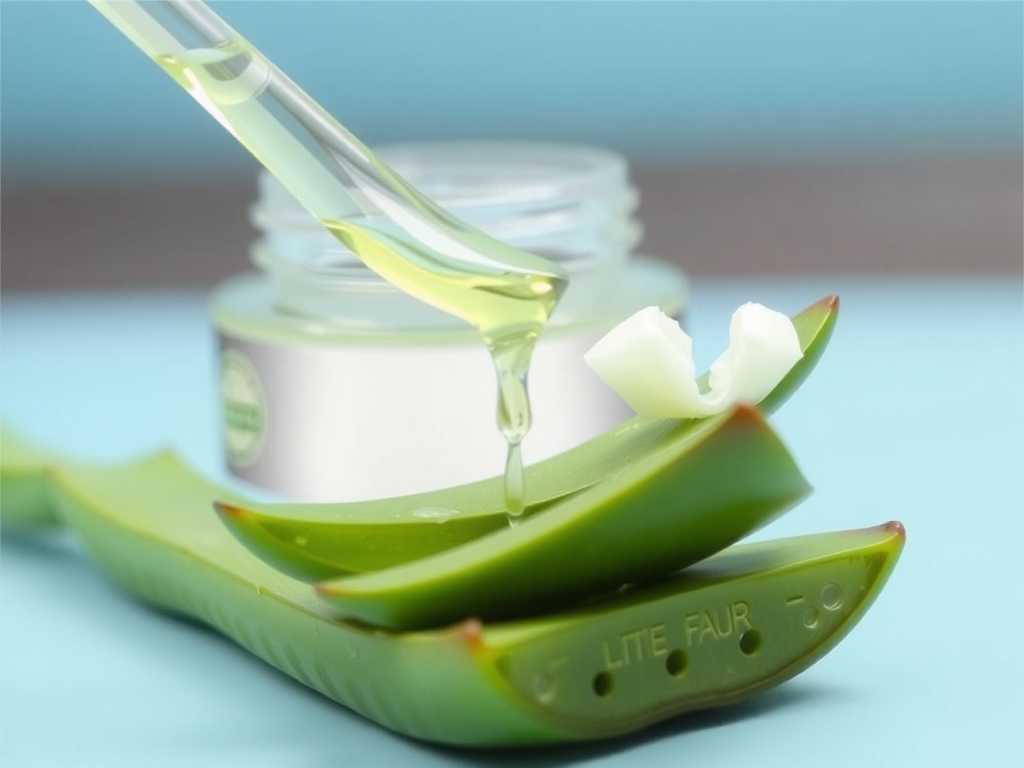
After the initial two-week establishment period, care becomes simple. Water only when the soil is completely dry—sometimes every 3-4 weeks in winter. Rotate the box quarterly for even growth. Feed with a diluted, balanced fertilizer only once in the spring and once in mid-summer. Your main task will be enjoying the gel from the mature leaves and eventually repotting the pups when the box becomes too crowded.
How often should I water my aloe in a small planter?Forget a schedule. The only reliable method is to check the soil. Insert your finger or a stick 2 inches deep. Water thoroughly only when it's completely dry. In my home, this means every 2-3 weeks in summer and even less in winter.
What's the best light for my indoor aloe vera planter?Bright, indirect light is ideal. A south or west-facing window is perfect, but if the light is very intense, a sheer curtain can prevent sunburn. Aloe will tolerate some direct sun, but as I learned, introduce it gradually.
When do I know it's time to repot or divide the plants?You'll see the planter box become crowded with pups, or the mother plant may start to look cramped. The best time to divide is during repotting in the spring or summer. You can gently separate the pups, which have their own roots, and pot them into new small planter boxes to expand your collection.
Growing aloe vera in a small planter box is deeply rewarding. It teaches patience, observation, and the importance of mimicking a plant's natural habitat. By choosing the right container, mastering the "soak and dry" watering technique, and providing bright light, you can cultivate a thriving, useful plant even in the smallest of spaces. Start with a healthy plant, be patient through the first critical weeks, and you'll have a resilient green companion for years to come.
发表评论