bluename
 How to Grow Aloe Vera in a Small Apartment Kitchen
I used to think growing plants was a luxury reserved for people with backyards. My small apartment kitchen, with its limited counter space and questionable lighting, seemed like the last place a plant could thrive. That all changed when I decided to grow aloe vera. I needed that soothing gel on hand for minor kitchen burns, and buying leaves felt wasteful. So, I embarked on a mission to figure out how to grow aloe vera in a small apartment kitchen. Two weeks of careful observation, a few mistakes, and some clever fixes later, I can confidently say it’s not only possible but incredibly rewarding. Here’s my complete, step-by-step journey.
Why Aloe Vera is the Perfect Kitchen Companion
Before we get into the dirt, let’s talk about why aloe is a small-space superstar. According to the Royal Horticultural Society (RHS), aloe vera is a succulent that stores water in its leaves, making it exceptionally drought-tolerant. This means it forgives the occasional forgetful watering. Its compact, rosette shape doesn’t sprawl, and it offers tangible benefits—a living first-aid kit for cuts and burns right where they happen.
My Step-by-Step Setup: From Pot to Placement
My process started with research and a trip to my local garden center. I wanted to replicate the ideal conditions, not just plop a plant in a corner.
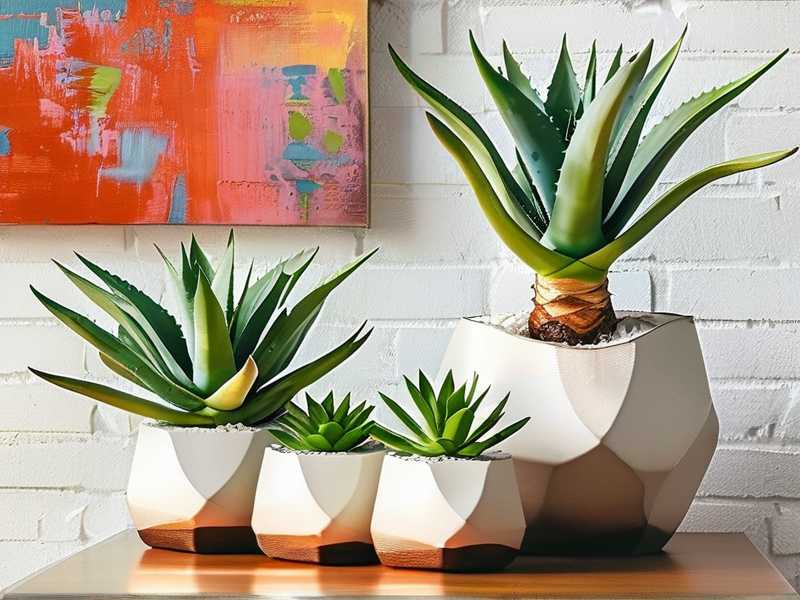
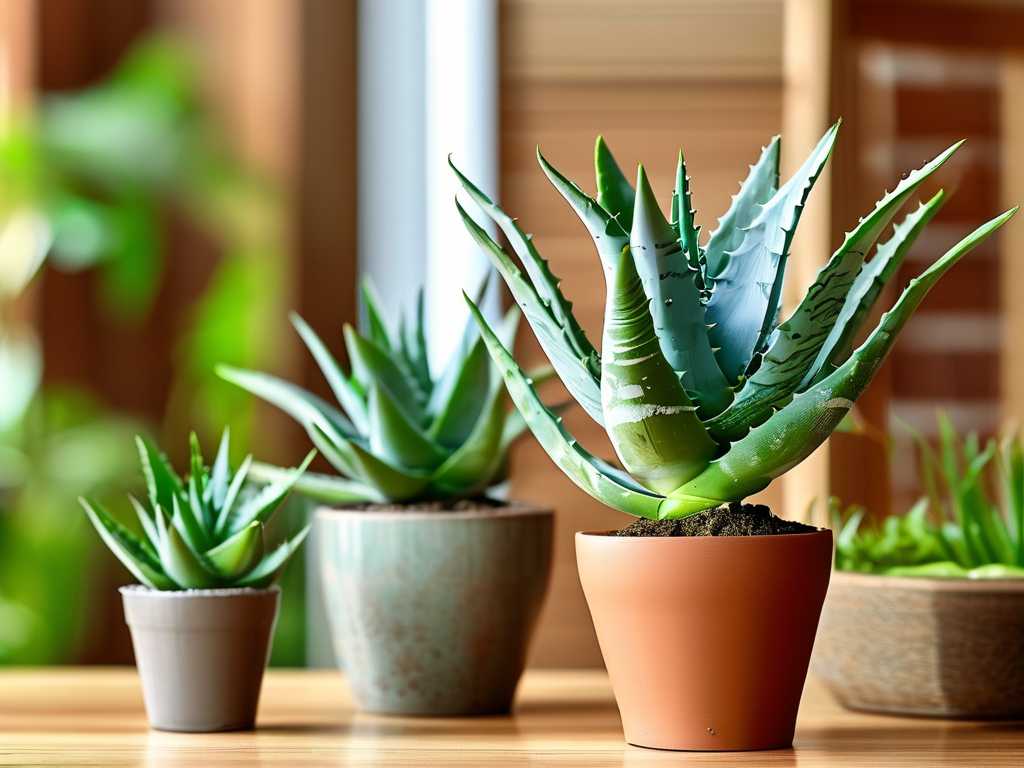
Choosing the Right Pot and Soil I learned my first crucial lesson before I even bought the plant: drainage is non-negotiable. I selected a terracotta pot, roughly 6 inches in diameter, with a large drainage hole. Terracotta is porous, allowing the soil to dry out more evenly than plastic, which helps prevent root rot. For soil, I bypassed standard potting mix. The American Horticultural Society (AHS) recommends a gritty, well-draining mix for succulents. I bought a pre-made cactus and succulent mix and added a handful of perlite for extra aeration. This creates the fast-draining environment aloe roots crave.
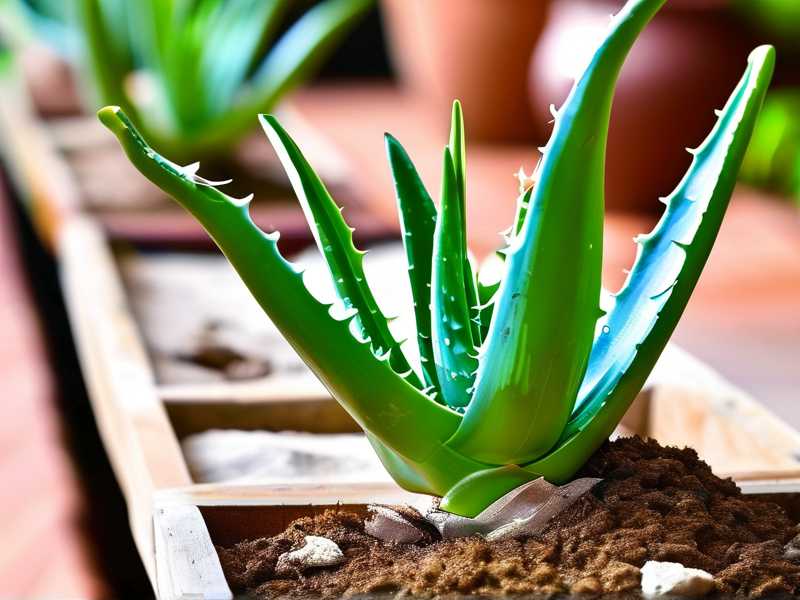
Selecting and Planting My Aloe Pup I chose a healthy-looking “pup” or offset—a baby plant growing from the base of a mature aloe. It had several plump, green leaves and stood about 4 inches tall. Gently, I separated it from the mother plant, ensuring it had some roots attached. I filled my pot about one-third with the gritty mix, placed the pup in the center, and gently filled around it, firming the soil lightly. I left about an inch of space at the top for watering. Crucially, I did not water it immediately. I let the plant and any disturbed roots settle for about 5-7 days to prevent rot, a tip I picked up from experienced growers.
Finding the Sweet Spot for Sunlight This was my biggest challenge. My kitchen has only one north-facing window. While aloe loves bright light, direct, scorching afternoon sun can brown its leaves. A north window often provides bright, indirect light, which can work. I placed my newly potted aloe on the windowsill. The RHS notes that aloe vera prefers at least 6 hours of bright, indirect sunlight daily. I monitored the light throughout the day; it got about 4 hours of direct morning sun and then bright ambient light. It seemed like a good start.
The First Two Weeks: A Diary of Observation and Adjustment
This is where the real learning happened. I kept a simple log to track my plant’s progress and my actions.
Days 1-3: The Settling-In Period The plant looked stable. No dramatic changes. The leaves remained firm and green. I resisted the urge to water, sticking to the initial plan. The soil was bone dry, which was perfect.
Day 4: First Watering After a full week post-potting, I gave it its first drink. I used the “soak and dry” method, which is essential for apartment aloe vera care. I took the pot to the sink and watered thoroughly until water streamed freely from the drainage hole. This ensures the entire root ball gets moisture. I let it drain completely before returning it to its saucer on the windowsill. A key point for growing aloe in limited space: never let the pot sit in standing water.
Days 5-7: A Warning Sign Appears By Day 6, I noticed the tips of the two outermost leaves were turning a pale, yellowish-brown and felt slightly soft. Panic set in. Was it too much sun? Overwatering already? I investigated. The soil was already dry an inch down. I realized my mistake: the morning sun through the window was more intense than I’d thought, magnified by the glass. The plant was getting lightly scorched.
The Fix: Relocation and Rotation I moved the pot back from the windowsill by about 18 inches, onto a small stand against the same wall. It still received the same bright light but was shielded from the most intense direct rays. I also made a note to rotate the pot a quarter turn every time I watered to ensure even growth. This simple adjustment for low-light plant parenting made all the difference.
Days 8-14: Recovery and Growth Within a few days of moving it, the discoloration stopped spreading. The new, central growth remained a vibrant green. On Day 12, the soil was completely dry two inches down, signaling it was time for the second watering. I repeated the thorough soak-and-drain method. By the end of the second week, I could see visible progress. The center of the rosette looked fuller, and one new, small leaf was beginning to emerge from the very middle—a sure sign of happiness. The plant had adapted to its kitchen home.
Key Lessons and Troubleshooting for Your Kitchen Aloe
My two-week experiment taught me more than any guide could. Here are the pitfalls to avoid:
The Overwatering Trap: In a small kitchen, the urge to “care” for your plant by frequent watering is strong. Aloe vera thrives on neglect. Overwatering is the fastest way to kill it, leading to mushy, brown leaves and root rot. Always check the soil—it should be completely dry at least 2 inches deep before you even think about watering.
The Light Balancing Act: Not all “bright light” is equal. Direct sun through a window can be harsh. If leaves turn brown or reddish, they’re getting too much direct exposure. If they become elongated, pale, and floppy (a condition called etiolation), they’re stretching for more light. Observe and adjust your plant’s position incrementally.
The Pot Size Paradox: It’s tempting to give your plant room to grow, but a pot that’s too large holds excess moisture around the roots. For a small kitchen aloe vera, choose a pot that’s just 1-2 inches wider than the root ball. This helps the soil dry out properly and keeps the plant’s size manageable.
Frequently Asked Questions
How often should I really water my kitchen aloe vera? There’s no weekly schedule. It depends entirely on your kitchen’s light, humidity, and temperature. In my experience, during these first two weeks in a moderately bright kitchen, watering every 12-14 days was sufficient. Always use the finger test: if the soil is dry 2-3 inches down, it’s time to water deeply.
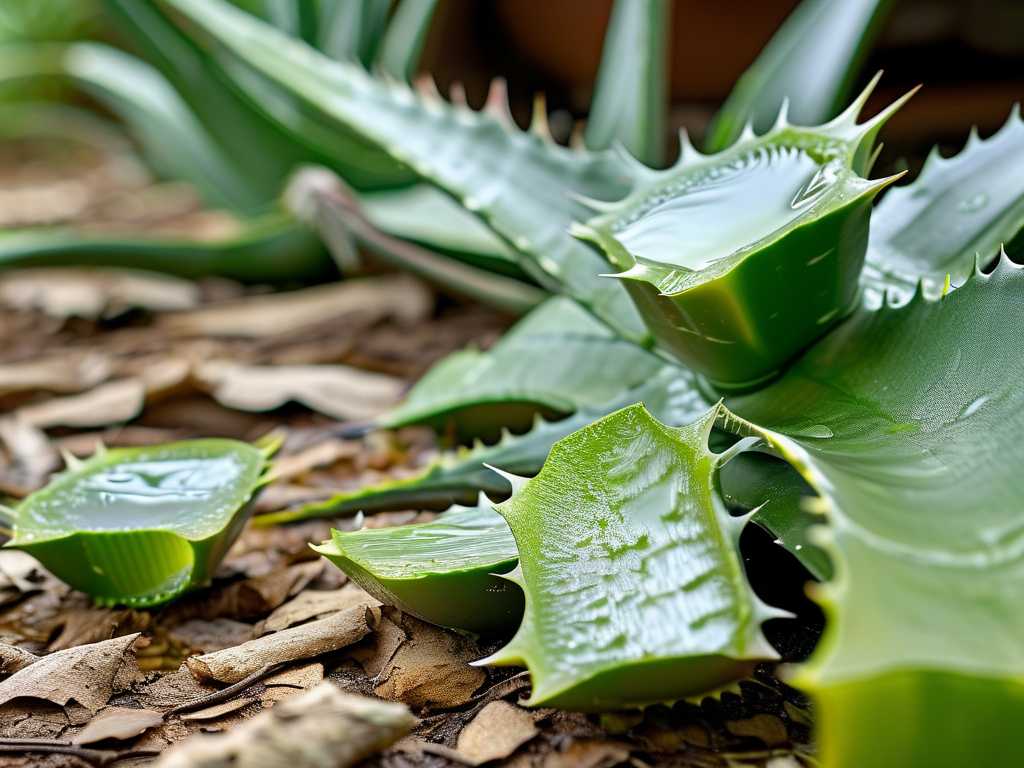
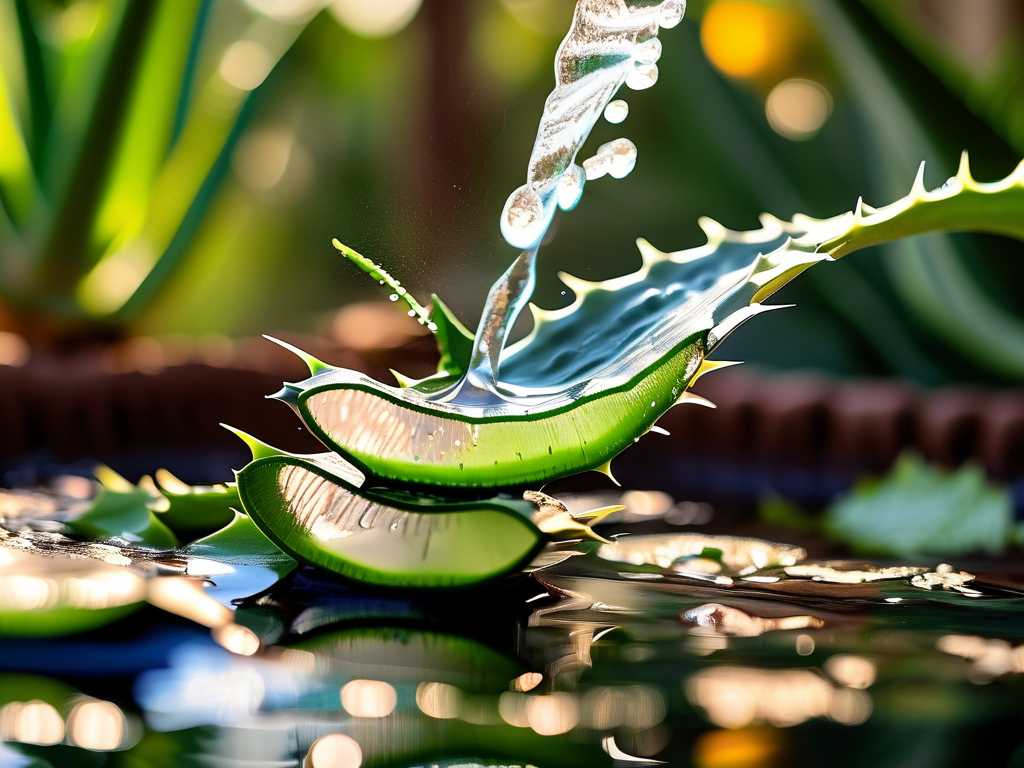
Can I use the gel from my plant right away? Patience is key. For the overall health of your small plant, wait until it is well-established with multiple thick leaves. To harvest, always choose a mature, outer leaf and cut it cleanly at the base. The plant will seal the wound. Using a young, central leaf can stunt its growth.
My aloe is leaning heavily to one side. What should I do? This is almost always a light issue. The plant is leaning toward its light source. My fix was two-fold: first, I rotated the pot a quarter turn each week to encourage even growth. Second, I assessed if the location was bright enough overall. If the leaning is severe, you can repot it, positioning it upright in fresh soil, and immediately move it to a spot with more balanced, indirect light.
Growing aloe vera in a small apartment kitchen is a lesson in mindful minimalism. It teaches you to read a plant’s subtle signals—the firmness of a leaf, the color of its tips, the dryness of the soil. By choosing the right pot, mastering the soak-and-dry watering technique, and finding that perfect spot for bright, indirect light, you can cultivate a resilient and useful plant companion. That little green rosette on my kitchen stand is no longer just a plant; it’s a daily reminder that with a bit of knowledge and observation, even the most compact urban space can support a touch of nature’s ingenuity. Start with one pup, apply these simple steps, and enjoy the quiet satisfaction of nurturing your own kitchen-grown aloe.