bluename
 Aloe Vera Nutrient Deficiency: Potassium Deficiency Signs
I’ve lost count of how many times I’ve seen fellow plant lovers, myself included, panic over a sad-looking aloe vera. We water it right, give it sun, yet it starts to look… off. The leaves might pale, or the tips begin to brown. For the longest time, I blamed everything from tap water to too much sun. It wasn’t until I lost a beautiful, mature plant to what I now know was a severe potassium deficiency in aloe vera that I started digging deeper. This specific nutrient shortfall is a silent saboteur, often mistaken for other issues. Let me walk you through exactly how I identified it, treated it, and what I learned over two intense weeks of nursing my plant back to health.
What is Potassium and Why Does Your Aloe Vera Crave It?
Think of potassium as the plant’s personal trainer and circulatory system manager. It’s not a building block like nitrogen for leaves. Instead, it regulates crucial internal processes. According to research cited by the Royal Horticultural Society (RHS), potassium is vital for enzyme activation, photosynthesis, water regulation, and the movement of sugars within the plant. For succulents like aloe vera, which are masters of water storage, efficient water use and strong cellular structure are non-negotiable. A deficiency weakens this entire system, making the plant vulnerable.
The Telltale Signs: Is It Really Potassium Deficiency?
Diagnosing aloe vera potassium deficiency symptoms requires a keen eye. It’s easy to confuse with sunburn or even overwatering initially. Here’s what I observed in my plant, which I’ve since confirmed through my own experience and resources from institutions like the Arizona Horticultural Society (AHS):
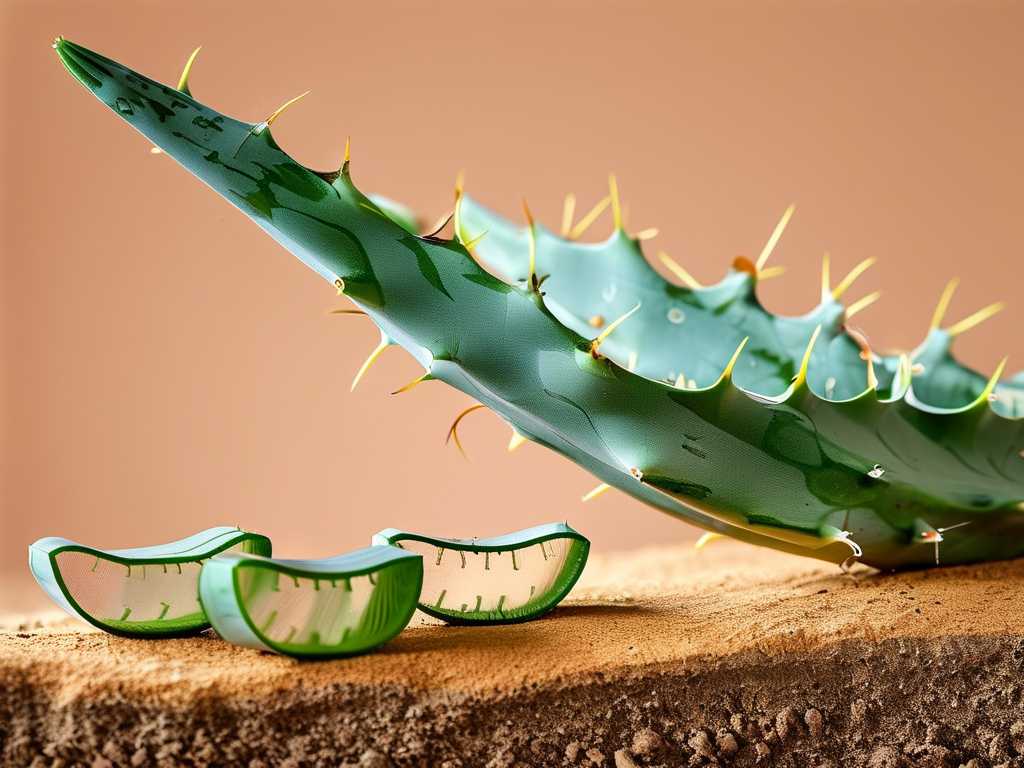
The Early Warning: Chlorosis on Older Leaves It started subtly. The oldest, outermost leaves of my aloe began to lose their vibrant green, turning a pale, yellowish-green, particularly between the veins. This interveinal chlorosis is a classic early sign. The leaf still felt firm, not mushy like an overwatered one, but its vigor was clearly fading.
The Unmistakable Progression: Necrotic Leaf Tips and Margins Within a few days of noticing the yellowing, the tips of these same older leaves began to turn brown and crispy—a dry necrosis. This wasn’t a small brown spot; it was a systematic browning that started at the very tip and began creeping down the margins. The leaf tissue literally died back. This is a key differentiator. Under-watering might cause overall thin, brown leaves, but potassium-related necrosis targets the tips and edges of older growth first.
The Structural Weakness: Limpness and Poor Recovery This was the final clue. When I gently pressed a plump younger leaf, it felt turgid and strong. But the older, yellowing leaves felt oddly limp, even though the soil was dry. They had lost their structural integrity. The plant also seemed to wilt faster between waterings and recovered slower. It was struggling to manage its water properly.
My Two-Week Rescue Mission: Steps, Observations, and Pitfalls
Seeing these signs, I knew I had to act. I ruled out other issues: the plant was in a fast-draining cactus mix, received bright indirect light, and hadn’t been watered in over three weeks. The pot had drainage. The culprit pointed to nutrition.
Week 1: Diagnosis and Initial Treatment
Step 1: The Flush (Days 1-2) Before adding anything, I needed to clear the root zone of any potential salt buildup that could block potassium uptake. I took the plant to the sink and thoroughly flushed the soil with distilled water, letting it run freely out the bottom for a few minutes. This was my first pitfall avoided: never fertilize a stressed plant in potentially unbalanced soil.
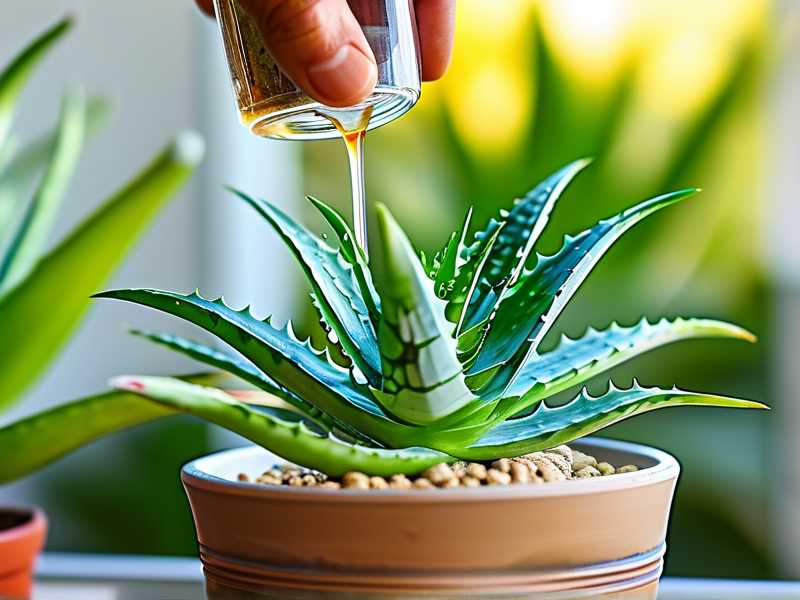
Step 2: Choosing the Right Fertilizer (Day 3) I needed a fertilizer with a good dose of potassium (the K in N-P-K). I chose a balanced, water-soluble succulent fertilizer (with a near-equal N-P-K ratio like 3-4-3) but also one that listed potassium derived from sources like potassium sulfate, not just chloride, as aloes can be sensitive to chloride. I diluted it to half the recommended strength. Correcting potassium deficiency in aloe plants requires a gentle approach.
Step 3: First Application & Baseline Photos (Day 3) I watered my thoroughly dried-out aloe with the diluted fertilizer solution until it drained. I took clear, well-lit photos of the entire plant and close-ups of the affected leaves. This is crucial for tracking subtle changes.
Observations (Days 4-7): Frankly, nothing positive happened yet. The brown tips didn’t magically heal—they never will. The yellowing on the older leaves persisted. I had to fight the urge to apply more fertilizer. Over-fertilization is a surefire way to burn roots and kill the plant. I reminded myself that recovery happens at the root and cellular level first, invisible to me.
Week 2: Patience and New Growth
Step 4: Optimal Care Support (Entire Week) I placed the plant in a spot with consistent, bright indirect light (no harsh afternoon sun to add stress). I resisted watering again until the soil was completely dry deep down.
Observations (Days 8-14): This is where hope appeared. Around Day 10, I noticed the central rosette—the new growth—looked perkier and a deeper green. The existing damaged leaves still looked bad, but they weren’t getting worse. The plant’s overall posture seemed slightly improved; it wasn’t as slumped. By Day 14, there was a definite firmness returning to the mid-aged leaves, and one tiny new leaf spear in the center seemed to have grown a bit. The recovery was happening in the new tissue. The old, necrotic tips would remain as a scar, a reminder of the deficiency.
The Pitfalls I Encountered and How You Can Avoid Them
- The Overcorrection Trap: My biggest urge was to give a double-dose of fertilizer to “fix it faster.” This would have caused fertilizer burn and shock. Solution: Always dilute to half-strength for a stressed plant and stick to a monthly schedule during the growing season.
- Misdiagnosis: I almost mistook it for sunburn because of the crispy tips. Solution: Look at the pattern. Sunburn often hits the top leaves most exposed to light, randomly. Potassium deficiency starts methodically on the oldest, lowest leaves.
- Ignoring Soil Health: I had been using plain tap water for years, which can lead to salt/calcium buildup that locks out potassium. Solution: Incorporate an annual soil flush with distilled or rainwater, and consider repotting with fresh soil every 2-3 years.
- Expecting Old Damage to Heal: I kept staring at the brown tips waiting for them to turn green. They won’t. Solution: Focus your evaluation on the health of new growth and the stability of the existing damage. Success is stopping the progression.
How to Prevent Potassium Deficiency in Your Aloe Vera Long-Term
Prevention is simpler than cure. I now use a balanced, succulent-specific fertilizer at quarter-strength, but only during the active growing seasons (spring and summer). I fertilize at most every other month. I’ve also switched to watering with collected rainwater when possible to minimize mineral buildup. Ensuring the potting mix is gritty and drains impeccably is the foundational step—healthy roots are the only way a plant can uptake any nutrient, potassium included.
Will the brown tips on my aloe ever turn green again? No, they will not. The necrotic (dead) tissue is permanent. The goal of treatment is to stop the deficiency from progressing to new growth. You can snip off the brown tips with sterile scissors for aesthetics, but leave a tiny margin of brown to avoid cutting into living tissue.
Can I use banana peel water as a natural potassium fix? While banana peels contain potassium, the method of soaking peels in water is highly unscientific and delivers an unknown, very weak concentration. It may also introduce sugars that attract fungi. For a confirmed deficiency, a controlled, diluted liquid fertilizer is a far more reliable and safer method to ensure your plant gets what it needs.
How often should I fertilize my aloe vera to prevent this? Aloe vera is a light feeder. In my routine, I fertilize sparingly: once at the start of spring and once in mid-summer with a half-strength balanced fertilizer. During fall and winter, I provide no fertilizer at all. More is not better. The key is providing a complete nutrient profile a few times during its growth period, not constant feeding.
Spotting signs of nutrient deficiency in aloe vera plants early, particularly the distinct pattern of potassium shortage, can save your plant from a long decline. It requires moving beyond just looking at water and light and understanding the silent language of leaf color and texture. My two-week journey was a lesson in patience. The visible scars on the old leaves remain, but the vibrant new growth in the center tells me the story ended well. By learning to read these signs and responding with a careful, measured approach, you can ensure your aloe vera remains the sturdy, resilient healer it’s meant to be.