How to AdjustAloe Vera Carefor Rainforest Climates: A Grower’s 2-Week Diary
I’ve always loved the resilience ofAloe Vera. But when I moved from a dry, sunny climate to a lush, humid rainforest region, my confidence as a plant parent was shaken. My once-thriving aloes started to look sad, with soft, discolored leaves. I realized the standard care advice was failing me. If you’re wondering how to adjustAloe Vera Carefor rainforest climates, you’re not alone. The high humidity, frequent rainfall, and filtered light here demand a complete overhaul of the usual “set it and forget it” succulent strategy. This is my firsthand account of relearning aloe care over two intensive weeks, filled with trials, errors, and ultimately, success.
Understanding the Rainforest Challenge

The core issue is simple:Aloe Verais a desert plant engineered to store water. In a rainforest environment, the air is already saturated. The plant cannot release moisture into the atmosphere efficiently through transpiration, and the soil stays wet for dangerously long periods. This creates a perfect storm for root rot. My goal was to replicate the dry, sharp-draining conditions aloe craves, even while living in a cloud forest.
Week 1: The Emergency Intervention and Setup
My plants were showing early signs of distress—slight browning at the base and a general lack of firmness. I knew I had to act fast.
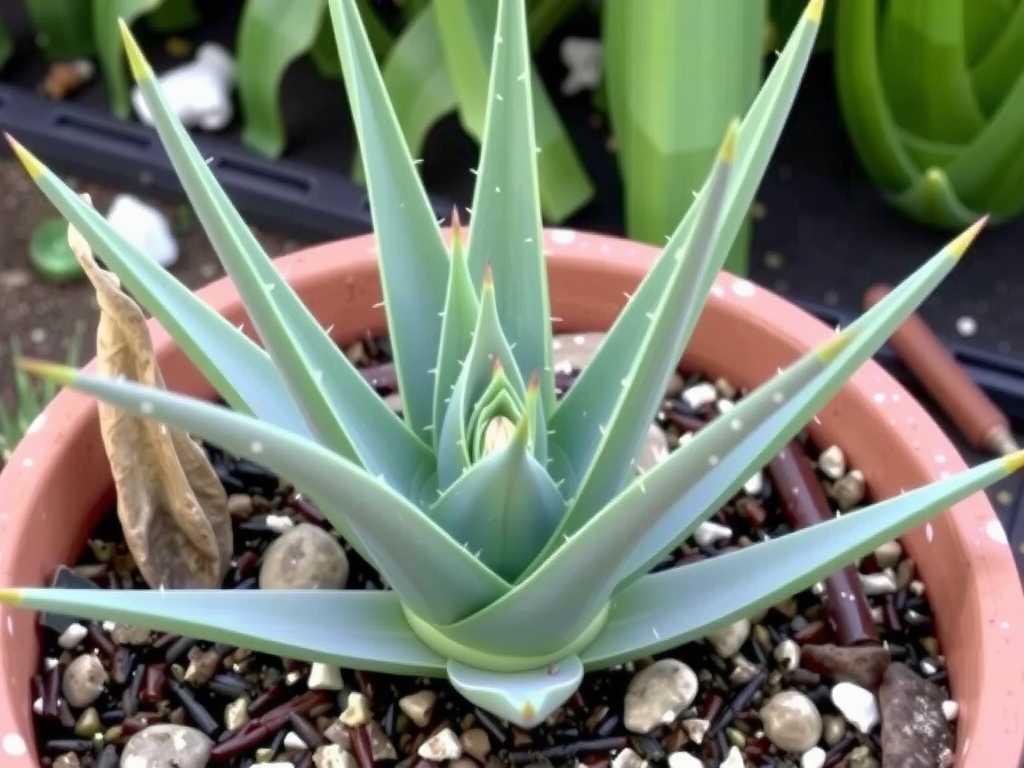
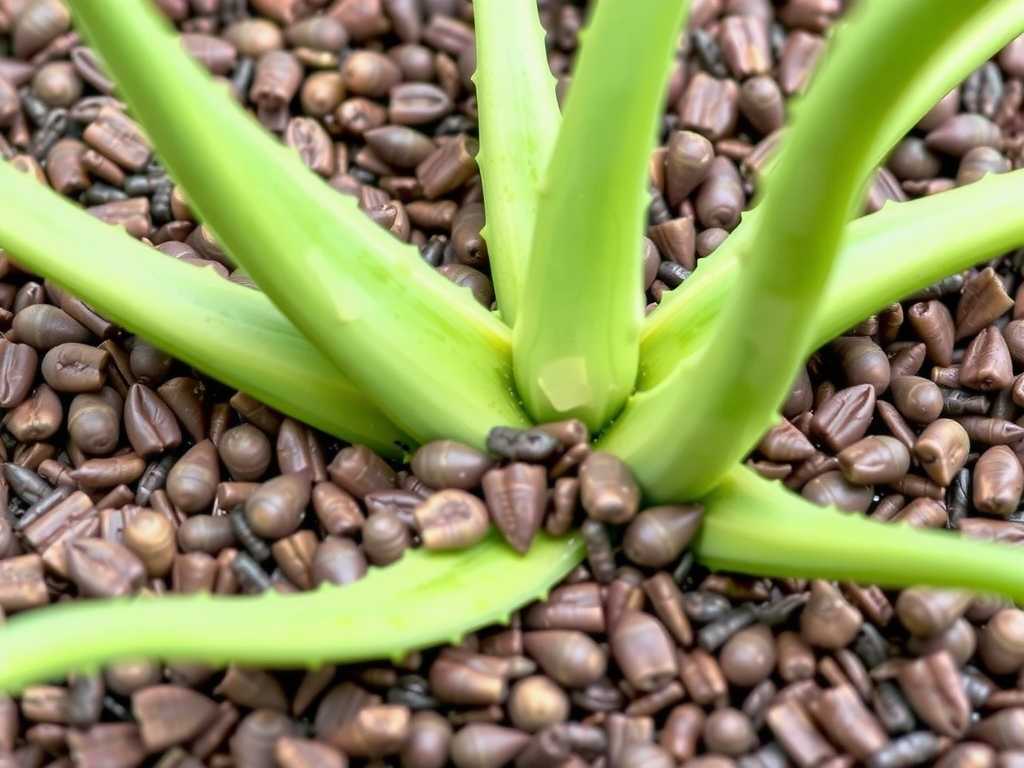
Day 1-3: The Great Repotting My first step was addressing the foundation: the soil and pot. I gently removed my aloe from its old, moisture-retentive potting mix. As I suspected, the roots were damp and a few tips looked dark. I trimmed these away with sterilized scissors. I created a new, ultra-fast-draining mix. I used a standard cactus potting soil as a base, but I amended it heavily. The formula was roughly 50% cactus soil, 30% perlite, and 20% coarse horticultural sand. For one plant, I even added a handful of small orchid bark chips for extra aeration, a tip I picked up from a local botanical garden’s aridity specialist. The pot choice was critical. I swapped the ceramic pot with a single drainage hole for a terracotta pot. Terracotta is porous, allowing the soil to breathe and moisture to wick through the walls. I made sure it had a large drainage hole and propped it up on feet to ensure air could circulate underneath.
Day 4-7: Strategic Placement and Watering Discipline Finding the right light was tricky. The full, direct sun of my old balcony would scorch the leaves here, but deep shade would cause etiolation. I found a bright spot under a covered patio that received about 4-5 hours of direct morning sun, followed by bright, filtered light. This mimicked the “bright but indirect” light conditions many expert growers, like those at the Royal Horticultural Society (RHS), recommend for succulents in variable climates. I instituted a strict “touch test” watering rule. I would not water on a schedule. Instead, I inserted my finger deep into the soil. Only when it was completely dry—bone-dry, not just slightly moist—would I consider watering. In practice, this meant not watering at all during this first week after repotting, allowing any disturbed roots to heal in the dry medium.
The First Pitfall and Fix About Day 5, I noticed one smaller plant still looked wilted even though the soil was dry. I had made a classic mistake: over-amending. The soil was drainingtoofast and wasn’t retaining enough moisture for the roots to take up any water. The fix was a bottom-watering session. I placed the pot in a shallow tray of water for 15 minutes, allowing the soil to soak up moisture from below. This ensured the root zone got hydrated without wetting the top layer of soil, which could attract fungus gnats in the humid air.
Week 2: Observation and Refinement
The second week was about fine-tuning and watching for signs of recovery or further decline.
Day 8-14: Signs of Life and Airflow Management The plants in the terracotta pots with the standard amended mix (cactus soil/perlite/sand) began to firm up. The slight browning halted. I could see new, pale green growth emerging from the center of two plants—a sure sign they were happy. Humidity was my silent enemy. Even with perfect soil, the leaves themselves were constantly damp from the air. I introduced a small, oscillating fan on a low setting, positioned to gently move air around my plant shelf for a few hours each day. This dramatically reduced moisture sitting on the leaves and improved soil evaporation, a crucial step often emphasized in discussions aboutAloe Verahumidity control. I resisted the urge to fertilize. Plants under stress should never be fed. Their focus needed to be on root re-establishment, not new growth.
The Second Pitfall: The “Sunburn” Scare Midway through Week 2, we had a rare, completely clear morning. My aloe got about 6 hours of direct, intense sun. By afternoon, the tips of some older leaves had turned a reddish-brown. This was sunburn. While aloe can adapt to more sun, the transition must be gradual. I immediately moved the plant back to its spot with gentler morning sun. The burned tips won’t heal, but the plant was otherwise okay. It taught me that in rainforest climates, light conditions can change rapidly, and constant vigilance is needed.
The 2-Week Verdict and Long-Term Strategy
After fourteen days of careful adjustments, the transformation was clear. The plants were no longer soft or yellowing. They stood upright, felt firm to the touch, and showed active new growth. The strategy worked.
My ongoing care protocol for rainforest climates is now set:
- Soil & Pot:Forever terracotta with my gritty, amended mix. I repot every two years to refresh the medium.
- Watering:Only via the “deep dry-out” method, followed by a thorough bottom-watering. In the rainy season, this might mean watering only once a month or less.
- Light:Bright, indirect light with limited direct morning sun. I use a sheer curtain as a filter if needed.
- Airflow:The fan is now a permanent part of my plant care routine, used daily to simulate the breezes of an aloe’s natural habitat.
- Feeding:A diluted, balanced fertilizer only during the active growing season (typically our drier, slightly sunnier months), applied no more than twice.
Frequently Asked Questions
Can I keep my aloe vera outside in a rainforest climate? Yes, but it must be in a fully covered location, protected from direct rainfall. A covered porch, balcony, or under a wide eaves is ideal. Never let it sit in the rain.
What is the most common sign of trouble I should watch for? Soft, mushy leaves, especially at the base. This is the hallmark of overwatering and root rot. Act immediately by checking the roots and changing the soil.
Are there specific aloe varieties better suited for high humidity? While no aloe is truly a rainforest plant, some smaller or clustering varieties likeAloe aristata(Lace Aloe) orAloe brevifoliamay adapt slightly better to container life in humidity due to their compact size, but they still require the same sharp-draining soil and careful watering asAloe vera.
Moving to the rainforest taught me that plant care isn’t about following rigid rules, but about interpreting principles for your environment.AdjustingAloe Vera Carefor humid environmentsis entirely possible. It requires respecting the plant’s desert origins while creatively solving for constant moisture. By focusing on drainage, airflow, and restrained watering, you can enjoy healthy, happy aloe plants no matter how lush your surroundings may be.
发表评论