bluename
 How to Revive Aloe Vera After Transplant Shock: My 2-Week Rescue Mission
I’ll be honest, the first time I saw my prized aloe vera plant go limp and discolored after repotting, my heart sank. That vibrant green succulent I had nurtured for months suddenly looked defeated, its leaves soft and bending. I was facing the classic signs of aloe vera transplant shock, a stressful period where the plant struggles to adapt to its new environment. If you're reading this, you probably know that panicked feeling. The good news? Over the years, through trial and plenty of error, I’ve developed a reliable recovery protocol. This guide is my firsthand account of exactly how to revive aloe vera after transplant shock, detailing my real steps, a rigorous two-week observation log, and the critical lessons I learned the hard way.
Understanding the Shock: Why Your Aloe Is Struggling
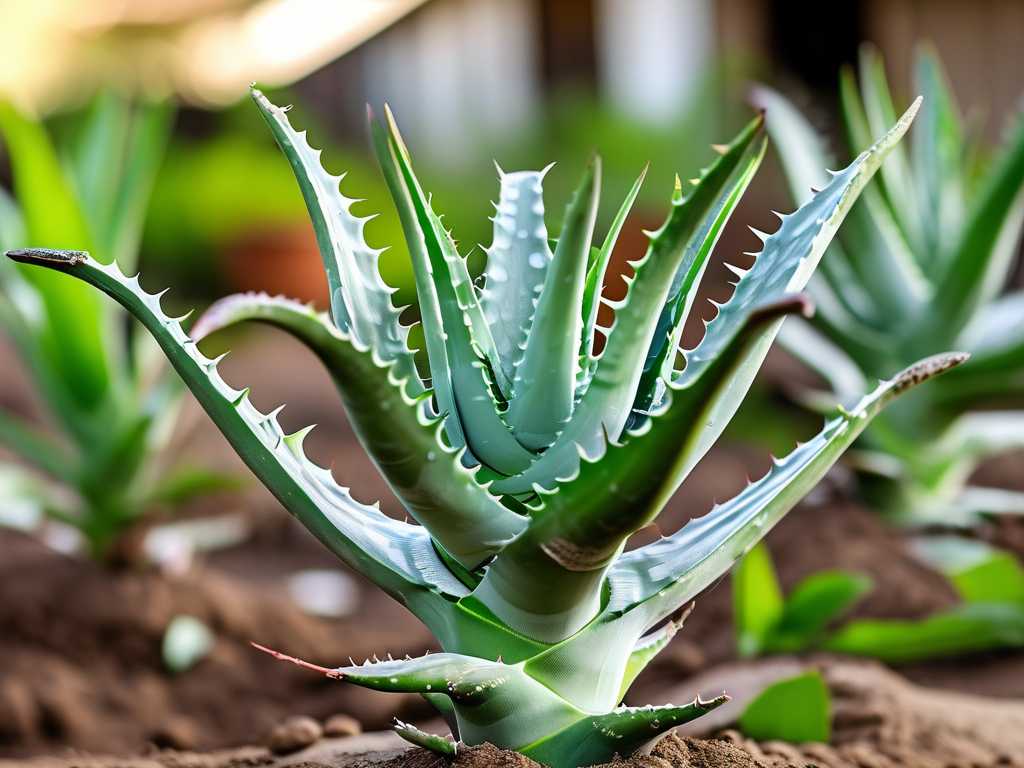
Transplant shock isn't a disease; it's a physiological reaction. According to the Royal Horticultural Society (RHS), moving a plant disturbs its root system, damaging the delicate root hairs responsible for water and nutrient uptake. For a succulent like aloe vera, which stores water in its leaves, this interruption is a major crisis. The plant can't drink properly, leading to dehydration signs like wilting, browning, or reddening. My goal was to support the plant through this trauma with minimal intervention, creating the ideal conditions for root recovery.
My Step-by-Step Rescue Plan for Aloe Vera Transplant Shock
The moment I confirmed shock—leaves losing firmness, color fading—I sprang into action. Here was my game plan, executed with precision.
Step 1: The Critical Diagnosis and Relocation
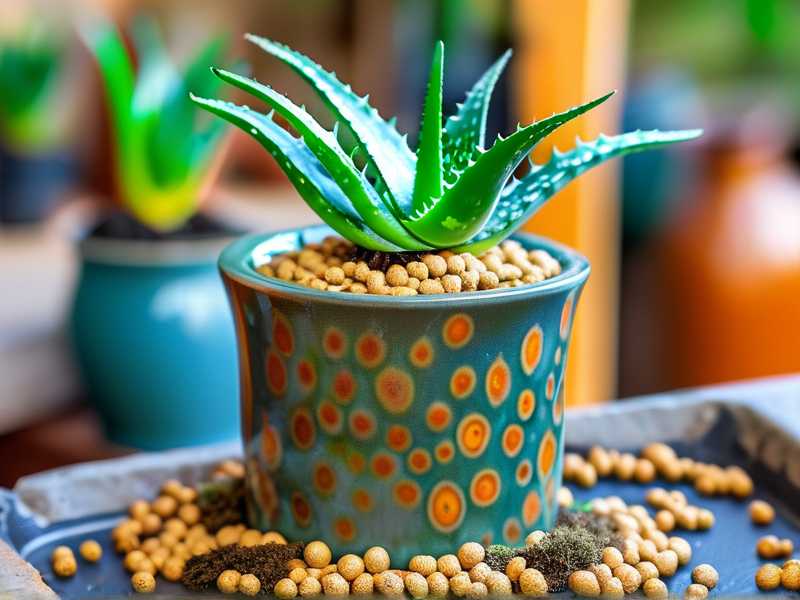
First, I gently removed the aloe from its new pot to inspect the roots. They were intact but clearly stressed. I didn’t trim anything unless I saw obvious rot (slimy, black roots). I carefully brushed off the old soil and prepared a fresh, dry succulent mix. The American Horticultural Society (AHA) emphasizes well-draining soil as non-negotiable for succulent health, so I used a commercial cactus blend with extra perlite.
The new pot was only slightly larger than the root ball, with a drainage hole. I placed the aloe in the center, filled around it with dry soil, and did NOT water it. This was my first learned rule: never water a shocked aloe immediately. Wet soil around damaged roots invites rot.
Step 2: Creating the Perfect Recovery Environment
I placed the repotted aloe in a location with bright, indirect light. No direct sun—a shocked plant is too vulnerable for that kind of stress. I ensured the spot had stable, warm temperatures (around 70-75°F) and good air circulation. I resisted the urge to move it around, letting it settle.
Step 3: The Strategic Watering Schedule
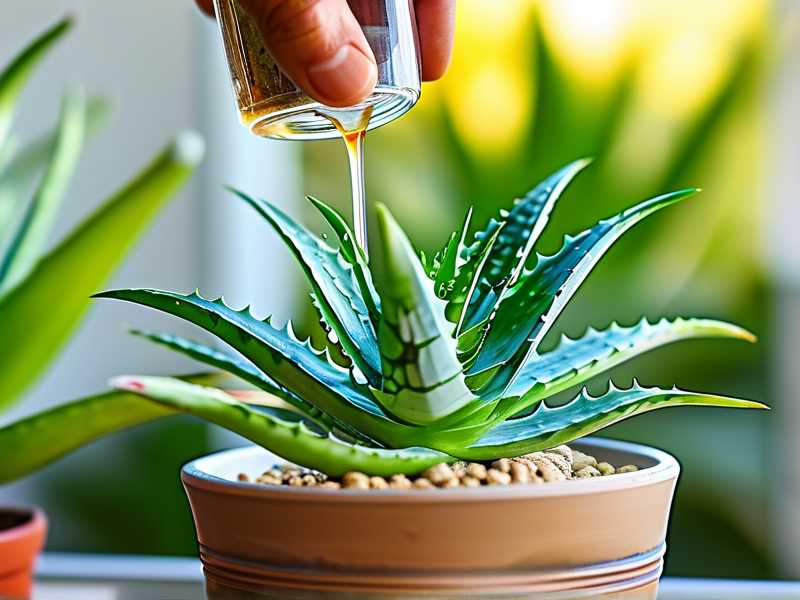
This is where most people, including my past self, fail. I waited a full 7 days after repotting before introducing any water. This gives any microscopic root injuries time to callous over. On day 8, I gave it a thorough bottom-watering. I placed the pot in a shallow dish of water for about 15 minutes, allowing the soil to soak up moisture from the bottom. This encourages roots to grow downward. I then let it drain completely. I did not water again until the soil was bone dry all the way through—a test I did by sticking a wooden skewer deep into the pot.
Step 4: Patience and Observation Over Intervention
I committed to no fertilizer, no leaf misting, and no unnecessary touching. My only job was to observe and maintain stable conditions. The desire to "do more" is strong, but restraint is the true remedy for reviving a shocked aloe plant.
The 2-Week Observation Diary: Tracking the Comeback
Here’s a daily log of what I saw, which will help you set realistic expectations.
- Days 1-3: The aloe looked worse. The lower leaves continued to soften and one showed increased browning at the tip. This was frightening but normal—the plant was reallocating energy. I held firm.
- Days 4-7: The decline halted. No further worsening. The plant's posture stabilized, though it still looked sad. The soil remained dry.
- Day 8 (First Watering): After bottom-watering, no immediate change. This was expected.
- Days 9-11: A subtle shift! The innermost, youngest leaves began to feel ever so slightly firmer. The color seemed to hold more steadily. This was the first sign of recovery for transplanted aloe vera.
- Days 12-14: The firmness spread to the middle leaves. The one browned leaf tip dried out completely but did not spread. Most importantly, when I gave a very gentle wiggle to the plant on day 14, it felt anchored. New root growth had begun!
By the end of week two, the plant was not "lush," but it was unequivocally stable and on a clear path to recovery. The crisis was over.
The Pitfalls I Encountered (And How to Fix Them)
My journey wasn't always smooth. Here are the mistakes I made so you can avoid them.
Pitfall 1: The "Helpful" Early Watering In a past attempt, I watered a repotted aloe within 2 days, thinking it looked thirsty. The result was swift root rot. The fix was drastic: unpot, cut away all mushy roots, let the plant callous for 2-3 days, and repot in dry soil, restarting the no-water clock. Now, I always wait at least a week.
Pitfall 2: Too Much Sun Too Soon I once thought sunshine would perk it up. Direct sun accelerated moisture loss from the stressed leaves, causing severe sunburn scars. The fix was immediate relocation to bright, indirect light. The scars remained, but new growth eventually covered them.
Pitfall 3: Overpotting and Wrong Soil Using a pot too large or regular potting soil holds excess moisture for too long. This suffocates the roots. The fix is always to use a snug pot and a gritty, fast-draining succulent mix. If your soil is wrong, it’s worth repotting again correctly, even if it causes more short-term stress.
Pitfall 4: Disturbing the Plant Constantly checking the roots or moving the pot disrupts the fragile new root hairs trying to form. The fix is simple: set it, forget it (except for observation). Trust the process.
How long does aloe vera transplant shock last? The acute shock phase, where the plant looks its worst, typically lasts 1-2 weeks. Full recovery, where you see vigorous new growth, can take 4-8 weeks. Patience is your most important tool.
Should I cut off the brown leaves? Do not cut off partially brown leaves. The plant will reabsorb nutrients from them. Only remove a leaf if it is completely brown, dry, and papery, or if it shows signs of mushy rot. Use a sterile knife and cut close to the stem.
Can I use a rooting hormone on my shocked aloe? While you can dip roots in a rooting hormone powder during repotting, I find it unnecessary for aloe vera. Creating the correct post-transplant environment (dry soil, indirect light, delayed watering) is far more critical and effective for post-transplant aloe care.
Seeing your aloe vera wilt after the simple act of repotting is disheartening, but it is almost always a reversible condition. The key is to understand that less is more. Resist the urge to over-love it with water and food. Instead, provide the quiet, stable, and dry conditions it needs to heal itself. My two-week vigil proved that with correct diagnosis, strategic watering, and immense patience, your aloe can not only recover but emerge stronger, ready to thrive in its new home.