 bluename
 Aloe Vera for Foot Care: My 2-Week Journey with a Healing DIY Scrub
My feet were a disaster. After years of neglecting them, favoring fashion over comfort, and long days on my feet in the garden, I was left with dry, cracked heels, rough calluses, and a general feeling of discomfort. Store-bought creams felt greasy and provided only temporary relief. I knew I needed a natural, deeply healing solution. That’s when I turned my focus to Aloe Vera for foot care. As a plant enthusiast with a windowsill full of succulents, I believed the answer was growing right in my living room. This is my honest, two-week experiment with a homemade aloe vera foot scrub, documenting every step, the real results, and the lessons learned the hard way.
Why Aloe Vera is a Foot Care Powerhouse
Before diving into the recipe, let’s talk about why aloe vera is so exceptional. It’s not just a trendy plant; its healing properties are backed by both tradition and science. Aloe vera gel is packed with vitamins, minerals, enzymes, and amino acids. It’s a potent moisturizer that penetrates deeply, but it’s also anti-inflammatory and antimicrobial. According to research highlighted by the National Center for Complementary and Integrative Health (NCCIH), aloe vera is recognized for its wound-healing and skin-soothing properties. For feet battling dryness, cracks (which are tiny wounds), and irritation, it’s a perfect match. It hydrates while creating an environment that supports healing.
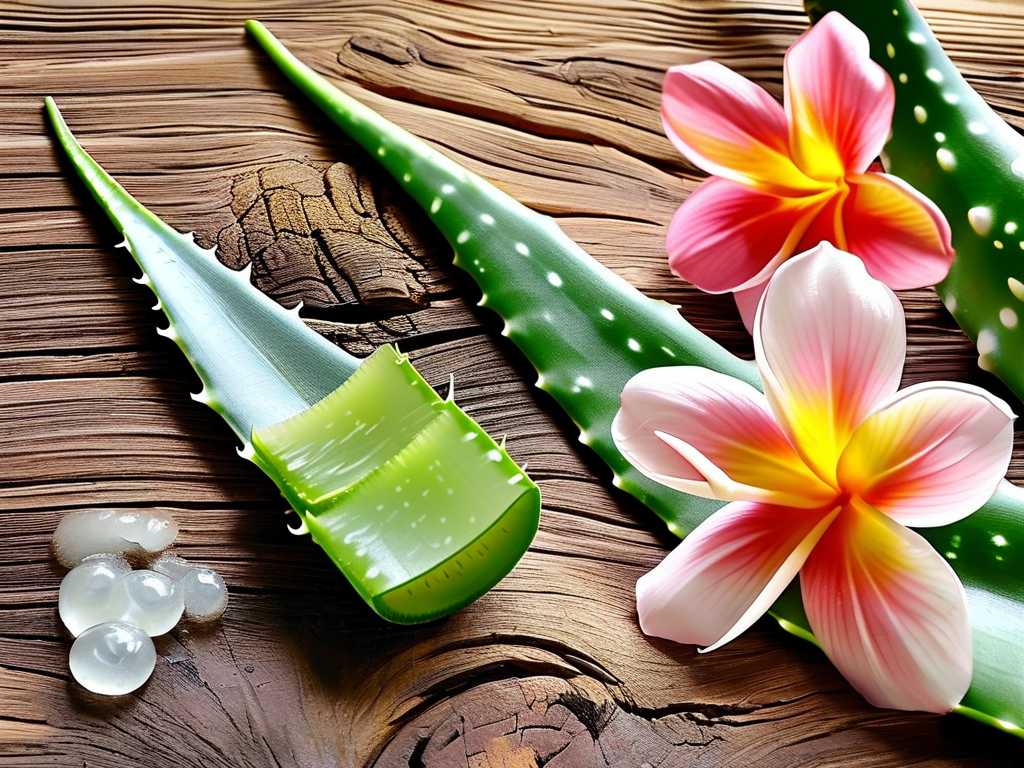
Crafting the Perfect DIY Aloe Vera Foot Scrub: My Recipe
I wanted a scrub that exfoliated gently, delivered intense moisture, and was simple to make with ingredients I trusted. After some research and a bit of trial and error, here is the recipe I settled on and used consistently.
Ingredients:
- 3 tablespoons of fresh aloe vera gel: This is the star. I harvested it directly from a mature leaf of my plant.
- 2 tablespoons of fine granulated sugar or sea salt: I started with sugar for gentle exfoliation.
- 1 tablespoon of organic coconut oil (melted): For added fatty-acid-rich moisture.
- 5-10 drops of peppermint or tea tree essential oil (optional): For a cooling sensation and extra antifungal properties.
My Step-by-Step Process:
- Harvesting the Gel: I selected a thick, outer leaf from my aloe plant. Using a clean knife, I cut it at the base and let the yellow, bitter aloin sap drain out for a few minutes. Then, I filleted the leaf, scooping out the clear inner gel with a spoon into a clean bowl. I was meticulous to avoid the green rind, which can be irritating.
- Mixing: In a small glass jar, I combined the fresh aloe gel and the melted coconut oil. I stirred until they were well blended. Then, I added the sugar and stirred gently to create a grainy paste. Finally, I added 5 drops of peppermint oil for that refreshing feel.
- Application: Before bed, I would soak my feet in warm, soapy water for 10 minutes to soften the skin. Patting them dry, I would take a generous scoop of the scrub and massage it onto my feet, focusing on my heels and balls of my feet. I used firm, circular motions for about 5-7 minutes, letting the sugar granules slough off the dead skin.
- Rinsing and Sealing: I rinsed off the scrub with lukewarm water. My skin immediately felt smoother. Then, I took a tiny extra bit of pure aloe gel and smoothed it over my feet as a leave-on treatment. I put on a pair of clean, cotton socks to lock in the moisture overnight.
The Two-Week Transformation: What Actually Happened
I committed to this routine every other night for two full weeks. Here’s my candid log.
Days 1-3 (The Honeymoon Phase): The first use was instantly gratifying. My feet felt incredibly soft and cool after rinsing. The rough patches felt less abrasive to the touch. However, the deep cracks on my heels were still visible. The aloe gel absorbed quickly without any sticky residue, which I loved.
Days 4-7 (The Turning Point): By the end of the first week, the consistent exfoliation and moisturizing was paying off. The calluses on my big toes were noticeably thinner. The skin around my heels was more pliable and the cracks began to look less deep and angry. My feet just looked healthier and felt more comfortable in shoes.
Days 8-14 (Visible Healing): This is where the magic of using aloe vera for cracked heels became undeniable. The fine lines and cracks had significantly diminished. The overall texture of the skin on my soles was uniform and smooth—no more sandpaper patches. The nightly ritual became something I looked forward to; it was a moment of self-care. The inflammation around any tender spots was gone.
The Pitfalls I Encountered (And How I Fixed Them)
It wasn’t all smooth sailing. Here are the problems I faced and how I solved them.
-
The Texture Gone Wrong: In my second batch, I got overzealous with the coconut oil. The mixture became too runny, and the sugar dissolved almost immediately upon mixing, leaving me with no exfoliating power.
- Solution: I learned that the aloe gel itself is watery. I adjusted the recipe by slightly reducing the coconut oil and adding the sugar just before use if I made a larger batch. Keeping the mixture thick was key for effective scrubbing.
-
Shelf-Life Surprise: I left my first batch in the shower for a few days. Big mistake. The fresh, preservative-free scrub started to develop a funky smell.
- Solution: I learned to make smaller batches that would last only 4-5 days, storing them in the refrigerator. The cool scrub also felt amazing on tired feet! For longer shelf life, some experts suggest a drop of vitamin E oil as a natural preservative.
-
Over-Exfoliation Tingle: Once, after a particularly long gardening day, I scrubbed too hard and too long, making my skin feel sensitive.
- Solution: I listened to my skin. Soaking well beforehand is crucial. I adopted a gentle, consistent pressure rather than aggressive scrubbing. Remember, the goal is to encourage renewal, not to damage the healthy skin underneath.
Maximizing Your Aloe Vera Foot Care Routine
For the best results, integrate this scrub into a holistic routine. Soak your feet weekly. Dry them thoroughly, especially between the toes, to prevent fungal issues—a point often emphasized by the American Podiatric Medical Association (APMA) for general foot health. Follow the scrub with pure aloe gel and socks. Stay hydrated; skin health starts from within.
Can I use store-bought aloe vera gel? Yes, absolutely. Ensure it’s as pure as possible, with aloe listed as the first ingredient and minimal additives. However, for the best foot scrub for dry skin, fresh gel straight from the plant is unbeatable in terms of potency and knowing exactly what’s in it.
How often should I use this aloe vera foot scrub? I found 2-3 times per week to be the sweet spot. It allows for effective exfoliation without overwhelming the skin. Your feet need time to regenerate healthy skin between sessions.
Is this scrub safe for diabetic feet? This is critical. If you have diabetes or any condition affecting circulation or sensation in your feet, consult your doctor or a podiatrist before using any scrub. The NCCIH and APMA caution that individuals with diabetes need specialized foot care to avoid unnoticed injuries.
My two-week journey with this DIY aloe vera foot scrub transformed not just the state of my feet, but my approach to self-care. It proved that a simple, natural remedy could deliver profound results. The combination of gentle exfoliation and the profound healing moisture of aloe vera addressed my core issues of dryness and cracking. It’s a testament to the power of plants and a little consistent care. Your path to softer, healthier feet might just be a leaf away.





