bluename
 Aloe Vera Growth Rate: Factors That Affect It and How I Unlocked Faster Growth
I’ve always been fascinated by the aloe vera plant. Its plump, soothing leaves promise both beauty and utility. But for years, my aloe vera growth rate was frustratingly slow. It seemed stuck in a perpetual state of “just surviving,” never truly thriving. If you’re wondering why your aloe isn’t growing faster or producing those coveted new pups, you’re not alone. The speed at which an aloe vera plant grows isn’t random; it’s a direct response to a handful of critical factors. After much trial and error, I decided to run a focused, two-week experiment to isolate and optimize these variables. What I learned transformed my spindly aloe into a robust, rapidly growing centerpiece.
My Two-Week Aloe Vera Growth Experiment: A Step-by-Step Journal
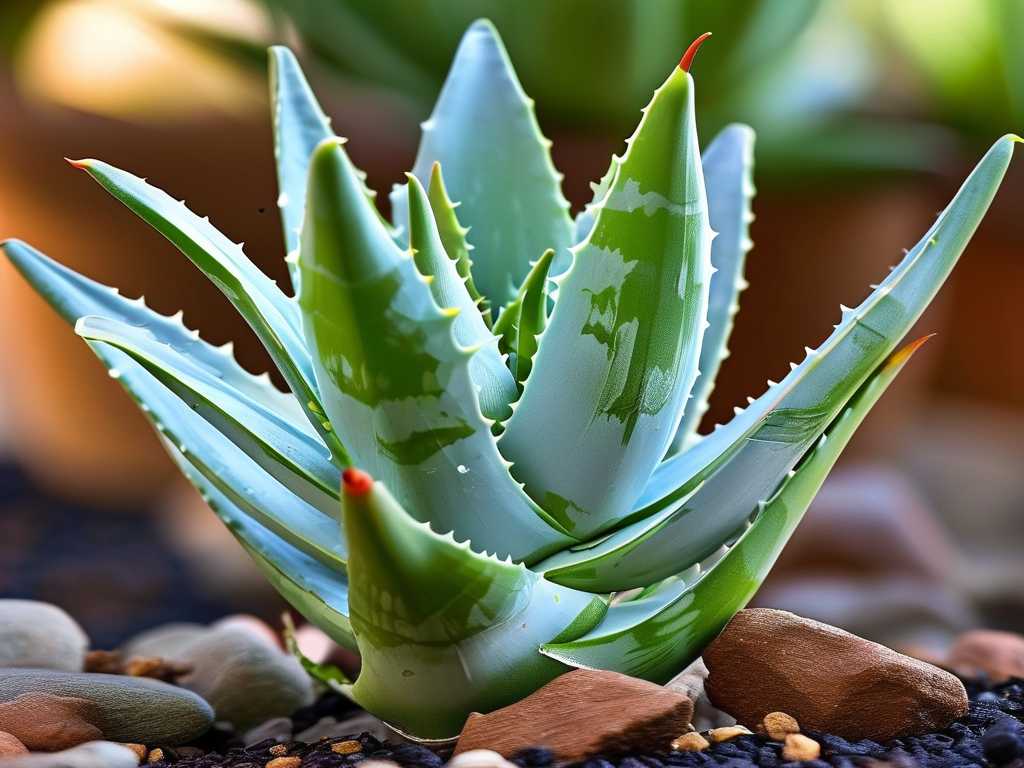
I selected a mature but sluggish aloe plant that had shown minimal new growth in the previous six months. My goal was to create the ideal environment and document any changes in its aloe vera growth speed.
Week 1: The Foundation – Light and Soil
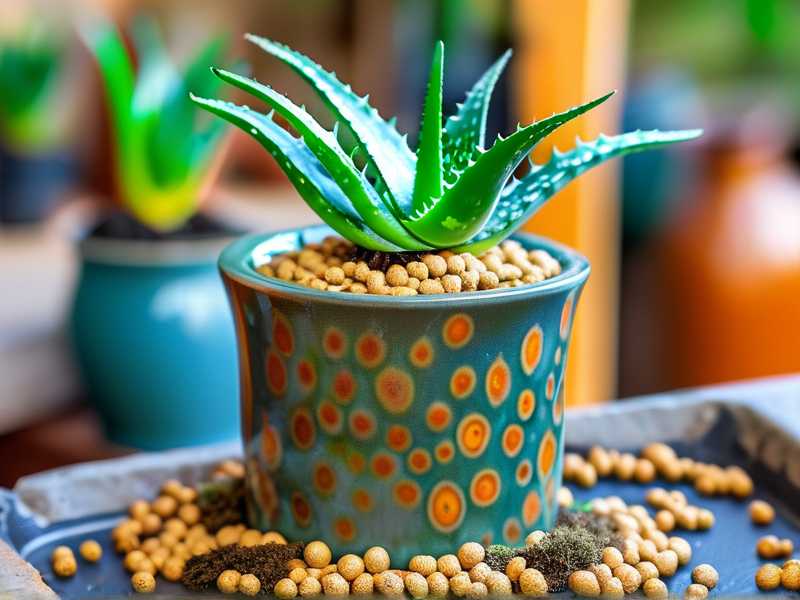
- Day 1-3: The Great Repotting. I started with the foundation: soil and pot. My aloe was in a generic, moisture-retentive potting mix, a common mistake. According to the Royal Horticultural Society (RHS), aloe vera requires exceptionally well-draining soil to prevent root rot, which severely stunts growth. I prepared a new mix: 2 parts cactus/succulent potting soil, 1 part perlite, and 1 part coarse sand. I chose a terracotta pot with a large drainage hole, only slightly larger than the root ball. After gently removing the plant, I shook off the old soil, checked for any mushy roots (found a few, snipped them), and repotted it.
- Day 4-7: Optimizing Light Exposure. I moved the plant to a south-facing windowsill where it would receive at least 6-8 hours of bright, indirect light daily. The American Horticultural Society (AHS) notes that while aloe tolerates some direct sun, intense afternoon rays can scorch leaves, causing stress that halts growth. My spot provided bright light without the harsh midday burn. I did not water immediately after repotting, allowing any disturbed roots to callous over.
Week 2: Precision Care – Water and Nutrients
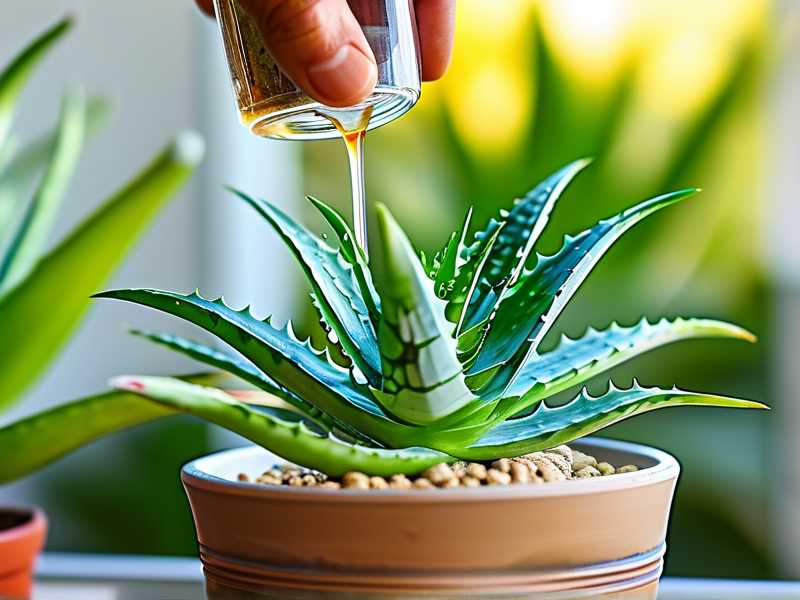
- Day 8: The First Soak. After a full week, I performed the “soak and dry” method. I placed the pot in a sink and watered thoroughly until it ran freely from the drainage hole, ensuring the entire root ball was moistened. I then let it drain completely before returning it to its saucer.
- Day 9-14: Observation and Adjustment. I resisted the urge to water again. Instead, I monitored the soil’s dryness by inserting a finger two inches deep. I also observed the leaves for firmness. During this week, I introduced one variable: a diluted, balanced fertilizer. I used a half-strength 10-10-10 liquid fertilizer, as over-fertilization is a major factor that negatively affects aloe vera growth. A single, mild feeding is all it would get for the season.
The Results and Key Factors Identified
After 14 days, the change was not dramatic in size, but profoundly evident in vitality. The previously slightly limp outer leaves had plumped up and firmed significantly. The central growth point, or rosette, took on a deeper green hue and felt tighter. Most importantly, I noticed the very beginnings of a new, tiny leaf emerging from the center—a sure sign of accelerated growth activation. This experiment crystalized the core factors:
1. Light: The Non-Negotiable Engine of Growth Light is the primary driver of the aloe vera growth rate. Without sufficient bright, indirect light, photosynthesis slows to a crawl. My plant’s previous location received only moderate light, explaining its lethargy. The new south-facing window provided the energy it desperately needed. Insufficient light leads to etiolation—where the plant stretches thin and pale—destroying its compact form and health.
2. The Watering Tightrope: Drought vs. Drown This was my biggest historical pitfall. I used to water on a weekly schedule, which led to chronic overwatering. Aloe vera roots need to dry out completely between waterings. Constantly damp soil suffocates roots, leading to rot, a condition that not only stops growth but kills the plant. The “soak and dry” method, guided by soil dryness rather than the calendar, was a game-changer. Underwatering is always safer than overwatering with aloe.
3. Soil and Drainage: The Root of the Matter Even with perfect watering, the wrong soil will hold too much moisture. My old, dense soil was a silent growth inhibitor. The new, gritty mix I created, echoing RHS guidelines, allows water to flow through instantly and lets air reach the roots. This environment encourages strong, healthy root development, which is the absolute foundation for visible top growth.
4. Pot Choice and Root Space A pot that is too large holds excess soil that stays wet for too long. A pot without drainage is a death sentence. Terracotta, being porous, helps wick away moisture from the soil, further protecting the roots. My aloe needed to be slightly root-bound to focus energy on growth rather than expanding endlessly into soil.
5. Temperature and Dormancy Aloe vera growth speed naturally slows or stops in cooler months (below 50°F or 10°C). My experiment took place in warm summer temperatures, ideal for active growth. Understanding its seasonal dormancy prevents unnecessary worry when growth pauses in winter.
Common Pitfalls I Encountered and How I Fixed Them
- Pitfall 1: The “More Water Equals More Growth” Fallacy. I killed my first aloe with kindness by overwatering. The fix was radical: I stopped watering on a schedule. I now wait until the soil is completely dry, and the lower leaves show a slight, gentle give when softly squeezed.
- Pitfall 2: Ignoring the Signs of Light Hunger. When my aloe started leaning and stretching, I mistakenly thought it needed turning. It needed more light. Relocating it to a brighter spot stopped the etiolation. For severely stretched plants, beheading and replanting the top may be necessary.
- Pitfall 3: Using All-Purpose Fertilizer at Full Strength. This can cause salt buildup and root burn. I now only fertilize once in early spring with a heavily diluted, balanced formula, or use a specific succulent fertilizer.
Questions I Get Asked Most Often
How often should I water my aloe vera to maximize growth? There is no universal schedule. Water deeply only when the soil is 100% dry throughout. This could be every 10 days in hot, dry summers, or every 3-4 weeks in cooler, humid conditions. Always let the soil, not the calendar, guide you.
Why is my aloe vera not growing new leaves or pups? Stalled growth typically points to insufficient light, inadequate root space (pot is too large or too small), or incorrect watering. Review your light source first, then check if the plant is slightly root-bound, and finally, audit your watering technique. Nutrient deficiency is a less common cause if the plant is otherwise healthy.
Can I put my aloe in direct sunlight all day? While mature aloe vera can adapt to direct sun, sudden exposure can scorch it. For fastest, healthiest growth, provide bright, indirect light for most of the day with perhaps some gentle morning or late afternoon direct sun. Acclimate it slowly if moving to a sunnier spot to avoid leaf burn.
Watching my aloe vera’s growth rate transform was a lesson in patience and precision. It’s not about doing more; it’s about providing the right conditions consistently. By mastering the balance of intense light, infrequent but thorough watering, and a gritty, well-draining home, you give your aloe the foundation it needs to grow at its optimal, natural pace. The new leaf emerging after just two weeks was a small but powerful testament to that. Your thriving, fast-growing aloe is not a matter of luck, but of understanding and replicating the simple, desert-inspired conditions it loves.