bluename
 How to Choose Decorative Pots for Aloe Vera: A Plant Lover’s 2-Week Experiment
I’ve killed my fair share of aloe vera plants. It’s a humbling admission for someone who spends weekends at the nursery. The culprit was rarely the watering can or sunlight; it was almost always the pot. That beautiful, glazed ceramic pot I couldn’t resist? It became a swamp. The trendy, sealed concrete planter? A tomb for roots. If you’re wondering how to choose decorative pots for aloe vera, you’re already ahead of the game. The right container isn’t just about aesthetics; it’s the foundation of your plant’s health. Over the years, I’ve learned that selecting the perfect decorative pot for succulents like aloe vera requires balancing drainage, material, size, and style. To give you the most practical advice, I recently put three different decorative pots to the test with identical aloe pups, observing them closely for two weeks. Here’s what happened, the mistakes I made along the way, and exactly how you can avoid them.
Why Your Aloe Vera’s Pot Matters More Than You Think
Aloe vera is a succulent, storing water in its thick, fleshy leaves. In the wild, it thrives in arid, well-draining soil. The moment we place it in a pot, we control its entire environment. A poor choice leads to root rot—a silent, fast killer. According to the Royal Horticultural Society (RHS), excellent drainage is the single most critical factor for succulent health. The American Horticultural Society (AHS) further emphasizes that container material significantly impacts soil temperature and moisture retention. Simply put, a pot that looks good but functions poorly is a death sentence.
My 2-Week Pot Experiment: Setup and Criteria
I selected three healthy, similar-sized aloe vera offsets (pups) from a mother plant. Each was planted in the same high-quality cactus/succulent mix. The only variable was the pot.
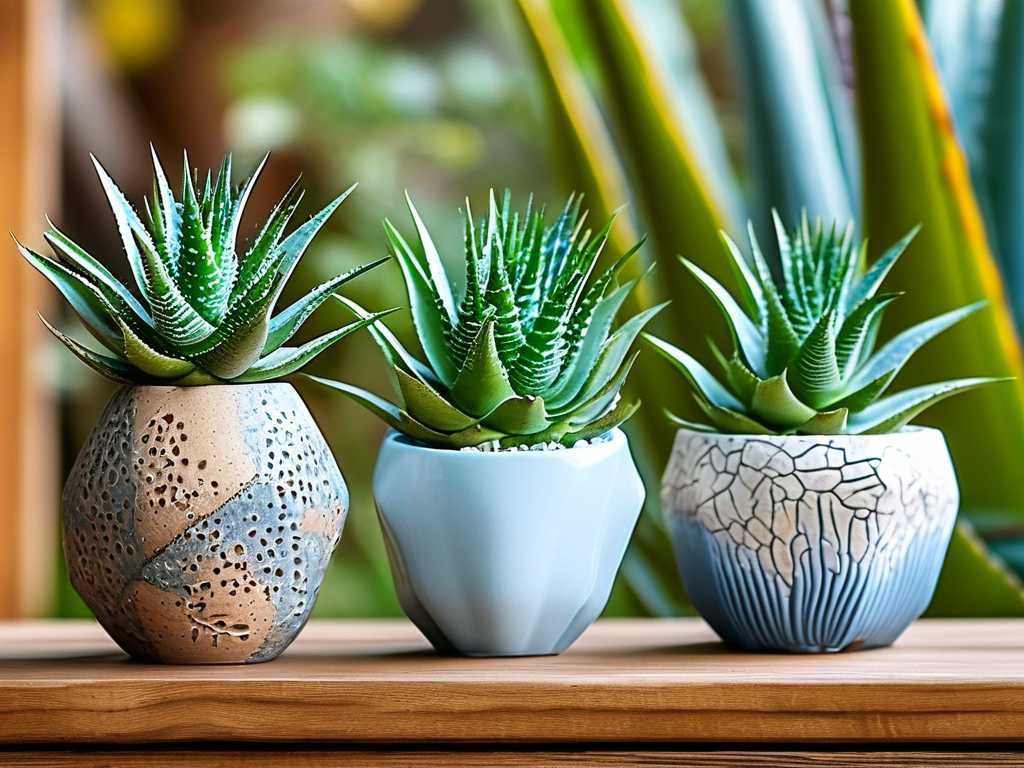
- Pot A: The Terracotta Classic. A standard, unglazed terracotta pot with a large drainage hole.
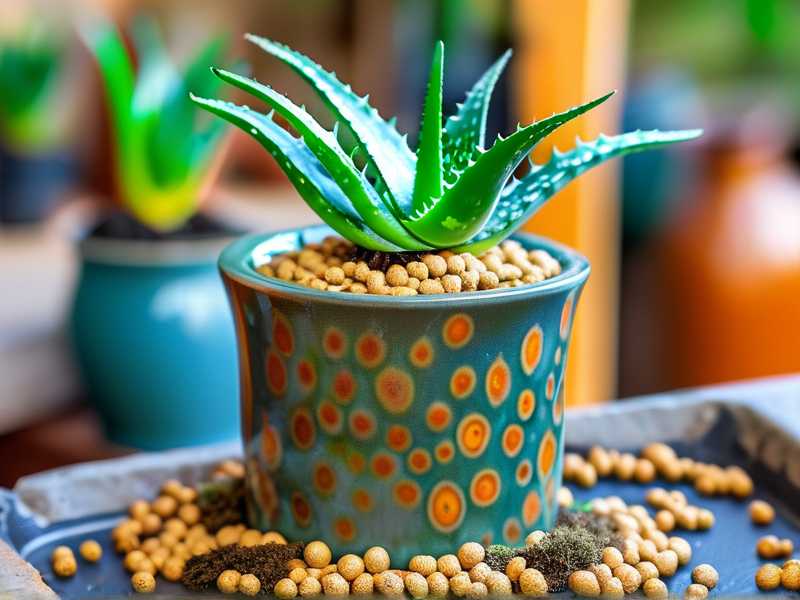
- Pot B: The Glazed Ceramic Beauty. A stunning, hand-painted ceramic pot with a single drainage hole.
- Pot C: The Modern Fiberglass “Cachepot”. A sleek, non-porous fiberglass planter with no drainage holes, used with a plastic nursery pot inside (a double-potting system).
My goal was to monitor moisture, root environment, and plant vitality over 14 days under identical light and temperature conditions.
The Non-Negotiables: What Every Aloe Pot Must Have
Before we get to looks, let’s talk function. These are my non-negotiable rules, forged from past failures.
Drainage Hole: The Non-Debatable Feature
This is the hill I will die on. A drainage hole is absolutely mandatory. Early in my plant journey, I thought a layer of pebbles at the bottom was a clever hack. It’s not. This simply creates a “perched water table,” trapping moisture above the rocks and around the roots—a phenomenon well-documented by horticultural scientists. My glazed ceramic pot (Pot B) only has one hole, which is the bare minimum. For safety, I always drill an extra hole or two.
- My Mistake & Fix: I once used a drill bit meant for wood on a ceramic pot. It shattered. I’ve since invested in a diamond-tipped hole saw bit for glass and ceramic, which works perfectly with slow, steady pressure and water for lubrication.
Material Science: How Pot Composition Affects Your Aloe
The pot’s material dictates how it “breathes.”
- Porous Materials (Terracotta, Concrete, Unglazed Clay): These are champions for aloe. They allow water and air to pass through their walls, promoting evaporation and preventing soil from staying soggy. My terracotta pot (Pot A) dried out the fastest, which is ideal for cautious waterers.
- Non-Porous Materials (Glazed Ceramic, Plastic, Fiberglass, Metal): These retain all moisture. While this can mean less frequent watering, it dramatically increases the risk of overwatering. You must have perfect drainage and be very disciplined.
Size and Proportion: Giving Roots Room Without Drowning Them
A common error is potting a small aloe in a huge, dramatic pot. Excess soil holds excess water, far from the roots’ reach, leading to decay. The RHS recommends choosing a pot that allows for about 1-2 inches of space between the root ball and the pot’s inner wall. Aloe prefers being slightly root-bound. Repot only when the plant becomes top-heavy or pups are bursting the seams.
The Aesthetic Balance: Finding Decorative Pots That Work
Now for the fun part—making it look good without compromising health.
Style and Color Coordination
Your pot should complement your aloe’s architectural form and your home’s decor. I lean towards neutral colors (whites, grays, earthy tones) or bold, solid colors that let the aloe’s green spikes and texture be the star. The glazed pot (Pot B) I used has a deep blue geometric pattern, which looks stunning against the green.
The Double-Potting (Cachepot) Solution
This is my secret weapon for using any decorative container, especially those without drainage. You keep your aloe in its functional, plastic nursery pot (with holes) and place it inside the decorative outer pot. It’s a game-changer.
- The Key Practice: Always empty the cachepot of any drained water 30 minutes after watering. This is the step I forgot once, and it led to a nasty case of fungus gnats. Pot C (the fiberglass cachepot) in my experiment relied on this method. It looked impeccable and allowed for perfect moisture control.
My 2-Week Observation Log and Results
Here’s what I observed day-by-day:
- Days 1-3: All plants settled in. Watered each thoroughly until water ran from the drainage holes (for A & B). For Pot C, I watered the inner plastic pot, let it drain completely in the sink, and then placed it back in the dry fiberglass cachepot.
- Days 4-7: Soil in the terracotta pot (A) was completely dry to the touch. The soil in the glazed pot (B) was still slightly cool and moist. The soil in the cachepot system (C) was similar to Pot B.
- Days 8-10: Aloe in Pot A showed no change—healthy and firm. Aloe in Pot B showed the very slightest softening at one lower leaf, a first sign of potential over-moisture. I immediately moved it to a sunnier, airier spot. The aloe in Pot C remained perfect because the inner pot had excellent air circulation.
- Days 11-14: Pot A’s aloe was ready for a light watering. Pot B’s aloe recovered after the soil finally dried out, firming back up. Pot C’s aloe continued to thrive with zero issues.
The Verdict: Terracotta (Pot A) was the most forgiving and effective. The cachepot system (Pot C) was the best for combining flawless style with ultimate control. The single-hole glazed pot (Pot B) required the most vigilance and would not be suitable for beginners or low-light areas.
Final Recommendations for Your Perfect Aloe Pot
- For Beginners: Start with unglazed terracotta. It’s affordable, breathable, and teaches you about your plant’s watering needs.
- For Style Enthusiasts: Embrace the double-potting method. You can use any beautiful container you love without worrying about drainage.
- For the Dedicated: If you find the perfect glazed or ceramic pot with a drainage hole, go for it. Just be prepared to water less frequently and ensure it gets plenty of light and airflow.
Addressing Your Top Questions
Can I use a pot without a drainage hole if I’m really careful? I strongly advise against it. It’s like driving without a seatbelt—you might be fine until you’re not. One heavy watering or a change in humidity can tip the balance. The double-potting method exists specifically to solve this dilemma. Use it.
How often should I repot my aloe vera? Typically every 2-3 years. Signs it’s time include: roots growing out of the drainage hole, the plant becoming so top-heavy it tips over, or the production of many pups crowding the pot. Spring or early summer is the best time to repot.
Is a deeper or wider pot better for aloe vera? Aloe vera has a relatively shallow, spreading root system. A wider, shallower pot is often better than a very deep, narrow one. This provides stability for the plant and prevents a large column of unused, wet soil at the bottom. Look for pots labeled as “succulent” or “cactus” pots, as they are often proportioned well.
Choosing the right decorative pot for your aloe vera is the most impactful decision you’ll make for its long-term health. It’s where science meets style. By prioritizing drainage, understanding materials, and using smart systems like cachepots, you can have a stunning, thriving plant that lasts for years. My two-week experiment confirmed that the extra thought you put into the container pays off in vibrant, problem-free growth. Now, go find that perfect pot—your aloe is waiting.