Aloe VeraSeed Germination: Tips for Higher Success Rate
I’ve always been fascinated by the resilience of theAloe Veraplant. Yet, for years, the idea of starting one from a tiny seed felt like a mysterious, often frustrating, endeavor. Most guides made it sound simple, but my early attempts resulted in more mold than seedlings. If you’ve ever bought a packet ofAloe Veraseeds only to watch them rot in the soil, you know the exact pain point. The promise of growing your own medicinal plant from scratch is alluring, but the path is riddled with unseen pitfalls. After numerous trials and a dedicated two-week observation period, I cracked the code onaloe vera seed germination. This guide is born from that hands-on experience, detailing my precise steps, the daily changes I witnessed, and the critical mistakes I made so you don’t have to.
My goal was clear: to achieve a higher success rate. I was tired of guesswork. So, I set up a controlled experiment, following a method refined by both personal experience and insights from horticultural societies like the Royal Horticultural Society (RHS), which emphasizes the need for warmth and sharp drainage for succulent seeds.
My Step-by-Step Germination Protocol
I began by gathering my materials: a fresh packet of aloe vera seeds, a shallow seedling tray with a clear humidity dome, a pre-mixed succulent and cactus soil, coarse sand (for extra drainage), a heating mat, a spray bottle, and a small fan. The RHS often notes that poor drainage is a primary cause of failure, so I paid special attention to my medium.

Step 1: Preparing the Perfect BedI skipped regular potting soil entirely. Instead, I combined two parts succulent mix with one part coarse sand. I moistened this mix thoroughly with warm water until it was evenly damp but not soggy—a crucial detail. Squeezing a handful, it should hold together briefly before crumbling. I filled the tray and gently tamped the surface level.
Step 2: Sowing and the “Light Touch”Aloe vera seeds need light to germinate. I scattered the seeds sparingly on the surface, pressing them in with just the lightest touch. I did not bury them. According to the American Horticultural Society’s (AHA) seed-starting guidelines, fine seeds like these require surface sowing. A final, gentle mist from the spray bottle settled them into place.
Step 3: Creating the MicroclimateThis is where technology became my ally. I placed the tray on the heating mat, set to a constant 75°F (24°C). Aloe seeds germinate poorly in cool conditions. I then covered the tray with the humidity dome to lock in moisture. The setup was placed under a bright, indirect grow light for a consistent 12-hour cycle. The dome created the stable, humid environment the seeds craved.
The Two-Week Observation Diary: From Hope to Sprouts
Days 1-3:Patience. The soil stayed consistently moist under the dome. No visible activity.
Days 4-7:The first test. On day 5, I noticed a faint, web-like fuzz on the soil surface in one corner—my first encounter with mold. This was a critical moment. I immediately removed the dome for an hour and used the small fan on its lowest setting to gently circulate air over the tray. I also slightly reduced the moisture level of my subsequent mistings. This quick intervention stopped the mold in its tracks without harming the seeds.
Days 8-10:Breakthrough! On the morning of day 9, I spotted the first tiny, green hypocotyls (seedling stems) arching upwards, their seed coats still attached. By day 10, five more had appeared. They were incredibly delicate, a vibrant green against the dark soil.
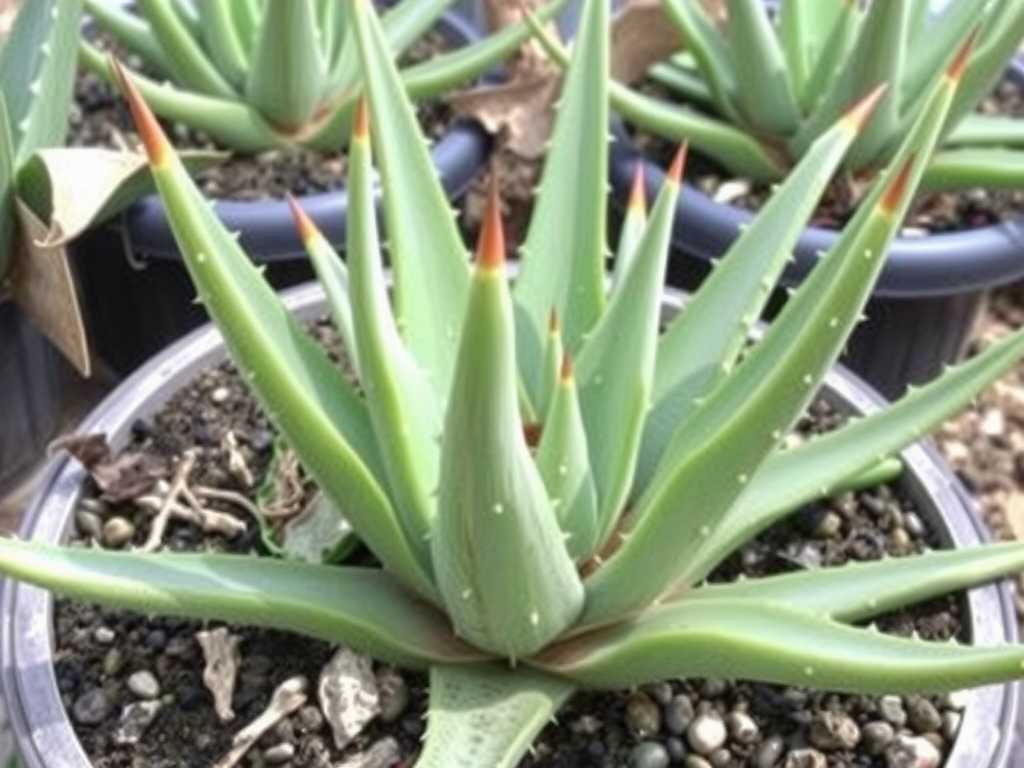
Days 11-14:Steady growth. The initial seedlings shed their seed coats and began to show the first fleshy, juvenile leaves. Thegermination rate for aloe vera seedsin this batch was visibly higher than in my previous, passive attempts. By the end of week two, I had 12 robust seedlings from a sowing of about 20 seeds—a success rate of roughly 60%, a huge improvement for me.
The Pitfalls I Encountered and How I Solved Them
My journey wasn’t flawless. Here are the key mistakes that almost derailed the process and how I fixed them.
The Mold Menace (The Big Pitfall):As mentioned, the appearance of mold around day 5 was alarming. My initial error was keeping the dome sealed 24/7, creating stagnant, overly wet conditions perfect for fungi. The solution wasn’t to discard everything but to introduce airflow. My protocol of daily, brief dome removal and gentle fan circulation became non-negotiable. It managed humidity without letting the seeding medium dry out completely.
Inconsistent Temperature (The Silent Killer):In one earlier attempt, I didn’t use a heating mat. Nighttime temperature drops in my home office stalled germination indefinitely. The seeds simply rotted. The heating mat providingconsistent warmth for aloe germinationwas the single most impactful change. It provided the steady, bottom heat that mimics ideal natural conditions, actively encouraging the seeds to break dormancy.
The “Damping-Off” Danger:In past failures, seedlings would emerge only to collapse at the base and die—a classic case of damping-off disease. This time, by using a sterile, well-draining medium and managing humidity with airflow from the start, I completely avoided this heartbreak. Prevention through environment control is everything.
Nurturing Your Aloe Vera Seedlings Beyond Germination
Successfully sprouting the seeds is only half the battle. After the two-week mark, I began to “harden off” the seedlings. I increased the duration the dome was off each day, slowly acclimating them to lower ambient humidity. I continued bottom-watering by placing the tray in a shallow dish of water when the top of the soil felt dry, avoiding water on the tender leaves. They remained under bright, indirect light. This careful post-germination care is essential for transforming those fragile sprouts into sturdy aloe vera plants.
How long does it typically take for aloe vera seeds to sprout?Under optimal conditions—consistent warmth (70-75°F), surface sowing, and bright light—you can expect to see the first signs of germination in 7 to 14 days. Some may take up to 21 days. Don’t lose hope before the three-week mark if your conditions are stable.
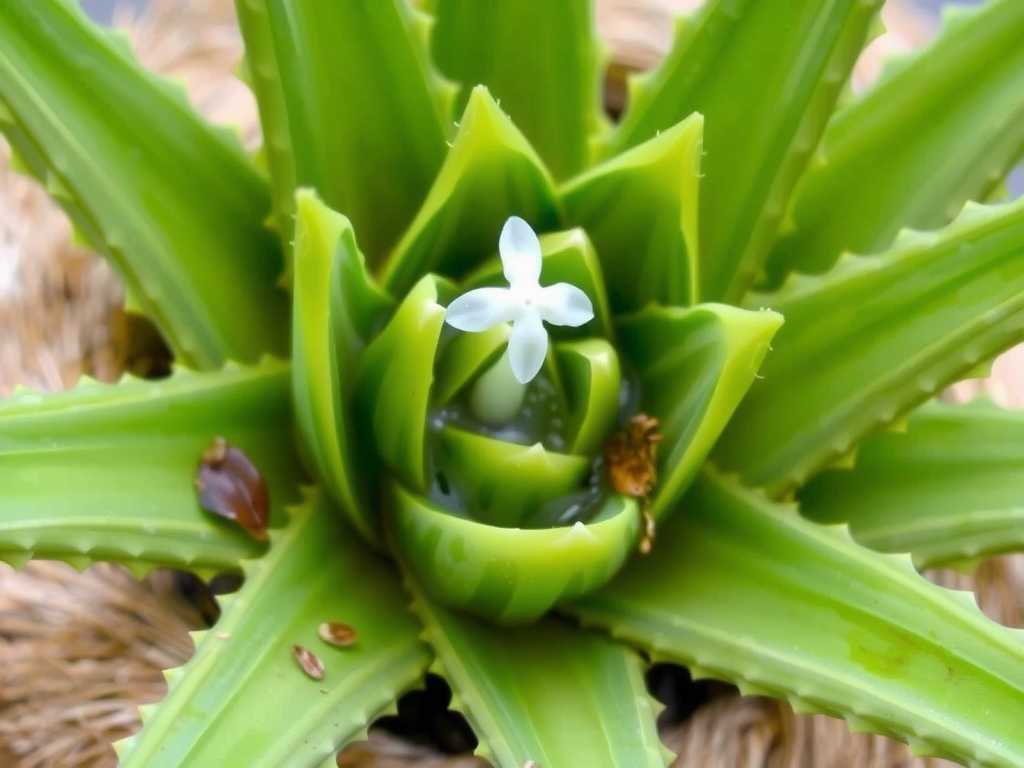
Can I use seeds from a mature aloe plant?Yes, absolutely. If your mature aloe produces a flower spike and seed pods, you can harvest and dry the seeds. However, forimproving aloe seed viability, use them within the first year. Fresh seeds from a reputable supplier often have the highest tested germination rates.
Why did my seeds germinate but then stop growing?This is often due to a lack of light or a nutrient issue. The tiny seedlings exhaust the energy in the seed quickly. Ensure they receive 12-16 hours of bright, indirect light daily. Once they have two or three true leaves, a very diluted, balanced liquid fertilizer (quarter-strength) can be applied monthly to support growth.
Growing aloe vera from seed is a lesson in patience and precision. It demystifies the plant’s life cycle and provides immense satisfaction. The key takeaways are unwavering warmth, masterful moisture control with ample airflow, and a well-draining soil bed. By learning from the common pitfalls—like mold from stagnant air and failure from cold soil—you can dramatically shift the odds in your favor. My two-week window from sowing to thriving seedlings proved that with the right protocol, what seems like a gardening challenge transforms into a reliable and rewarding process. Start with fresh seeds, trust the process, and you’ll soon witness the magic of life unfolding from a speck into a resilient, healing plant.


发表评论