How to AdjustAloe VeraFeeding for New Growth: My 2-Week Experiment to Revive a Stagnant Plant
I stared at myAloe Vera, a once-vibrant cluster now looking dull and stubbornly still. For months, it showed no signs of new growth, just existing in its pot. I knew aloes were low-maintenance, but this felt like a standoff. The common advice is to "neglect them," but what if the issue is silent hunger? That’s when I decided to dive deep intohow to adjustAloe Verafeeding for new growth. This wasn't about overfeeding; it was about strategic, precise nutrition to trigger its natural growth cycle. Here’s my complete journey from diagnosis to the first promising new spear.
Understanding the "Why" Before the "How"

My first step was research. According to the Royal Horticultural Society (RHS), aloe vera growth stalls primarily due to inadequate light, incorrect watering, or nutrient deficiency in depleted soil. My plant got plenty of indirect light, and I was careful with water. The culprit? It had been in the same potting mix for over two years. The soil was essentially inert. The American Horticultural Society (AHS) notes that while aloes are light feeders, they do benefit from occasional, mild fertilization during active growth periods to supporthealthy aloe vera development. My goal became clear: to carefully stimulate growth without causing the root burn or soft growth associated with improper feeding.
My Step-by-Step Feeding Adjustment Protocol
I committed to a two-week observation period, starting with a full plant assessment and a very gentle feeding approach.
Week 1: Assessment and the First Gentle Nudge
Day 1: The Diagnosis and Soil Check I gently tipped the plant out of its pot. The roots were pale but firm—no rot, thankfully. The soil was dry and crumbly, confirming my suspicion of nutrient depletion. I carefully brushed away the old soil from the roots, inspecting for any damage. This was a critical first step; feeding a plant with root issues is a recipe for disaster.
Day 2: Repotting with a Nutrient-Boosted Base Instead of plain cactus mix, I created a fortified base. I used a well-draining cactus and succulent soil as my foundation. To this, I mixed in a handful of worm castings—a gentle, organic source of nutrients that wouldn’t burn roots. This provided a slow-release nutrient base. Repotting into a container only slightly larger than the root ball minimized moisture retention risk.
Day 3: The Initial Feeding Application Here was the key adjustment. I used a balanced, water-soluble fertilizer labeled for succulents (a 1-1-1 or 2-2-2 NPK ratio). The golden rule forfertilizing aloe vera plants effectivelyis dilution. I took the recommended dose and diluted it tohalf-strength, or even a quarter. My mantra: "Weakly, weekly" during active growth, but I planned to start with just one feeding to gauge response. I watered the newly potted aloe thoroughly with this diluted solution until it drained from the bottom, ensuring even root contact.
Days 4-7: Observation and Environmental Optimization I placed the plant back in its bright, indirect light spot. I resisted the urge to water or feed again. My job was to observe. I looked for any signs of distress—yellowing, browning tips, or softening. Thankfully, none appeared. The plant maintained its color and firmness.
The Pitfall I Encountered and How I Solved It
Midway through the first week, I noticed a few lower, outer leaves starting to soften slightly. Panic set in—was it overwatering from the repotting soak, or a reaction to the feed? Upon closer inspection, I realized these were the oldest leaves. I recalled advice from the AHS about plant prioritization. The plant was likely reallocating minimal energy and resources from these mature leaves to support potential new root and growth point activity. Instead of intervening with more water, I simply removed these two softening leaves at the base with a clean knife. This prevented any potential decay from spreading and helped the plant focus its energy. It was a lesson in patience and trusting the process.
Week 2: Signs of Life and Consolidation
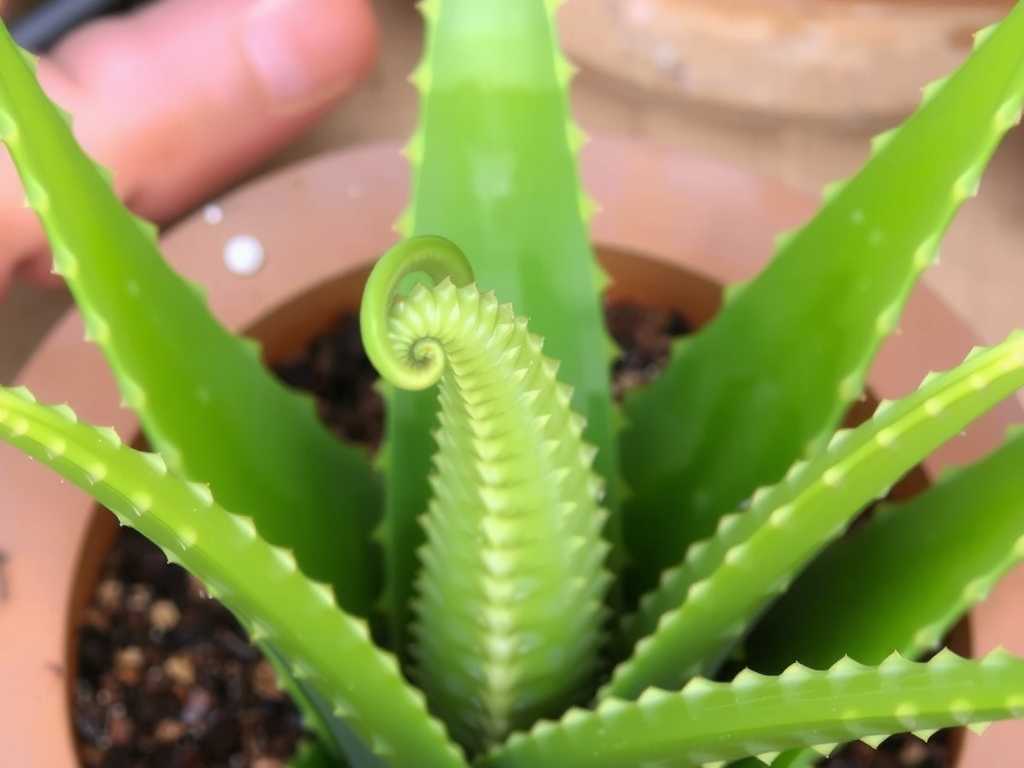
Days 8-10: The First Hint of Change Around the tenth day, I examined the central growth point (the "heart") of the main rosette. There it was—a tiny, lighter green nub emerging from the center. It was unmistakablynew aloe vera growth. This was the breakthrough. The plant was responding to the fresh soil, mild nutrients, and stable environment.
Days 11-14: Supporting the Momentum With a new spear emerging, my focus shifted to consolidation. I did not apply more fertilizer. The initial feeding and worm castings were meant to sustain it for several weeks. I ensured it received consistent, bright light and allowed the soil to dry out completely before even considering a plain water drink. The new growth, though small, grew firmer and slightly taller each day.
Key Takeaways from My 2-Week Feeding Experiment
- Start with Soil, Not Bottle:The most crucial "feeding" adjustment might be refreshing the growing medium. Organic amendments like worm castings provide a safe, slow-release nutrient bed.
- Dilution is the Solution:For liquid feeds, half-strength or less is the safest bet for aloe vera. Their roots are highly sensitive to mineral salts.
- Feed the Growth Cycle, Not the Calendar:Fertilize only when the plant is actively growing (typically spring/summer) and shows a readiness, not as a scheduled task.
- Observe Relentlessly:The plant communicates. Softening old leaves can be a natural shedding process, not always a crisis. Distress signals like rapid yellowing or black spots require immediate cessation of feeding.
Frequently Asked Questions
Can I use houseplant fertilizer on my aloe vera?You can, but with extreme caution. Standard houseplant fertilizers are often too strong and nitrogen-heavy, promoting weak, leggy growth that is prone to rot. Always choose a fertilizer formulated for cacti and succulents, and dilute it more than the label suggests. When in doubt, underfeed.
How often should I fertilize aloe vera for pups (offshoots)?The process is similar. Feed the mother plant lightly at the start of the growing season to support its energy for producing pups. Once pups are a decent size (about one-third of the mother), you can separate them and apply the same gentle feeding protocol to the new, potted offsets to encourage their independent root growth.
My aloe turned brown after feeding. What did I do wrong?This is likely fertilizer burn, caused by excessive salt concentration damaging the roots. Immediately stop all feeding. Flush the soil thoroughly with several pots' worth of clean water to leach out excess salts. Ensure excellent drainage and place the plant in stable, indirect light. It may recover, but the burned leaves will not turn green again.
Seeing that first emerald green tip break through was immensely rewarding. Adjusting aloe vera feeding isn't about force-feeding; it's about understanding its subtle language and providing the gentlest possible support at the right time. By refreshing the soil, applying a severely diluted feed only during active growth, and committing to patient observation, you can successfully encourage new growth without compromising the hardy, resilient nature of this wonderful plant. The journey from stagnation to that first new spear is a lesson in less being more.

发表评论