How to GrowAloe Verain a Community Garden: My Hands-On Journey from Planting to Harvest
I remember the exact moment I decided togrowAloe Verain a community garden. I was tired of buying expensive, store-bought gels with questionable additives, and my sunny apartment windowsill was already overflowing with succulents. The idea of having a fresh, sustainable source of this healing plant was incredibly appealing. But moving from a private pot to a shared public space? That came with a whole new set of challenges. If you're considering starting your ownAloe Veragarden plot, this is my detailed, two-week chronicle of what worked, what failed, and how you can succeed.
Understanding the Aloe Vera Plant and Community Dynamics
Before I even touched a trowel, I did my homework. Aloe vera (Aloe barbadensis miller) is a succulent that thrives on neglect—perfect for a gardener who can only visit a few times a week. But theRoyal Horticultural Society (RHS)emphasizes that its one non-negotiable need is excellent drainage. Soggy soil is a death sentence.

In a community garden, you're not just gardening with plants; you're gardening with people. I needed a spot that got at least 6-8 hours of direct sun, was away from overhanging trees or tall plants that might cast shade, and had easy access for watering. I introduced myself to the garden committee, outlined my plan, and secured a 4x4 foot raised bed. This was crucial for controlling the soil quality, a point often underscored by gardening experts.
My Step-by-Step Planting Process
Week 1, Day 1: Preparation and Planting
My goal was to create the perfectwell-draining soil mix for aloe vera. I followed a trusted recipe:
- 40% coarse sand or perlite
- 40% high-quality potting mix
- 20% compost (from the garden's own pile, screened for fine texture)
I filled my raised bed with this mix, creating a slight mound to further encourage runoff. I had purchased two healthy, mature aloe pups (offshoots) from a local nursery. Each had several plump leaves and a strong root system.
Here was my first potential pitfall: watering immediately. I didn't. Instead, I let the raw ends of the stems callous over for 24 hours after separating them from the mother plant. This step prevents rot. I then planted them, burying just the base and the roots, ensuring the lowest leaves were above the soil line. I gave the surrounding soil a very light mist to settle it but avoided watering the plant itself.
Days 2-7: The Initial Watch
For the first week, I resisted the urge to water. This was tough! The sun was bright, and the leaves looked so thirsty. But I trusted the process. I visited every other day to check for signs of distress—squishy, discolored leaves would mean rot; severely wrinkled leaves would mean it was time for a drink. Neither happened. The plants stood firm, a little duller in color perhaps, but stable. This initial dry period is critical for forcing the roots to seek out moisture and establish themselves.
The Two-Week Observation: Triumphs and Troubles
Week 2, Day 8: The First Watering and a Surprise
After a full week, the soil was completely dry several inches down. I gave the plants their first thorough, deep watering early in the morning, directing water to the soil, not the leaves. The goal was to mimic a rare, heavy desert rain. The drainage was impeccable; water flowed freely out the bottom of the raised bed. Success!
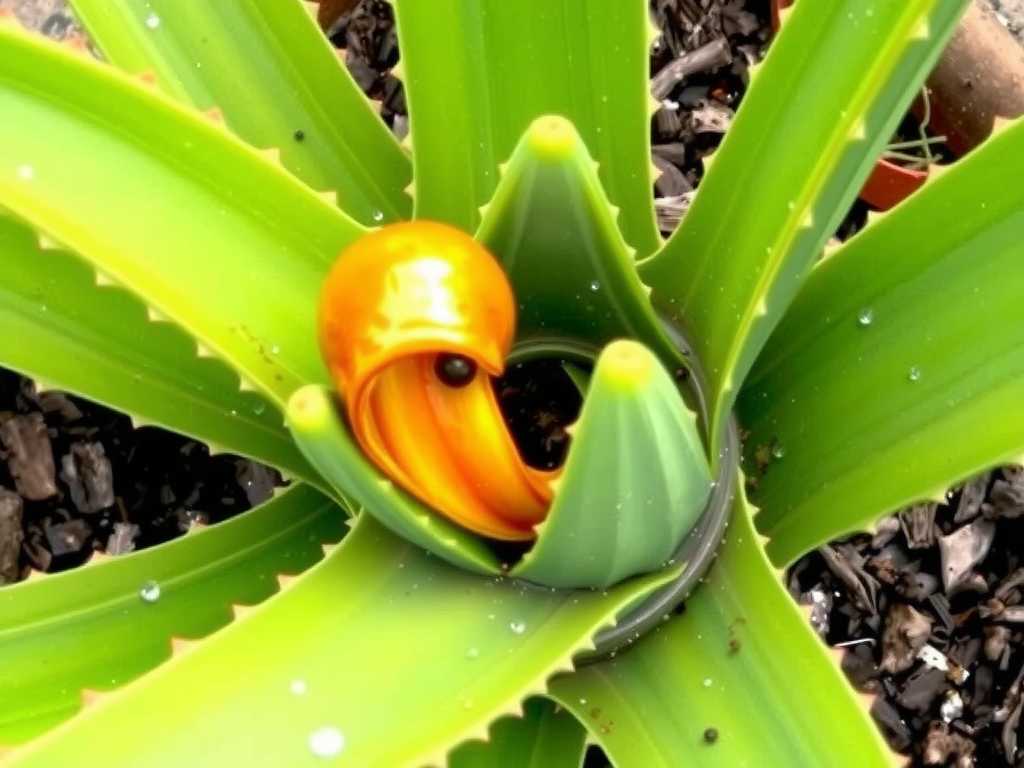
Later that day, however, I noticed a few small, irregular holes on one outer leaf. Pest inspection 101: I found a couple of sluggish snails hiding under the lip of the bed. This is a common issue in lush community gardens. My solution was simple and organic: I created a protective ring of crushed eggshells (saved from my kitchen) around each aloe plant. The sharp edges deter the soft-bodied snails without introducing harmful chemicals to the shared environment.
Days 9-14: Establishment and Growth
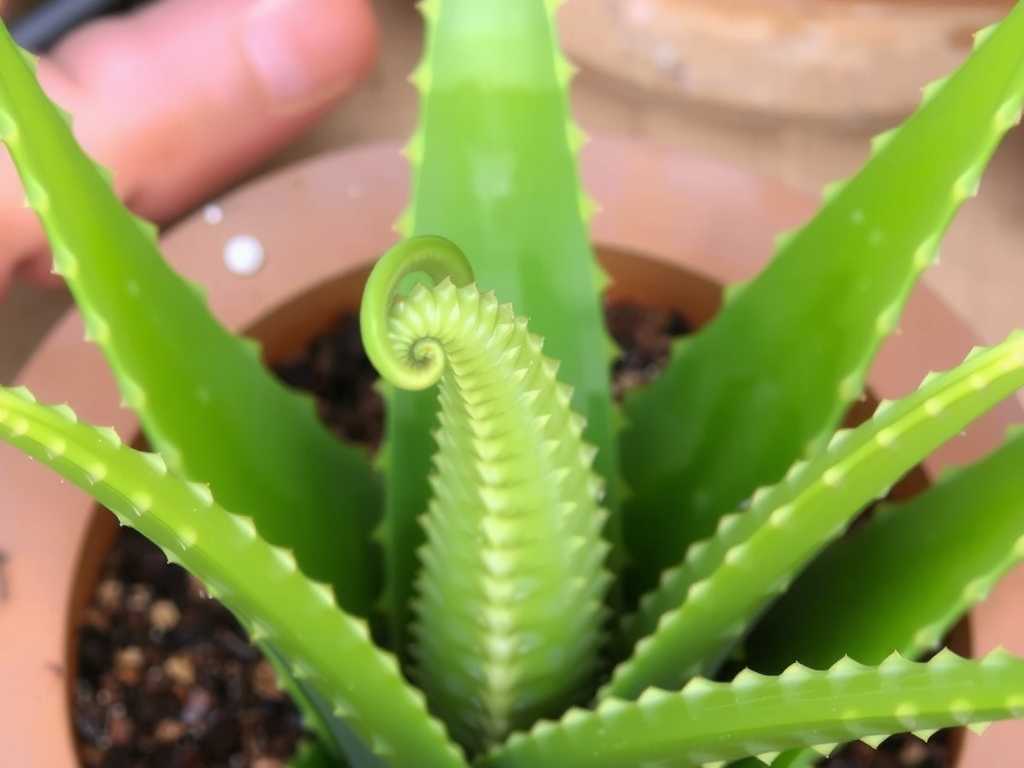
With the snail issue resolved, the next week was about observation. The aloe plants began to perk up visibly. Their grey-green color deepened, and the leaves felt turgid and full. A subtle, new growth point became visible at the center of each plant. They were officially established.
I continued a strict watering regimen: only when the soil was bone-dry. In those two weeks, I watered only twice. TheAmerican Horticultural Society (AHS)notes that overwatering is the single biggest cause of aloe vera failure, especially in non-native environments. My raised bed and custom soil mix were proving their worth.
Key Lessons and Solutions from My Experience
- The Soil is Everything:You cannot compromise on drainage. My custom mix was the foundation of my success. In a traditional in-ground community plot, I would have had to amend the soil heavily or build a mound.
- Patience with Water:New gardeners kill with kindness. Aloe vera's water needs are minimal. A moisture meter is a cheap and invaluable tool for removing the guesswork.
- Community Considerations:Be mindful of your plants' impact. Aloe can grow quite large. I planned to regularly harvest and share pups with other gardeners to manage size and foster goodwill. The eggshell solution for pests was safe and appreciated by my gardening neighbors.
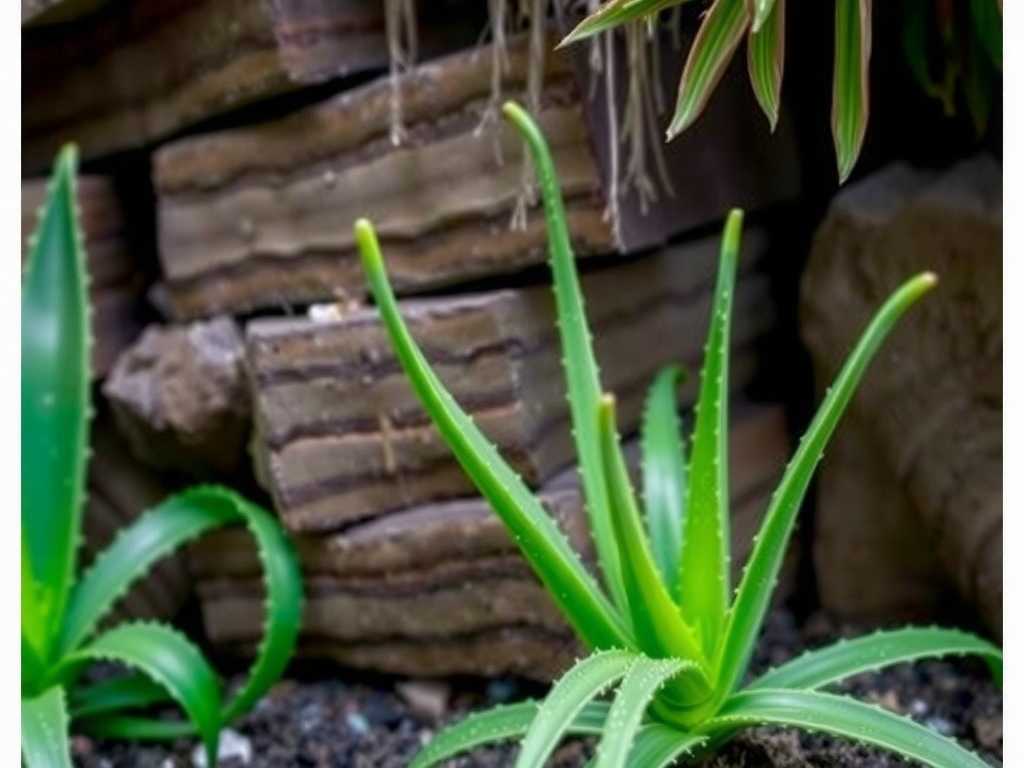
- Sunlight is Non-Negotiable:I watched the sun pattern for a few days before choosing my plot. Even partial shade from a neighboring tomato plant can lead to etiolation—stretching and weakening of the leaves.
Frequently Asked Questions
Can I grow aloe vera from a leaf cutting?While often attempted, propagating from a single leaf is notoriously difficult and has a very low success rate. The leaf tends to rot before it roots. The reliable method is to use the "pups" or offshoots that grow from the base of a mature plant, as they already have the beginnings of a root system.
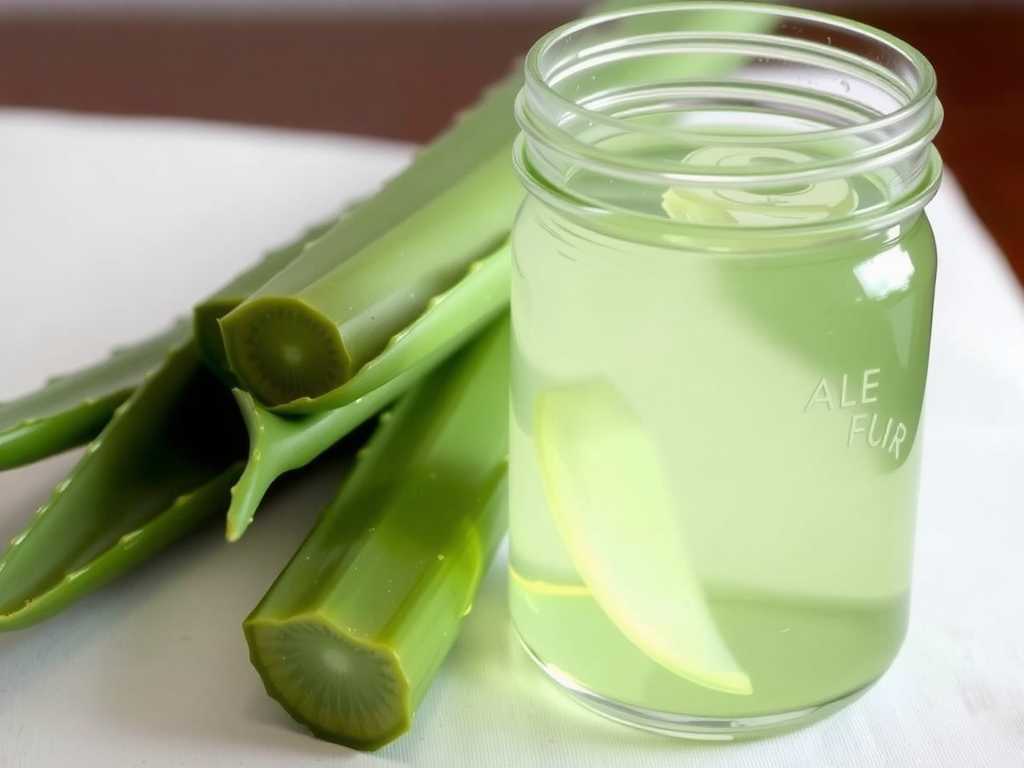
How do I harvest aloe vera gel without harming the plant?Always choose a mature, outer leaf. Using a clean, sharp knife, cut the leaf as close to the base as possible. You'll notice a yellow sap (aloin) seep out; let the leaf drain upright for 10-15 minutes, as aloin can be a skin irritant. Then, slice off the serrated edges, fillet the leaf to remove the green rind, and scoop out the clear gel.
What do I do with my aloe plant in the winter?This depends on your climate. In zones 9-11, it can often stay outside. In colder areas, if your community garden allows it, you can carefully dig up the plant and pot it to overwinter indoors on a sunny windowsill. Reduce watering significantly during its dormant period.
Growing aloe vera in a shared space has been immensely rewarding. It provided a tangible connection to a natural remedy, sparked conversations with fellow gardeners, and taught me the value of tailored preparation. By focusing on perfect drainage, practicing watering restraint, and being a considerate community member, you can cultivate a thriving patch of this versatile plant. The fresh gel I harvested after a few months was more rewarding than any product from a store shelf. Start with a strong foundation, observe more than you interfere, and your community garden aloe will not just survive, but flourish.

发表评论