How to GrowAloe Verain a Tiny House: My Space-Saving Success Story
Living in a tiny house has taught me the art of maximizing every square inch. I love greenery, but for years, I thought serious indoor gardening was off the table. Then I discovered thathow to growAloe Verain a tiny houseisn't just possible—it's incredibly rewarding. This resilient succulent became my perfect tiny house companion, offering beauty, utility, and a surprising sense of spaciousness. But my journey wasn't without its lessons. If you're struggling with limited space and a desire for homegrown plants, let me walk you through my real-world, two-week experiment that turned my compact living area into a thriving aloe nursery.
WhyAloe Verais the Ultimate Tiny House Plant

Before we get into the dirt, let's talk about why aloe vera is a match made in heaven for small-space living. According to the Royal Horticultural Society (RHS), aloe vera is praised for its tolerance of neglect and low water needs. It doesn't demand a sprawling garden; it thrives in containers. For us, thetiny house indoor gardeningenthusiasts, this is key. Its vertical growth habit means it uses footprint efficiently, growing upward rather than outward. Plus, the practical benefits are immense—having a fresh, natural first-aid kit for minor burns and skin irritations right on your windowsill is a game-changer.
My Step-by-Step Setup: From Pot to Placement
I started with a clear plan. I knew that success in a confined space hinges on getting the fundamentals right from day one.
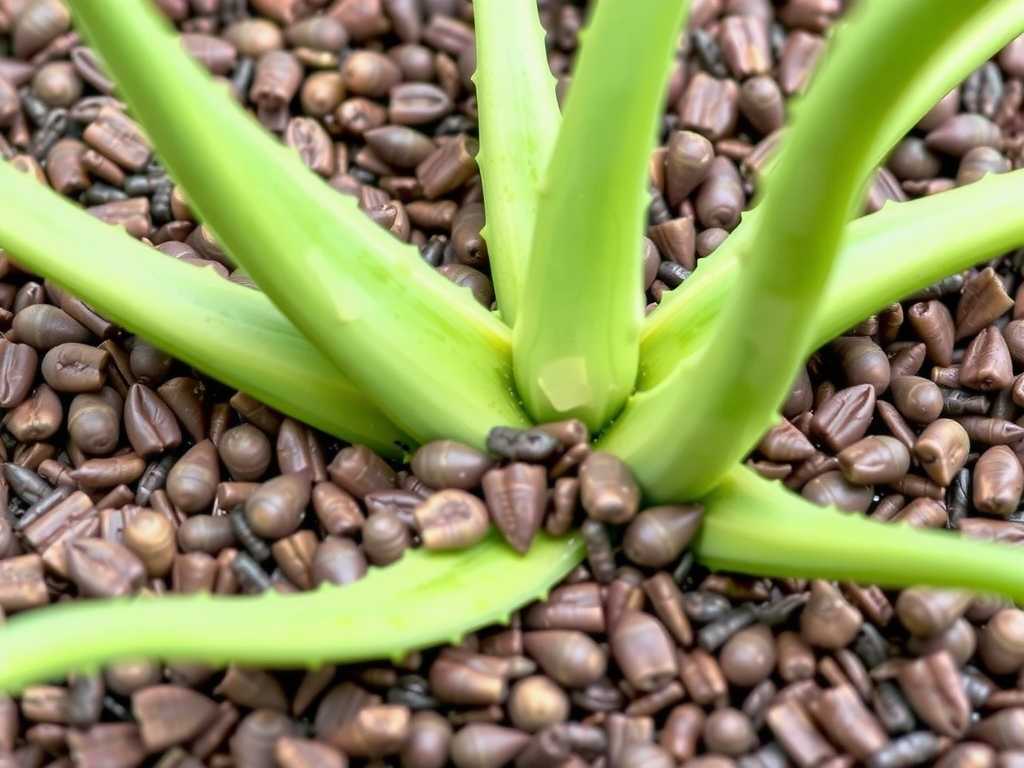
Choosing the Right Container and SoilI opted for a terracotta pot, roughly 8 inches in diameter. Terracotta is porous, allowing the soil to dry out more evenly—a crucial factor in preventing root rot. The pot had a large drainage hole; this is non-negotiable. For soil, I bypassed standard potting mix. Aloe needs excellent drainage. I used a specializedcactus and succulent potting mix, which is gritty and fast-draining. I filled the pot about one-third full, ready for the plant.
Selecting and Planting the Aloe PupI sourced a healthy, medium-sized "pup" (a baby plant) from a local nursery. I gently brushed away the old soil from its roots, checking for any signs of mushiness or pests—all clear. I placed the aloe in the center of the new pot, adding more soil around it until the base of the stem was just covered. I did not water it immediately. Experts at the American Horticultural Society (AHS) recommend waiting 5-7 days after repotting to water, allowing any disturbed roots to heal and prevent rot. I placed the pot on a saucer and set it aside in a bright spot, but out of direct sun for the first few days.
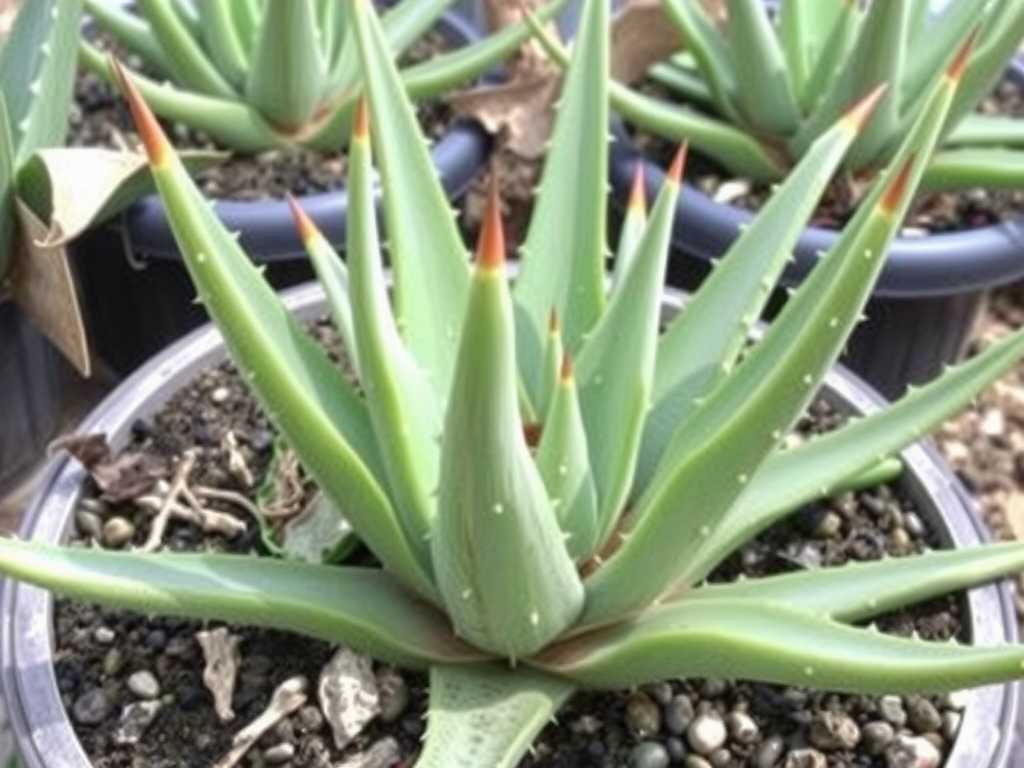
Mastering the Art of Light in a Small SpaceLight is the currency ofgrowing plants in small spaces. My tiny house has a south-facing window, which is ideal. Aloe vera craves bright, indirect light. Direct, harsh afternoon sun through a small window can actually scorch the leaves. I found the perfect spot about two feet back from the window sill, where it gets a full day of bright, filtered light. For those without ideal natural light, a simple, compact grow light for 12-14 hours a day works wonders.
The First Crucial Two Weeks: Observation and Adjustment
This is where the real learning happened. I committed to daily check-ins, treating it like a mini science project.
Week 1: The Settling-In PeriodDays 1-3: The aloe looked stable, but a few lower leaves seemed slightly softer. This is normal post-transplant stress. I resisted the urge to water. Day 4: I noticed the soil was completely dry to the touch several inches down. Following the AHS guidance, I gave it its first thorough watering. I used the "soak and dry" method: pouring water evenly until it freely ran out the drainage hole into the saucer. After 15 minutes, I emptied the saucer completely. This ensures the roots get moisture without sitting in water. Days 5-7: The plant perked up visibly. The previously soft leaves firmed up. New growth wasn't apparent yet, but the color was a deep, healthy green.
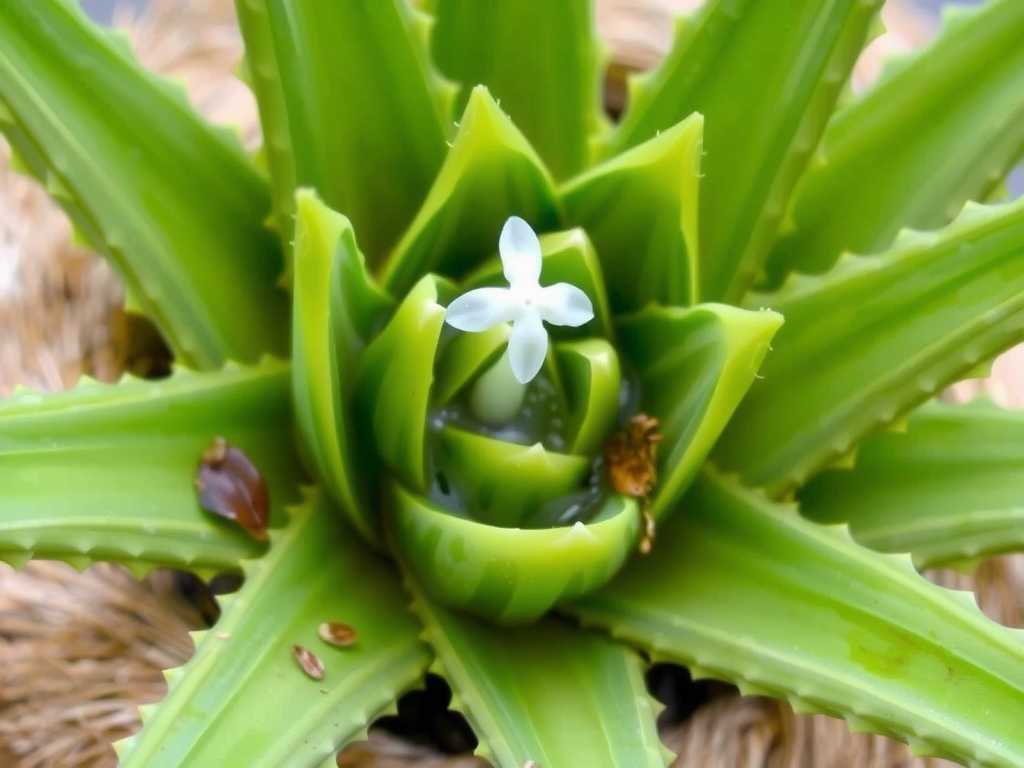
Week 2: Growth and a Minor ScareDays 8-10: I saw the first sign of new life—a tiny, pale green nub emerging from the center! This was thrilling. However, I also noticed the very tips of two older leaves were turning a thin, brown color.The "Pitfall" and My Solution:I panicked, thinking it was disease. After some research (and remembering RHS advice on arid plants), I diagnosed it as a slight mineral burn from tap water and possibly low humidity from being near the window. My fix was simple: I started using filtered water for watering. I also lightly misted the air around the plant (not the leaves directly) every other morning to slightly boost humidity. I moved the pot an inch further from the glass. Days 11-14: The browning stopped progressing. The new central growth became more pronounced, unfurling slowly. The plant's overall posture was upright and robust. My watering schedule settled into a pattern: a deep soak only when the soil was completely dry, which, in my warm, sunny spot, was about every 10 days.
Essential Tiny HouseAloe Vera CareRoutines
My two-week deep dive established routines that I still follow.
Watering Wisdom: Less is Truly MoreOverwatering is the fastest way to kill an aloe. My rule is simple: when in doubt, wait it out. I stick my finger into the soil up to the second knuckle. If it's dry, it's time to water. In the cooler, dimmer months of mysmall home gardeningjourney, this might stretch to 3-4 weeks.
Feeding for SuccessAloe isn't a heavy feeder. I use a balanced, diluted liquid fertilizer (half-strength) only once in the spring and once in mid-summer. This provides enough nutrients for healthy growth without encouraging a spurt that my space can't accommodate.
Managing Growth and HarvestingPart ofaloe vera small space careis controlling its size. When my plant produced new pups, I let them grow until they were about one-third the size of the mother plant. Then, I carefully removed them during a repotting session, potted them in their own small containers, and gifted them to friends—a tiny house-friendly way to share the joy! To harvest gel, I always select a mature, outer leaf. I cut it cleanly at the base with a clean knife and slice it open lengthwise to scoop out the clear gel.
Troubleshooting Common Tiny House Issues
Even in two weeks, I encountered and solved potential problems.
Leggy or Pale Growth:This means not enough light. The solution in a tiny house is to relocate to a brighter spot or introduce a small, energy-efficient grow light.Soft, Mushy Leaves:This is the dreaded overwatering. Stop watering immediately. Check if the pot drains properly. In severe cases, you may need to unpot the plant, remove rotten roots, and repot in fresh, dry soil.Brown Leaf Tips:As I experienced, this can be due to water quality, dry air, or a tiny buildup of fertilizer salts. Flush the soil with filtered water every few months and adjust placement.
Your Questions, Answered
Can I grow aloe vera in a tiny house with no south-facing window?Absolutely. While bright, indirect light is best, aloe is adaptable. An east or west-facing window can work. The key indicator is the plant's color. If it's deep green and growing slowly, it's fine. If it stretches out and turns pale, it needs more light—consider a supplemental grow light, which is perfect for controlledtiny house indoor gardening.
How often should I really repot my aloe in a small space?Aloe likes to be slightly root-bound. You only need to repot every 2-3 years, or when you see roots growing out of the drainage hole. Upsize the pot by only 1-2 inches in diameter to avoid excess soil holding too much moisture.
Is it safe to use aloe gel straight from the plant?Yes, for topical use on minor burns and skin irritations, it is generally safe and effective. Always do a patch test on a small area of skin first to check for allergies. Use the clear inner gel, avoiding the yellow latex (aloin) near the leaf skin, which can be irritating.
Growing aloe vera in my tiny house has been more than just a gardening project; it's been a lesson in mindful living. It taught me to observe closely, intervene minimally, and appreciate how even the smallest spaces can support life and provide practical benefits. By choosing the right container, mastering the soak-and-dry watering method, and finding that sweet spot for light, you can cultivate a thriving aloe plant that purifies your space, soothes your skin, and proves that you don't need a big backyard to have a green thumb. Start with one plant, follow these steps, and watch your own compact oasis grow.


发表评论