How to FixAloe VeraThat’s Not Flowering: A 2-Week Rescue Mission from a Frustrated Plant Parent
I’ve always been proud of my thrivingAloe Veracollection. Their plump, soothing leaves have been a constant source of green joy. But for years, one question nagged at me: why won’t myAloe Veraflower? I saw stunning photos of tall, torch-like blooms, yet mine remained stubbornly bloomless. If you’re in the same boat, feeling like you’re missing out on this plant’s full potential, you’re not alone. Getting an aloe vera to flower indoors is a common challenge, but it’s absolutely achievable. This guide is the result of my own hands-on, two-week intensive intervention to finally coax a bloom from my mature, yet stubborn, aloe plant. I’ll walk you through exactly what I did, what happened, and the pitfalls I navigated along the way.
Understanding the "Why" Before the "How"

First, let’s manage expectations. According to the Royal Horticultural Society (RHS), aloe vera (Aloe barbadensis miller) rarely flowers when kept as a typical houseplant. It needs specific, mimic-able conditions to trigger its reproductive cycle. My plant was healthy but treated like a simple succulent—adequate light, sporadic water, and the same pot for years. For flowering, "adequate" isn't enough. The core issues usually boil down to light, maturity, seasonal cycles, and nutrition.
My Plant's Starting Point and the Game Plan
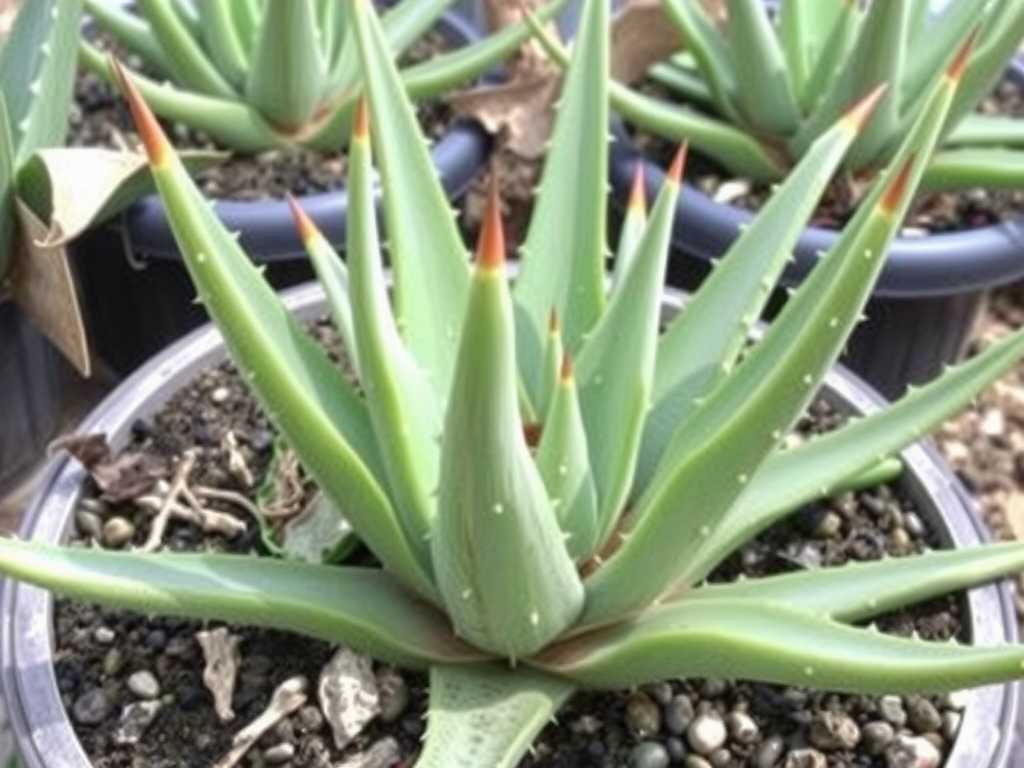
My subject was a five-year-old aloe vera in a 10-inch pot. It had numerous pups but had never sent up a single flower spike. My two-week plan wasn’t about forcing an immediate bloom, but about shocking the plant out of its vegetative comfort zone and correcting long-term neglect. True flowering might take a season, but these initial steps are critical.
Week 1: The Environmental Overhaul
My focus for the first seven days was on correcting the two biggest factors: light and temperature.
Maximizing Light ExposureMy aloe sat in a south-east facing window, getting about 4 hours of direct morning sun. I learned that for flowering, aloes often need the intensity of full, direct sun for most of the day. As per the Arizona-Sonora Desert Museum’s expertise on desert plants, these succulents are adapted to brutal sun exposure.
My action was drastic. I moved the plant to my brightest, south-facing window, where it now received a solid 6-8 hours of direct sunlight. I also carefully wiped every leaf with a damp cloth to remove dust, maximizing its light absorption capacity. This was day one.
The First Pitfall and Fix: SunburnBy day three, I noticed a disaster. The leaves that were most exposed had developed pale, brownish patches. I had moved it too abruptly! The plant wasn’t acclimated to such intense light. My fix was immediate but careful. I used a sheer curtain to diffuse the strongest midday sun for the next four days, creating a "partial shade" environment. This allowed the plant to harden off gradually. By day seven, I removed the curtain. The plant looked slightly stressed but was adjusting, with a more reddish tinge to the leaves—a sign of increased anthocyanin production, a natural sunscreen.
Introducing a Temperature DropAloes often flower after a period of cooler temperatures or a slight stress. I read that a differential between day and night temperatures can signal the change of seasons. Starting on night one, I made sure the room temperature dropped to around 55-60°F (13-15°C) by cracking the window at night. Daytime temperatures were a warm 75-80°F (24-27°C). This 15-20 degree swing was my attempt to simulate desert nights.
Week 2: Refining Care and Nutrition
With the environment stabilizing, week two was about precise watering and feeding.
The Watering Rhythm ShiftI had always watered "when the soil was dry," which was inconsistent. For flowering, I adopted a "soak and desert-dry" method. On day eight, I gave the plant a thorough watering until water ran freely from the drainage holes. Then, I committed to letting the soil dry out completely—not just on the surface, but all the way through the pot. I used a moisture meter to be sure. This cycle of deep water followed by prolonged drought mimics the natural rainfall patterns of its habitat and stresses the plant just enough to encourage reproduction.
Strategic Fertilization: Less is MoreHere was my second big mistake. In my enthusiasm, I almost reached for a high-phosphorus "bloom booster" fertilizer. Research from horticultural experts stopped me. Aloes are adapted to nutrient-poor soils. A strong, nitrogen-rich fertilizer promotes leafy growth, not flowers. A mild, balanced, or low-nitrogen fertilizer is key.
On day ten, I applied a half-strength dose of a balanced liquid succulent fertilizer (5-5-5 NPK). I made sure the soil was slightly damp first to avoid root burn. This single, gentle feeding was intended to provide micro-nutrient support without overwhelming the plant.
Rootbound: A Blessing in Disguise?I inspected the root system. The plant was moderately rootbound. While repotting is usually good, for a flowering trigger, being slightly pot-bound can actually stress the plant beneficially, directing energy away from root expansion. I decided not to repot, avoiding further disruption. However, I carefully removed three large pups to reduce competition for resources, a tactic often recommended to channel the plant's energy upward.
The 2-Week Observation: Signs of Change
After 14 days, my aloe vera was not flowering. And that’s perfectly normal. The goal was to set the stage. The observable changes, however, were promising:
- Color and Posture:The plant had a more compact, upright posture. The leaves developed a healthier, slightly stress-tinted hue (reddish edges) instead of plain green.
- Leaf Texture:The leaves felt firmer and denser, a sign of good water storage following the deep watering cycle.
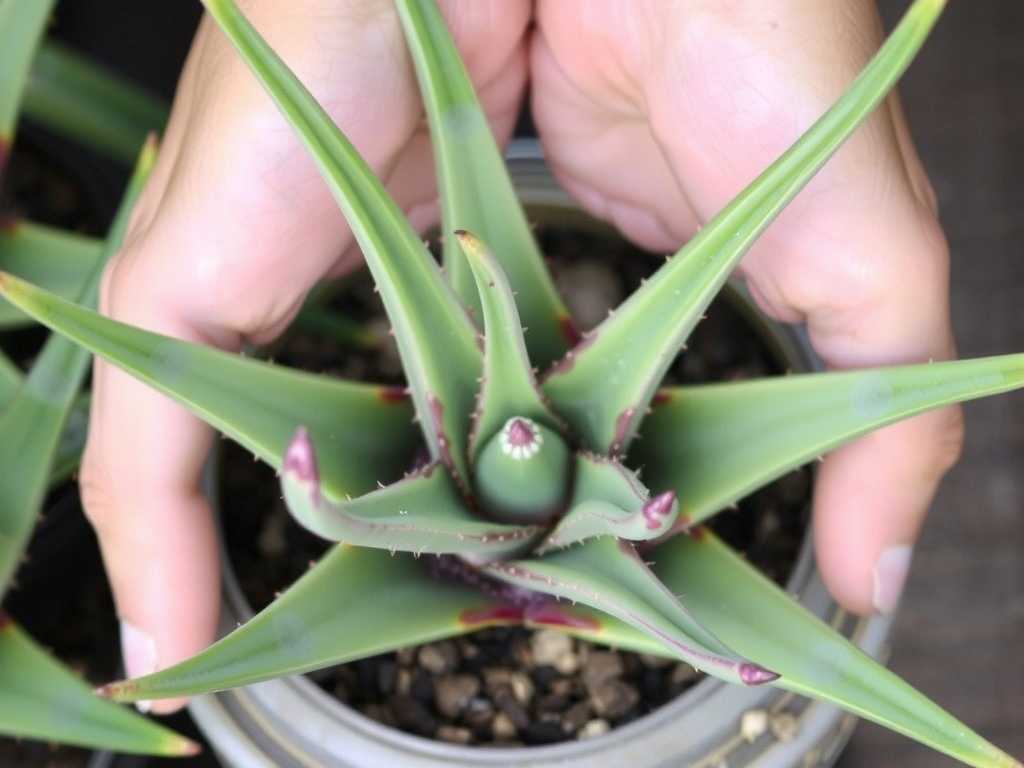
- Central Growth Point:The very center of the rosette, where the flower spike emerges, appeared tighter and more active. No spike yet, but it looked more "alert."
Most importantly, the plant had weathered the abrupt light change (with my intervention) and was now thriving in its new, brighter, cooler microclimate. I had established a new, disciplined care routine.
Sustaining the Journey Beyond Two Weeks
Flowering is a marathon. My two-week reset was just the starting gun. The real work is consistency. I continue the regimen: full sun, cool nights, deep but infrequent watering, and a single light feeding in the spring. I am now patiently waiting for the seasonal cue, likely in the coming spring or summer, for the flower spike to finally emerge.
Frequently Asked Questions
How old does an aloe vera need to be to flower?Maturity is non-negotiable. Most aloe vera plants need to be at least 4 years old before they are capable of flowering. My plant was five, which gave me a fighting chance. If yours is younger, focus on optimal care and be patient.
Can I use a grow light to make my aloe vera flower?Absolutely. If you lack sufficient natural light, a full-spectrum LED grow light is an excellent solution. Place it 6-12 inches above the plant and provide 12-14 hours of light per day. This was my backup plan if the window move hadn't worked. It provides the intensity and duration needed to simulate the long days of its native environment.
Is it bad if my aloe vera never flowers?Not at all. A non-flowering aloe vera can be perfectly healthy and live for decades. The gel in its leaves remains just as potent. Flowering is a spectacular bonus, a sign of exemplary, species-appropriate care, but the lack of a bloom doesn't diminish the plant's value or beauty.
Watching for that first sign of a flower spike is an exercise in patience and a testament to providing the right conditions. It requires mimicking a slice of the desert on your windowsill: abundant sun, cool nights, sparse water, and lean soil. My two-week journey didn't produce a flower, but it transformed my care approach and my plant's vitality. The foundation is now solid. The wait continues, but now it's a hopeful, informed wait. Keep tweaking, stay consistent, and your aloe may just surprise you with its brilliant, torch-like bloom.


发表评论