CanAloe VeraGrow in a Kitchen Window Sill? Your Complete Guide to Thriving Indoor Plants
You’ve brought home a plump, promisingAloe Veraplant, dreaming of its soothing gel and air-purifying presence. You place it proudly on your sunny kitchen window sill, only to watch it slowly turn pale, limp, or mushy. Sound familiar? The frustration of a dying houseplant is a common kitchen dilemma. Many believeAloe Vera, known for its hardiness, should thrive anywhere with a bit of light. But the unique microclimate of a kitchen window—with its fluctuating temperatures, potential humidity from cooking, and variable sunlight—presents specific challenges. The core question isn't justcanit grow there, buthowcan you make it flourish. This guide will transform your kitchen window into the perfect aloe vera sanctuary.
Understanding Aloe Vera’s Basic Needs
To succeed, we must first understand what aloe vera naturally craves. Originating from arid regions, this succulent has evolved for survival in harsh, sunny environments.

Light: The Non-Negotiable FuelAloe vera is a sun worshipper. It requires bright, indirect light for at least six hours daily. Direct, harsh afternoon sun, especially through a magnifying glass-like window, can scorch its leaves, causing brown, crispy patches. The ideal is the gentle, consistent brightness of a south or west-facing window with some diffusion.
Soil and Drainage: The Foundation of HealthThis is where most indoor aloe plants fail. Aloe vera roots despise "wet feet." They require exceptionally well-draining soil. Standard potting mix retains too much moisture, leading to root rot—a silent killer. A cactus or succulent-specific potting mix is essential.
Watering: The Art of NeglectAloe vera stores water in its thick, fleshy leaves. Overwatering is a far greater threat than underwatering. The rule is simple: soak the soil thoroughly, then allow it to dry out completely before even thinking about watering again. In a kitchen’s ambient humidity, this cycle may be less frequent than you think.
Temperature and EnvironmentAloe prefers temperatures between 55-80°F (13-27°C). It can tolerate the warmth from a stove but suffers from cold drafts or direct blasts from air conditioning.
Assessing Your Kitchen Window Sill: The Ultimate Spot Check
Not all kitchen windows are created equal. Your plant’s fate depends on this critical assessment.
Direction Matters Most
- South-Facing Window:Often the gold standard, offering the most consistent bright light throughout the day. Your aloe will likely thrive here, but monitor for leaf scorch in peak summer. A sheer curtain can provide perfect diffusion.
- West-Facing Window:Provides strong afternoon sun. Excellent for growth, but similar to south-facing, be cautious of intense summer heat.
- East-Facing Window:Offers gentle morning sun. This is a superb, low-risk location for steady, healthy growth without the threat of burning.
- North-Facing Window:Typically provides the weakest light. An aloe vera here will often become "leggy"—stretching out thinly and pale as it searches for light. It may survive but won’t thrive without a grow light supplement.
The Hidden Factors: Drafts and HumidityFeel for drafts. A window that lets in cold air in winter or hot air in summer can stress the plant. Kitchens naturally have higher humidity from boiling kettles and cooking. While aloe tolerates average humidity, this extra moisture means you must extend the time between waterings even further, as the soil will take longer to dry.
The Step-by-Step Guide to Growing Aloe Vera on a Kitchen Sill
Follow this actionable plan for a happy, healthy plant.
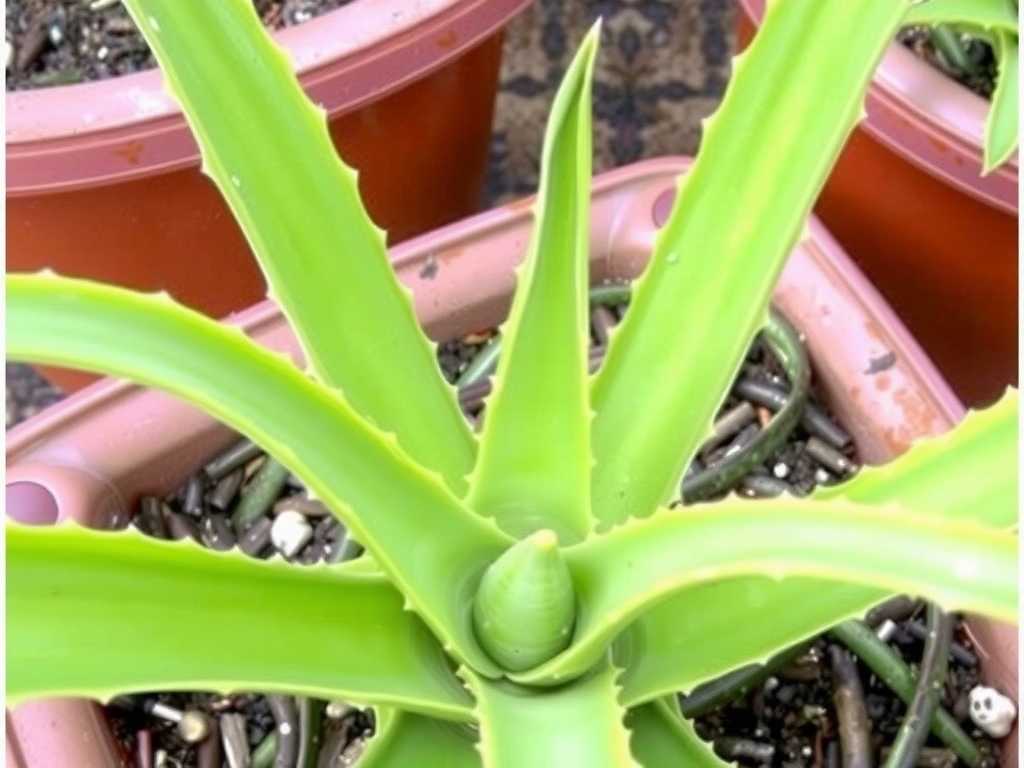
1. Selecting and Potting Your PlantChoose a plant with firm, plump, green-to-grey-green leaves. Avoid any with brown, soft spots. Select a pot that is only 1-2 inches wider than the root ball, with adrainage hole. Terracotta pots are ideal as they are porous and help wick away excess moisture. Fill it with a pre-mixed cactus/succulent soil.
2. The Perfect Placement and Light OptimizationPlace the pot directly on the sill. Rotate the pot a quarter turn every week to ensure even growth and prevent leaning. If your window provides only direct, harsh light, use a lightweight sheer curtain to create bright, indirect light. For low-light windows (like north-facing), consider a small, low-profile LED grow light placed a few inches above the plant for 12-14 hours a day.
3. Mastering the Watering Routine for Kitchen EnvironmentsForget the calendar. Use the "finger test": insert your finger into the soil up to the second knuckle. If the soil is completely dry, it’s time to water. Water deeply until it runs out of the drainage hole, then immediately empty the saucer underneath. In a standard kitchen, this may mean watering only every 2-4 weeks, less in winter.
4. Feeding and Long-Term CareAloe vera is not a heavy feeder. Fertilize sparingly, only during the active growing season (spring and summer), with a half-strength, balanced liquid fertilizer. Do this once, maybe twice, per season. Repot only when the plant becomes root-bound or produces many "pups" (baby plants), typically every 2-3 years.
Troubleshooting Common Kitchen Sill Problems
Even with care, issues can arise. Here’s how to diagnose and fix them.
- Soft, Mushy Leaves or Brown Base:The classic sign ofroot rot from overwatering. Stop watering immediately. Remove the plant from its pot, cut away any black, mushy roots with a sterile tool, and repot in fresh, dry succulent mix. Wait at least a week before resuming a very careful watering schedule.
- Thin, Curled, or Brown-Tipped Leaves:This signalsunderwatering. While less common, it can happen in very hot, dry spots. Give the plant a thorough soak.
- Pale or "Legy" Growth:The plant isstretching for more light. Relocate it to a brighter window or introduce a grow light.
- Brown, Scorched Spots on Leaves:This issunburn. Move the plant back from the glass or diffuse the light with a curtain.
Expert horticulturist and author ofThe Succulent Manual, Dr. Eleanor Greene, emphasizes: "The kitchen window sill can be a fantastic place for aloe vera, offering more light than many interior spots. The key is recognizing it as a specific ecosystem. Your vigilance in adjusting water to account for steam from cooking and protecting it from sudden temperature changes makes all the difference."
Harvesting and Using Your Homegrown Aloe Gel
One of the joys of a kitchen aloe plant is having fresh gel on hand. To harvest, select a mature, outer leaf. Using a clean knife, cut it as close to the base as possible. Place the leaf upright in a cup for 10-15 minutes to let the yellow latex (aloin, which can be irritating) drain out. Then, rinse, slice open the leaf, and scoop out the clear gel. Use it topically for minor burns, sunburn, or skin irritation. Always do a patch test first.
How often should I water my kitchen window aloe vera plant?There is no fixed schedule. The only reliable method is the "finger test." Check the soil moisture every 1-2 weeks by feeling if the top few inches are completely dry. In a typical kitchen, watering every 3 weeks is common, but this varies drastically with season, humidity, and light.
Can I use the aloe gel directly from my plant?Yes, you can use the fresh gel topically. However, ensure you properly drain the yellow latex first, as it can cause skin irritation for some people. For internal use, special preparation is required, and it's best to consult a medical professional, as not all aloe vera varieties are edible and improper processing can be harmful.
My aloe plant has lots of babies (pups). What should I do?This is a sign of a happy, mature plant! You can leave them to create a fuller pot, or propagate them to create new plants. Gently separate the pup from the mother plant, ensuring it has some roots attached. Let the pup dry for a day to form a callus over the cut, then pot it in its own small container with succulent soil. Water lightly after a week.


发表评论