How to AdjustAloe VeraFeeding for Mature Plants
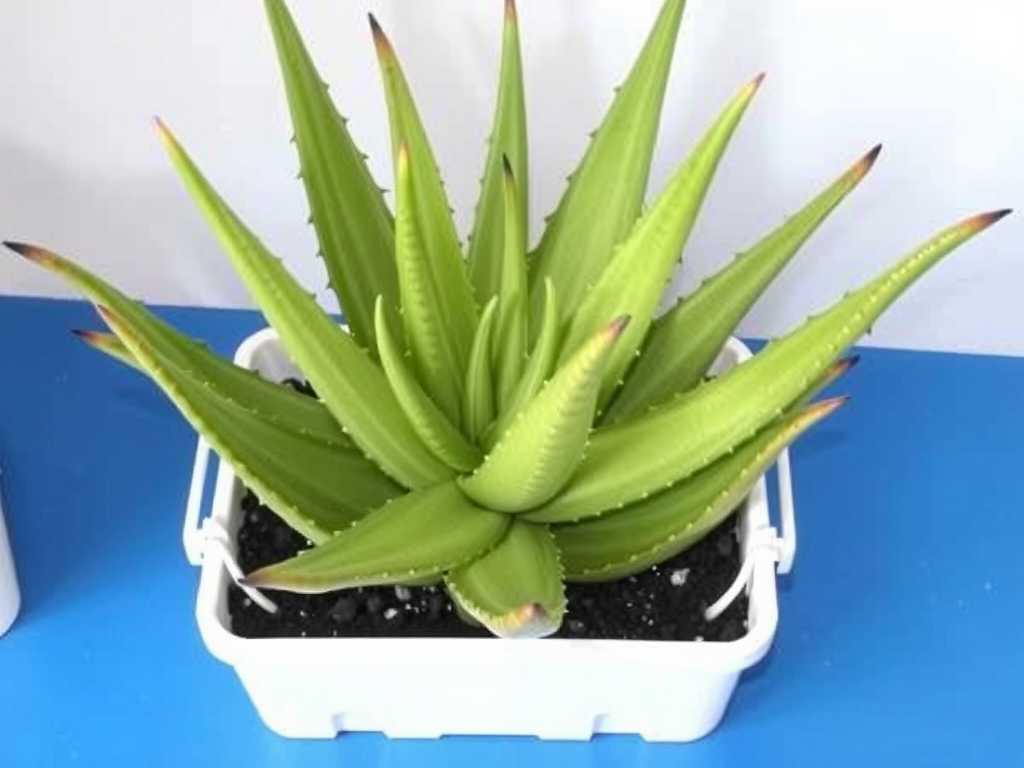
You’ve nurtured yourAloe Verafrom a tiny pup into a magnificent, sprawling specimen. Its leaves are thick, and it’s produced plenty of offsets. But lately, you might have noticed something off. Perhaps the vibrant green is fading, the growth has stalled, or the lower leaves seem a bit weak. If this sounds familiar, you’re not alone. The most common mistake we make with mature aloe plants is treating them the same way we did when they were young.How to adjustAloe Verafeeding for mature plantsis the key to transitioning from basic survival to showcasing their full, majestic potential.
I learned this lesson the hard way. For years, I fed every aloe on my shelf the same diluted, all-purpose fertilizer every spring. It worked fine for the youngsters, but my oldest, a five-year-old beast in a 12-inch pot, started to protest. Its growth was sluggish, and the leaves lacked that plump, resilient feel. That’s when I dove into the research and a hands-on experiment to crack the code on mature aloe nutrition.

Understanding the Shift: Why Mature Aloes Have Different Needs
A seedling or a young aloe vera is in a rapid establishment phase. It’s building its root system and core structure, so a consistent but mild nutrient supply supports this active growth. A mature aloe, however, has different priorities. According to the Royal Horticultural Society (RHS), succulents like aloe vera shift their energy from rapid vertical growth to maintenance, resilience, and reproduction (producing pups and flowers).
Their root system is extensive, often filling the pot, making them more efficient at gathering what they need from a fresh potting mix. Over-fertilizing a mature plant is a real danger. It can lead to soft, weak growth that’s prone to rot, salt buildup in the soil that damages roots, and can actually inhibit the stunning flower spike we all hope to see. The goal isn’t to force more growth, but to strategically support its health and natural cycles.
My Two-Week Feeding Adjustment Protocol
I decided to test a new feeding regimen on my mature aloe over a focused two-week period, documenting every step and change. Here is the exact protocol I followed.
Week 1: The Assessment and Preparation Phase
Before adding anything, I started with a thorough health check. I examined the leaves for color and firmness, checked the soil moisture deep down, and looked at the base for any signs of pups. I confirmed the plant was not under any stress from overwatering or pests.
My first action wasn’t feeding, butflushing the soil. This is a critical step often missed. Years of even light feeding can cause mineral salts to accumulate in the potting medium. I took the plant to my sink and slowly poured a volume of water equal to three times the pot’s capacity through the soil, allowing it to drain completely. This leaches out excess salts and resets the soil environment.
Next, I prepared my fertilizer. I switched from a balanced (e.g., 10-10-10) formula to one specifically designed for succulents and cacti, which is typically lower in nitrogen and includes micronutrients. I diluted it tohalfthe strength recommended on the label. For my mature aloe, less is unequivocally more.
The Initial Application
I applied this half-strength solution to the thoroughly flushed and slightly damp soil. The key is to feed a plant that is not bone dry to avoid root shock, but also not soaking wet. I watered it in gently until a little ran out the drainage hole, ensuring even distribution.
Days 1-3 Post-Feeding:No dramatic changes, which is good. The plant looked stable. I kept it in its usual bright, indirect light spot and resisted the urge to water or fuss.
Days 4-7:Here’s where I saw the first subtle sign. The deepest green leaves seemed to have a slightly more intense, richer color. It wasn’t a growth spurt, but a deepening of hue. The central, newest leaves felt firm and turgid. So far, so good.
Week 2: Observation and Refinement
Entering the second week, the plant’s condition was steady. I continued to monitor closely. Thecommon mistakeI’d made in the past was seeing no immediate result and applying more fertilizer. This time, I held firm.
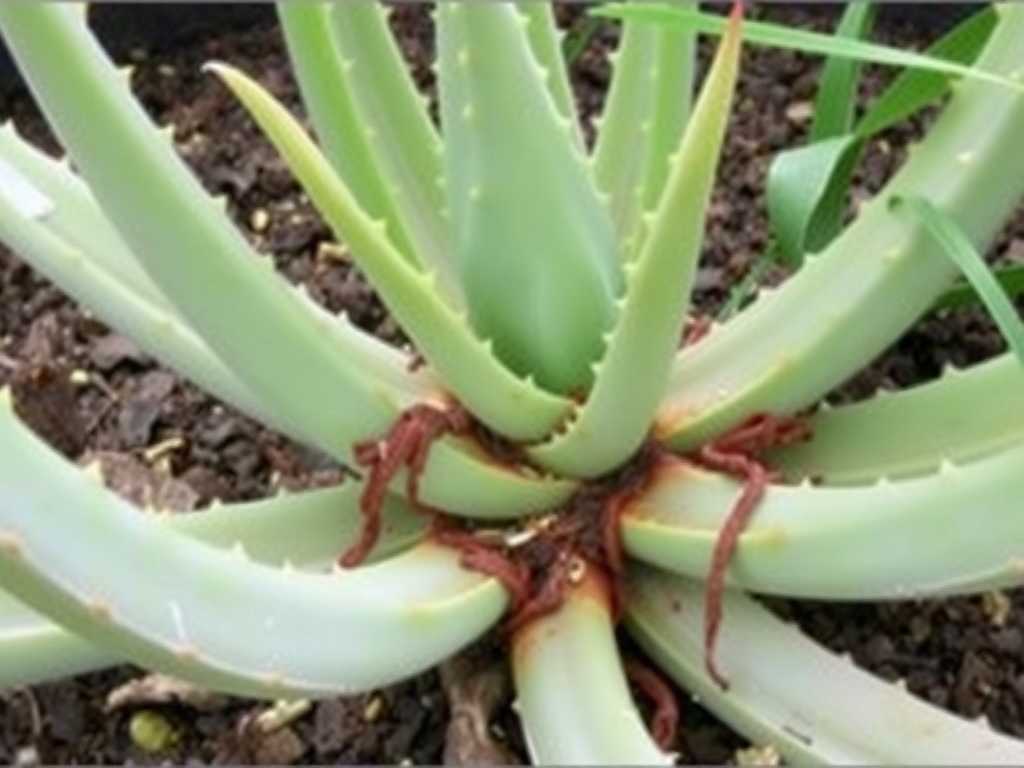
Days 8-10:I noticed increased activity at the base. Two small pups, which had been dormant for months, appeared to swell slightly and show more defined form. This was a fantastic sign that the plant felt stable and resource-rich enough to invest in reproduction.
Days 11-14:The overall architecture of the plant seemed… stronger. The lower leaves, which had previously been slightly lax, now held themselves more upright and felt solid. There was no etiolation (stretching), confirming the low-nitrogen formula was supporting compact, sturdy growth. By the end of the two weeks, the mature aloe looked profoundly healthy—not bigger, butbetter.
The Pitfalls I Encountered and How I Fixed Them
This process wasn’t without its hiccups. Here are the problems I faced and how you can avoid them.
1. The Temptation to OvercorrectAfter the first week, I was tempted to give a second, light feeding because the results weren’t "explosive." This is a dangerous mindset. Succulents respond slowly. I stuck to my plan of a single feeding at the start of the growing season (spring). The fix was patience and trusting the process. Mature aloes store nutrients in their leaves; they don’t need constant input.
2. Ignoring Soil pH and DrainageEarly in my trial, I used my succulent fertilizer but with my standard potting mix, which had become compacted over time. Watering and feeding didn’t seem effective. The American Horticultural Society (AHS) emphasizes that proper nutrition is inaccessible without good drainage and a slightly acidic to neutral pH. My fix was to repot the aloe into a fresh, gritty cactus mixbeforestarting the feeding protocol. This ensured the roots could actually access the nutrients I provided.
3. Misdiagnosing Leaf DiscolorationA few days after feeding, one older outer leaf developed a yellowish spot. I panicked, thinking it was fertilizer burn. Upon closer inspection, it was mechanical damage where the leaf had brushed against the pot’s edge, and the tissue was simply aging. The fix was proper diagnosis. True fertilizer burn usually appears on leaf tips or margins and is brown and crispy. I simply removed the aging leaf and continued monitoring.
Building Your Long-Term Mature Aloe Feeding Schedule
Based on my two-week deep dive and subsequent seasonal tracking, here is the sustainable schedule I now follow for all my mature aloes.
Spring (Early Growing Season):One single application of half-strength succulent fertilizer, only after flushing the soil. This provides a nutrient boost for the active season.
Summer:Typically, no feeding. If the plant is outdoors and getting abundant light and water, oneverydiluted application mid-summer is the absolute maximum.
Fall & Winter:Complete feeding holiday. The plant is semi-dormant and uses stored resources. Fertilizing now can lead to weak, leggy growth vulnerable to cold damage.
The cornerstone of this schedule is that feeding is a supplement, not a substitute. The primary nutrition for a mature aloe should come from a fresh, well-draining potting mix refreshed every 2-3 years.
Frequently Asked Questions
Can I use homemade fertilizers, like coffee grounds, for my mature aloe?I strongly advise against it. Coffee grounds can compact the soil, retain moisture, and alter pH unpredictably. Mature aloes need precise, minimal nutrition. A controlled, commercial succulent fertilizer is far safer and more effective for providing the specific nutrient balance without risks.
My mature aloe has never flowered. Will adjusting its feeding help?It can be a major contributing factor. Flowering requires the plant to be slightly stressed (pot-bound) and nutrient-optimized, not overfed. Excessive nitrogen promotes leaf growth at the expense of flowers. Switching to a low-nitrogen, high-potassium feeding regimen in spring, coupled with plenty of light, can signal to your mature aloe that it’s time to produce a bloom spike.
How do I know if I’ve over-fertilized my mature aloe, and what should I do?Signs include soft, mushy leaves that may darken in color, a white crust of salts on the soil surface, or sudden leaf drop. The immediate fix is to flush the soil thoroughly with water as described earlier. You may need to do this 2-3 times over a few days. In severe cases, repotting into fresh, dry soil is necessary. Then, suspend all feeding for at least 6-12 months.
Adjusting your approach to feeding a mature aloe vera is a shift in philosophy. It moves from nurturing growth to honoring the plant’s natural, resilient state. By providing minimal, targeted nutrition at the right time, you support its strength, encourage pups and flowers, and ensure it remains a thriving centerpiece for years to come. The reward is not a frantic race for size, but the quiet satisfaction of a plant in perfect balance.


发表评论