bluename
 Can Aloe Vera Grow in Rock Gardens? My 2-Week Experiment
I’ve always been fascinated by the resilience of succulents and the minimalist beauty of rock gardens. But one question kept nagging at me: can aloe vera grow in rock gardens? Most advice online seemed theoretical, filled with vague “shoulds” and “coulds.” As a hands-on plant enthusiast, I decided to stop wondering and start testing. I wanted to know, from real experience, if these popular healing plants could truly thrive in a rocky, fast-draining environment, not just survive. So, I set up my own experiment, documenting every step, every challenge, and the results over a crucial two-week establishment period.
My goal was clear: to successfully integrate aloe vera into an existing rock garden setup, observing its adaptation and identifying the non-negotiable conditions for its health.
Understanding the Core Needs of Aloe Vera
Before moving a single plant, I dove into the research. Aloe vera, a succulent native to arid regions, has two fundamental demands: excellent drainage and plenty of light. Its roots are prone to rot if left in soggy soil. This is where the concept of a rock garden seemed promising. The Royal Horticultural Society (RHS) notes that many succulents are ideal for rockeries due to their drought tolerance and need for sharp drainage. However, they also stress the importance of understanding the specific micro-environment. A rock garden isn’t just about piling stones; it’s about creating a habitat.
My Step-by-Step Process for Planting Aloe in Rocks
I had a small, south-facing rock garden section that received over 6 hours of direct sun. Here’s exactly what I did, moving from planning to planting.
Selecting and Preparing the Right Aloe Plants I chose two mature, healthy aloe vera pups from my container collection. I looked for firm, plump leaves with no signs of browning or soft spots. The first critical step was to let the cut ends callous over. I left them in a dry, shaded spot for 48 hours. This seals the wound and prevents soil-borne pathogens from entering, a crucial tip I learned the hard way in previous succulent projects.
Modifying the “Soil” Mix for a Rocky Bed This was the most important part. I knew the existing ground soil wouldn’t work. I created a custom, gritty mix. I combined:
- 40% coarse sand (horticultural grade, not beach sand)
- 30% crushed lava rock or small pea gravel (3/8 inch)
- 20% cactus/succulent potting mix
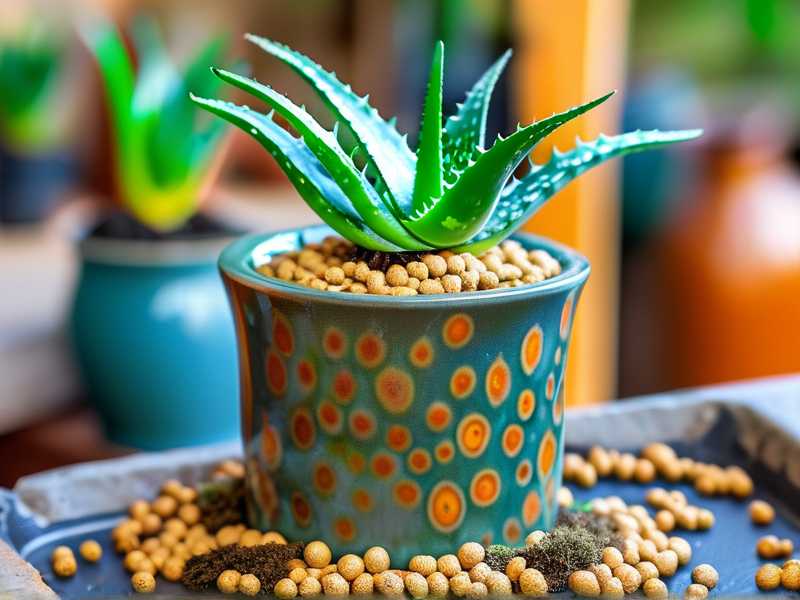
- 10% perlite for extra aeration This mix mimics the fast-draining, low-organic matter conditions aloe roots crave. I dug holes in my rock garden about twice the width of the aloe’s root balls and amended the native soil heavily with my custom mix, creating a generous planting pocket.
The Planting and Initial Setup I gently placed each calloused aloe pup into its hole, ensuring the base of the plant was level with the top of the amended soil, not buried too deep. I backfilled with the gritty mix, tapping it down lightly to remove large air pockets. Crucially, I did not water them in. Following expert advice from sources like the Arizona-Sonora Desert Museum, which emphasizes dry planting for desert succulents, I waited a full 7 days before introducing any water. This allows any minor root disturbances to heal and encourages the roots to seek out moisture.
The First Two Weeks: Observation and Adjustment
This period was all about close monitoring and resisting the urge to over-care.
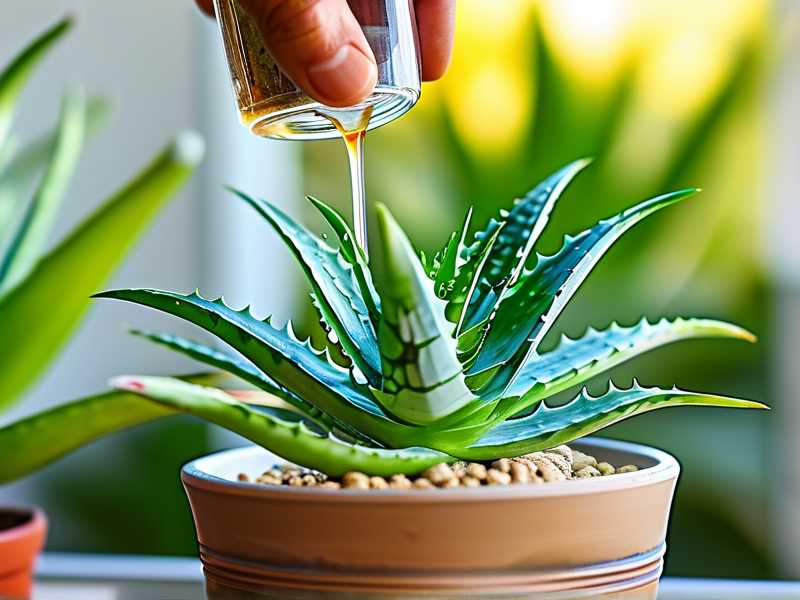
Week 1: The Waiting Game The first week was uneventful, which was a good sign. The aloe leaves remained firm and green. I checked daily for signs of distress—wilting, color change, or mushiness—but saw none. The weather was sunny and mild. After 7 days, I gave them their first deep but careful watering. I used a watering can with a narrow spout to direct water to the root zone, avoiding the center of the rosette. The water disappeared into the rocky mix almost instantly, which was exactly what I wanted.
Week 2: A Scare and a Solution Around day 10, I noticed the very tips of the lower leaves on one plant starting to turn a pale, yellowish-brown. My heart sank—was this the beginning of rot? Upon closer inspection, the affected area was dry and papery, not soft. I realized my mistake: this was sunburn. While aloe loves sun, pups transitioning from my slightly shaded patio to the full, reflected glare of the rock garden needed a more gradual acclimatization. This was a key “gotcha” moment.
My fix was simple but effective. I used a small, flat piece of limestone to create temporary dappled shade on the sunniest afternoon hours for that particular plant. Within 3 days, the discoloration stopped spreading. The new growth from the center emerged a healthy green. The other plant, perhaps slightly more sheltered by a larger rock, showed no issues.
By the end of the second week, both plants appeared stable. They weren’t growing dramatically (nor did I expect them to), but they were firmly anchored and showed no further signs of stress. The leaves were taut, and the plants held their structure well. The experiment was a success so far, proving that aloe vera can grow in rock gardens if their specific needs are met.
Key Takeaways for a Successful Rock Garden Aloe
My hands-on trial highlighted three non-negotiable factors for anyone wanting to try this.
Drainage is Everything The custom gritty mix was the undisputed hero. Pure garden soil or even standard potting mix would have retained too much moisture around the roots, especially with rocks holding coolness and humidity. The fast-draining blend I used prevented waterlogging completely.
The Art of Strategic Watering Forget a schedule. I watered only when the entire depth of the planting pocket felt completely dry—I used a wooden skewer to check. During my two-week observation, this meant only one watering. In hotter months, it may be more frequent, but the “soak and dry” method remains the rule.
Sunlight Management is Crucial My sunburn lesson was invaluable. Acclimating aloe vera to full sun is a must. Consider planting them on the east side of a large rock for morning sun and afternoon protection, or provide temporary shade during their first few weeks. Once established, they’ll handle the heat brilliantly.
Addressing Common Concerns
Many fellow gardeners have asked me specific questions after seeing my project.
Won’t the rocks hurt the aloe plant? Not at all. In fact, they help. Rocks at the base act as a mulch, preventing soil from splashing onto the leaves and keeping the root zone cool. They also slow surface evaporation. Just ensure the aloe’s tender core isn’t in constant, wet contact with a rock.
How do you fertilize aloe in such a lean mix? Very sparingly. I won’t fertilize at all for the first 6 months. After that, a single application of a diluted, balanced fertilizer at the start of the growing season is plenty. The goal is slow, steady growth, not rapid expansion.
Can it survive freezing temperatures in a rock garden? This is a major limit. Aloe vera is not frost-hardy. If your winters dip below freezing, your rock garden aloe vera plants will need protection. In cold climates, they are best grown in containers within the rock garden that can be moved indoors, or treated as annuals. The RHS classifies most aloes as needing a minimum temperature of 5°C (41°F) for sustained outdoor growth.
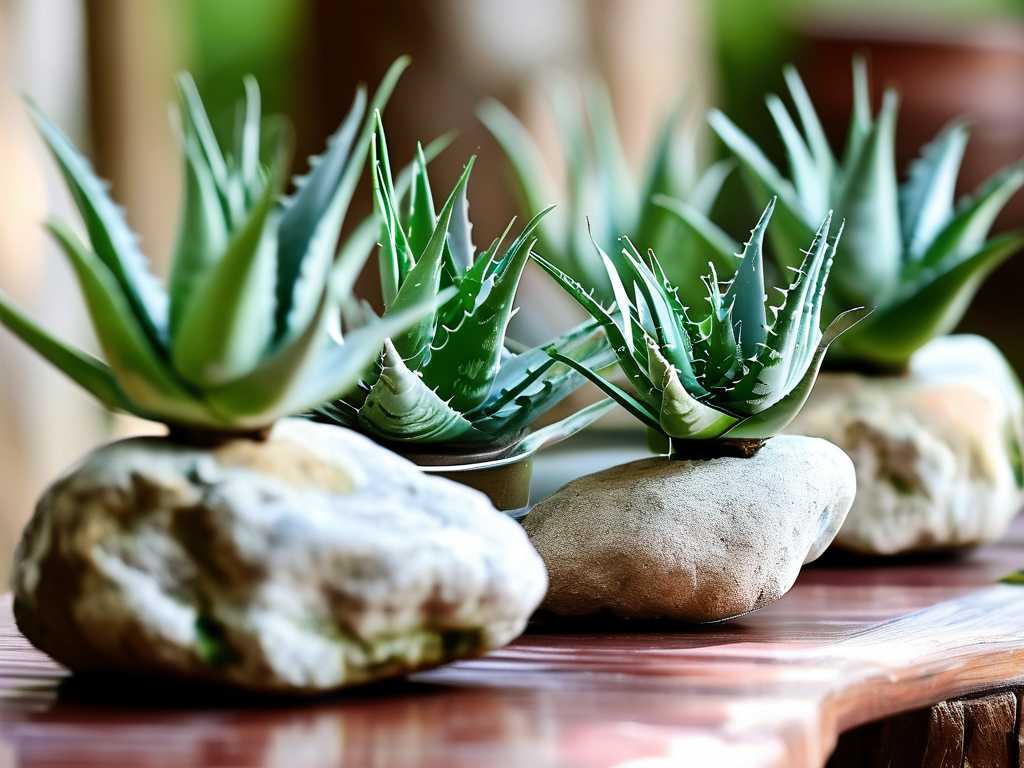
Seeing those green rosettes nestled among the stones, looking both natural and vibrant, was deeply satisfying. The two-week test confirmed that with the right foundation—a brutally fast-draining medium, careful initial watering, and mindful sun exposure—aloe vera doesn’t just grow in a rock garden; it can become a stunning, low-maintenance focal point. It’s a perfect marriage of form and function, bringing both architectural beauty and practical use to a rugged landscape. If you’re willing to tailor the environment to the plant’s innate needs, the answer is a resounding yes.