Aloe VeraFlowering Season: What to Expect
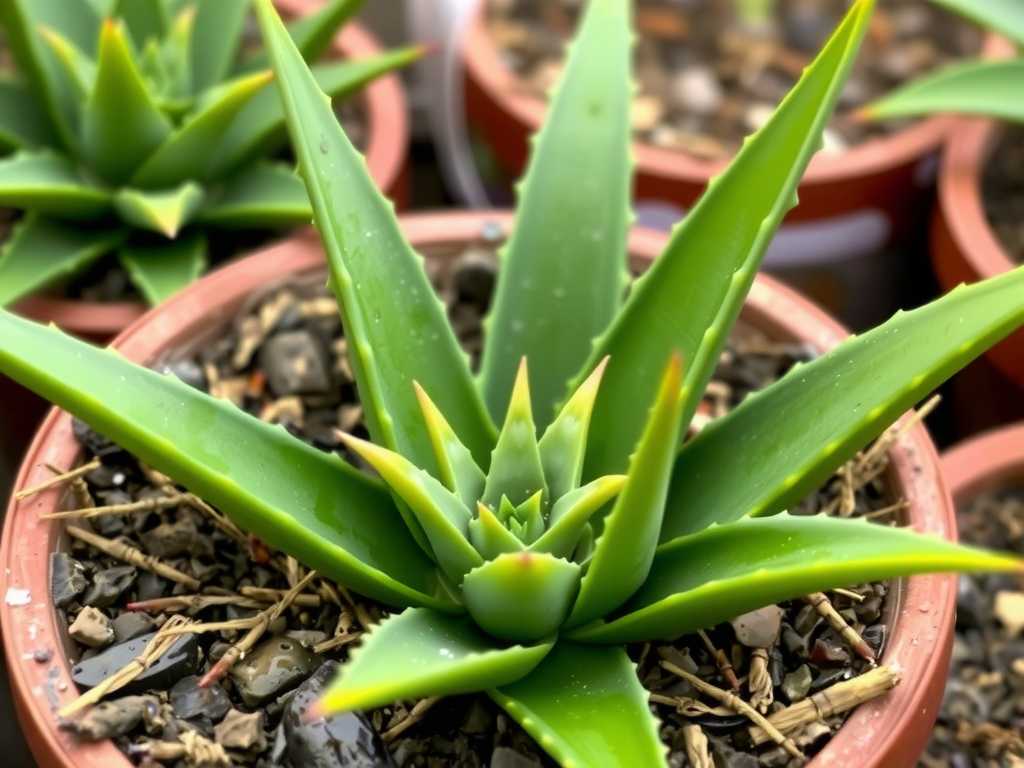
I’ve been growingAloe Verafor years, and like many plant lovers, I always considered those plump, soothing leaves the main event. The idea of myAloe Veraflowering felt like a distant, almost mythical, gardener’s trophy. That changed last year when I finally witnessed it. TheAloe Vera Flowering Seasonbecame a fascinating, hands-on project that taught me more about this resilient plant than a decade of just harvesting gel. If you’re wondering what to expect and how to encourage this spectacular show, let me walk you through my real-world experience, complete with missteps and triumphs.
My journey began with a simple, frustrating question: Why had my mature, seemingly healthy aloe never bloomed? I realized I was treating it as just a handy medicinal plant, not understanding its needs as a flowering succulent. I was missing key signals and conditions. So, I decided to meticulously adjust my care for two specific plants over several months, with an intense two-week observation period as the flowering process kicked off. Here’s what I learned.

Understanding the Bloom Cycle: It’s All About Maturity and Stress
First, a crucial fact from the Royal Horticultural Society (RHS): Aloe vera (Aloe barbadensis miller) needs to be mature, typically at least four years old, to have the energy reserves to flower. My blooming plant was in a pot for over five years. More surprisingly, the RHS notes that a degree of “benign stress,” like being slightly root-bound or experiencing a distinct seasonal change, can trigger the flowering response. This was my first lightbulb moment. I’d been too kind, repotting too often.
I selected two mature aloes. One, I left slightly root-bound in a terracotta pot. The other, I gave a more controlled stress by altering its light and feeding schedule to mimic a drier, brighter season.
My Step-by-Step Process to Encourage Flowers
My goal was to replicate ideal conditions for theflowering aloe vera. I started in late spring, aiming for the typical summer bloom time.
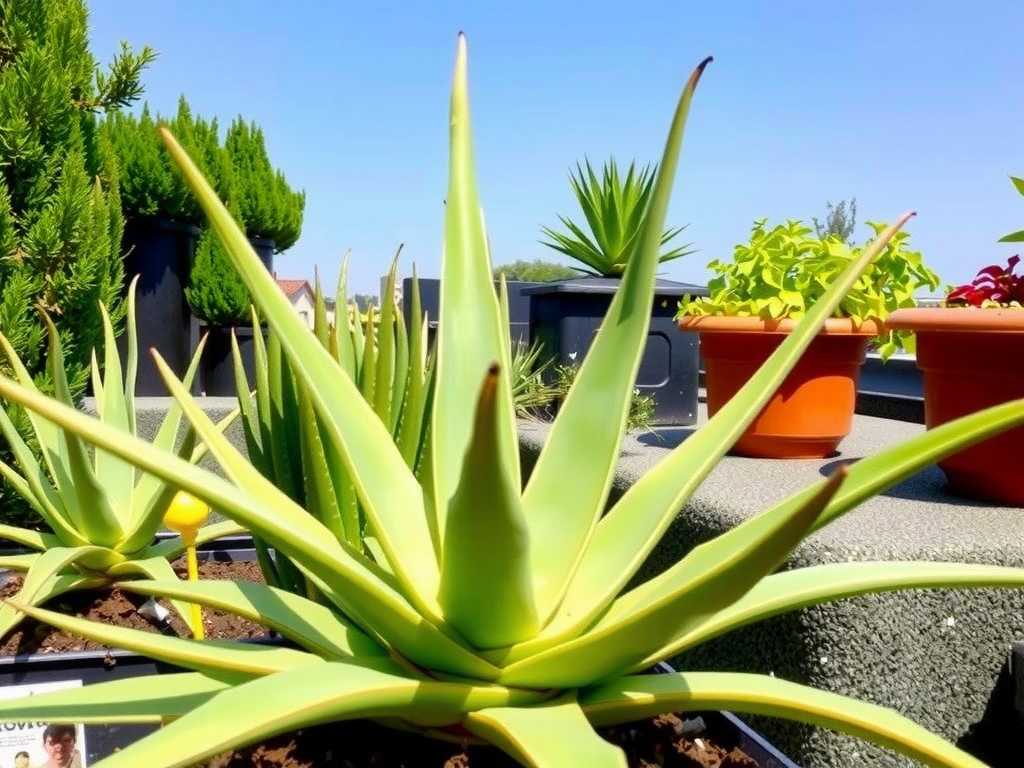
Step 1: Light OptimizationAloes need abundant light to flower. My plants were indoors by a south-facing window, but it wasn’t enough. Following advice from the American Horticultural Society (AHS), which emphasizes that high light intensity is non-negotiable for succulent blooming, I moved them outdoors to a spot with morning sun and afternoon dappled shade. This prevented leaf scorch while providing the light feast they craved.
Step 2: Watering and Feeding StrategyI completely changed my routine. Instead of my casual weekly splash, I adopted a “soak and dry” method. I would water deeply only when the soil was completely dry several inches down. More critically, I used a fertilizer. In early spring, I began applying a balanced, water-soluble fertilizer diluted to half-strength. As summer approached, I switched to a low-nitrogen, high-phosphorus formula (like a 5-10-10) to promote blooming over leaf growth, feeding once a month.
Step 3: Embracing the "Benign Stress"For the pot-bound plant, I did nothing. I resisted the urge to repot. For the other, I ensured it had excellent drainage and allowed the temperature to drop slightly at night, which happens naturally outdoors. This温差 is a natural signal.
The Two-Week Spectacle: A Daily Diary of the Aloe Bloom
After months of this adjusted care, I noticed a thick, green spike emerging from the center of the root-bound plant. This was it! I marked the calendar and began a daily log.
- Days 1-3:The stalk grew astonishingly fast, almost an inch per day. It was sturdy and green, shooting straight up from the leaf rosette.
- Days 4-7:The stalk reached about 18 inches tall. Small buds began to form along the upper third, arranged in a raceme. They were plump and tinged with a hint of yellow.
- Days 8-10:The buds started to elongate. The first one at the bottom of the cluster began to crack open. I was thrilled! The initial color was a coral-orange.
- Days 11-14:This was the peak of thealoe vera bloom time. The flowers opened sequentially from the bottom up. Each was a tubular, bell-shaped flower in a stunning gradient of orange and yellow. They dangled gracefully. I observed pollinators—bees and hummingbirds—visiting them daily. The plant in the slightly less stressful condition produced a shorter stalk with fewer flowers, proving the “root-bound” theory for me.
The Pitfalls I Encountered and How I Fixed Them
It wasn’t all smooth sailing. I made mistakes that could have cost me the blooms.
Pitfall 1: Overwatering During Stalk GrowthWhen the flower stalk appeared, I was so excited I thought it needed extra water. Big mistake. The stalk base felt slightly soft. I immediately stopped watering and let the soil bone dry. The plant stabilized. The lesson? Stick to the dry cycle. The stalk stores its own water.
Pitfall 2: Ignoring PestsThe sweet nectar attracted aphids to the flower buds. I noticed a cluster of them one morning. Using a strong jet of water, I dislodged them. For persistent ones, I applied a mild insecticidal soap spray carefully, avoiding the open flowers to protect pollinators. Daily checks became essential.
Pitfall 3: Expecting Blooms Every YearMy other mature aloe, despite perfect care, didn’t bloom. I learned from experts that indoor aloes, even with great care, may not bloom annually. It depends on the cumulative conditions of the previous year. This managed my expectations.
What Happens After the Flowers Fade?
Theblooming period for aloe veralasts several weeks. As the flowers died, I deadheaded the spent blooms to keep things tidy. The stalk itself will eventually brown and dry out. I let it dry completely before gently twisting and pulling it out from the base. The plant then redirects its energy back to the leaves. You’ll notice a period of slower growth as it recovers.
Caring for Your Aloe Post-Bloom
Post-bloom, I resumed my regular feeding with a balanced fertilizer and ensured it continued to get strong light. I finally repotted the root-bound plant after the stalk was removed, giving it fresh, well-draining soil and a slightly larger pot. It rewarded me with a burst of new leaf growth.
Will Aloe Vera Flowers Bloom Indoors?
Yes, but it’s more challenging. It requires an exceptionally bright window (south-facing) or a strong grow light for 12+ hours a day. Mimicking seasonal temperature shifts is harder indoors. My successful plant was outdoors for the crucial spring and summer months.
How Often Should I Water During Blooming?Exactly as you did before: water deeply only when the soil is completely dry. The flowering stalk is not a sign to increase hydration.
Is a Flowering Aloe Vera a Sign of a Dying Plant?Absolutely not. It’s the opposite—a sign of a mature, healthy, and well-cared-for plant. The plant does not die after flowering; it simply completes its seasonal cycle.
Witnessing the aloe vera flowering season is a deeply rewarding experience for any plant enthusiast. It transforms this common succulent from a simple first-aid kit resident into a spectacular, living sculpture. It requires patience, a shift in care philosophy, and a keen eye. By providing intense light, strategic feeding, and understanding its need for a natural growth rhythm, you can unlock this hidden show. My two-week observation was a masterclass in plant biology, reminding me that sometimes, a little less "care" in the conventional sense—allowing for natural stress and cycles—leads to the most breathtaking results. Start preparing your mature aloe now, and you might just be rewarded with a stunning spike of color come summer.
发表评论